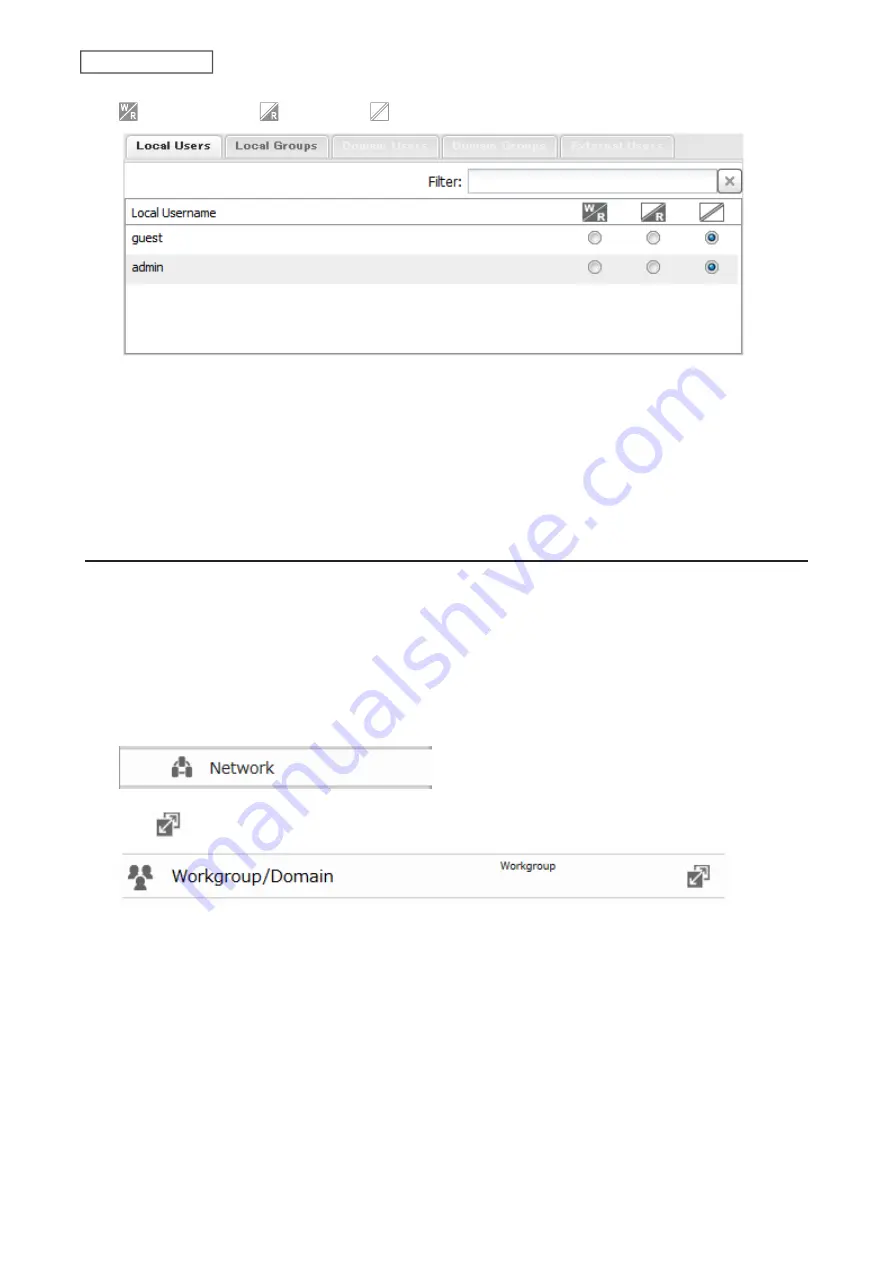
: Read and write
: Read-only
: No access
7
Click
OK
.
Notes:
• The example above shows configuring access restrictions for users. To configure access restrictions for groups,
click the
Local Groups
tab and select group permissions.
• If both read-only and read and write permissions are given to a user, the user will have read-only access.
Active Directory
If there is an Active Directory environment, the LinkStation will use account information from the Active Directory
domain controller to set access restrictions for LinkStation’s shared folders. There is no need to perform individual
account management for the LinkStation. If multiple LinkStations are installed on the network, the account
information is centrally managed in Active Directory, greatly reducing the operations required for installation and
management.
Note:
The LinkStation supports a domain environment with a maximum 1000 users and 1000 groups.
1
From Advanced Settings, click
Network
.
2
Click
to the right of “Workgroup/Domain”.
3
Click
Edit
.
26
Chapter 3 File Sharing
Содержание LinkStation 200B
Страница 16: ...1 Open SmartPhone Navigator on your mobile device 2 Tap Open Settings 15 Chapter 2 Configuration...
Страница 24: ...3 Click Add Group 23 Chapter 3 File Sharing...
Страница 60: ...4 Enter the backup password and click OK 5 Click Create New Job 59 Chapter 6 Backup...
Страница 67: ...6 Click Time Machine 66 Chapter 6 Backup...
Страница 68: ...7 Click Select Backup Disk 8 Select the shared folder then click Use Disk 67 Chapter 6 Backup...
Страница 85: ...4 Select the desired Ethernet frame size and click OK 84 Chapter 8 Advanced Features...
Страница 89: ...2 Tap Create User 88 Chapter 9 Configuring from Mobile Devices...
Страница 96: ...2 Tap Create Folder 3 Enter the desired folder name and tap Apply 95 Chapter 9 Configuring from Mobile Devices...
Страница 100: ...3 Tap NAS Setup 99 Chapter 9 Configuring from Mobile Devices...
Страница 101: ...4 Enter a username and password This will create a new user Tap Next 100 Chapter 9 Configuring from Mobile Devices...
Страница 102: ...5 Enter the password from the previous step again and tap Next 101 Chapter 9 Configuring from Mobile Devices...
Страница 104: ...6 Enter the BuffaloNAS com name and tap Set 103 Chapter 9 Configuring from Mobile Devices...


