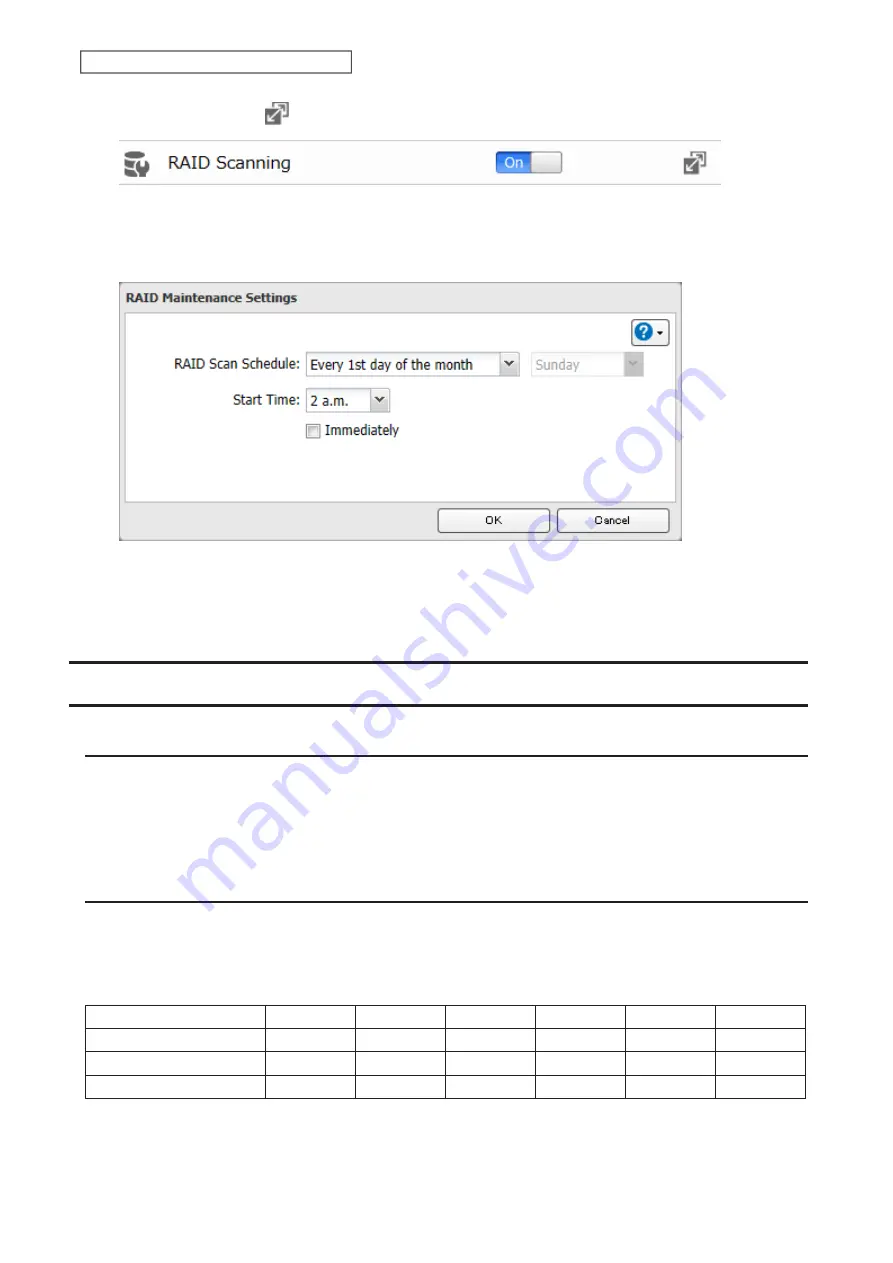
3
Click the settings icon (
) to the right of “RAID Scanning”.
4
Click
Edit
.
5
Select when to run the scan and click
OK
.
Notes:
• Select the “Immediately” checkbox to run a RAID scan immediately.
• To stop a RAID scan, click
Cancel RAID Scan
.
Adding an External Drive
Connecting an External Drive
Your LinkStation features a USB port, and you can connect an external drive to this port. Once connected, it appears
as a shared folder on the LinkStation. A formatted drive is detected automatically. Unformatted drives should be
formatted in Settings.
After a USB drive is recognized, the LinkStation adds “usbdisk
x
” to the shared folder list, where “x” is the USB port to
which the drive is connected.
Compatibility
The following devices are supported by the LinkStation. Buffalo external USB drives are recommended but DUB and
DIU series drives are not supported.
• USB storage devices
• Card readers (except for card readers that can recognize two or more memory cards)
Supported file systems for external drives and the types of allowed access are listed below:
Ext3
*
XFS
NTFS
*
exFAT
*
FAT32
HFS Plus
*
Accessing via SMB
R
R/W
R/W
R/W
R/W
R
Using as a backup drive
R/W
R/W
R/W
R/W
R/W
R
Using for Direct Copy
R/W
R/W
R/W
R/W
R/W
R
R/W: Read and write, R: Read-only
*This cannot be formatted from Settings.
57
Chapter 3 RAID Modes and Drive Management
Содержание LinkStation 200 Series
Страница 27: ...4 Configure the desired settings then click OK 26 Chapter 2 File Sharing...
Страница 28: ...Using a Mobile Device 1 From Settings tap Folder Setup 27 Chapter 2 File Sharing...
Страница 29: ...2 Tap Create Folder 28 Chapter 2 File Sharing...
Страница 33: ...4 Enter the desired settings then click OK 32 Chapter 2 File Sharing...
Страница 34: ...Using a Mobile Device 1 From Settings tap Users 33 Chapter 2 File Sharing...
Страница 35: ...2 Tap Create User 34 Chapter 2 File Sharing...
Страница 38: ...3 Click Add Group 37 Chapter 2 File Sharing...
Страница 42: ...Using a Mobile Device 1 From Settings tap Folder Setup 41 Chapter 2 File Sharing...
Страница 43: ...2 Tap the shared folder that you want to set access restrictions for 42 Chapter 2 File Sharing...
Страница 67: ...10Click at the top right of Settings and choose Restart 66 Chapter 3 RAID Modes and Drive Management...
Страница 74: ...73 Chapter 4 Remote Access...
Страница 90: ...6 Click Time Machine 89 Chapter 5 Backup...
Страница 91: ...7 Click Select Backup Disk 8 Select the shared folder then click Use Disk 90 Chapter 5 Backup...
Страница 130: ...6 Replace the four screws 7 Insert the new drive back into the empty slot 129 Chapter 8 Drive Replacement...


