


136
Arranging Embroidery Designs (Layout & Editing)
■
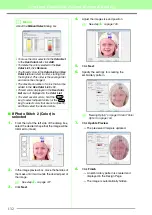
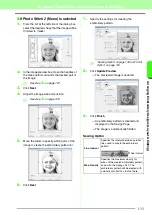
If Cross Stitch (Sepia) is selected
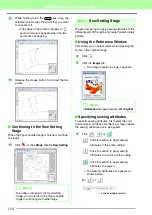
1.
Adjust the brightness and contrast of the
image.
The top slider is used to adjust the brightness.
Move the slider to the right to increase the
brightness or to the left to decrease the
brightness. The bottom slider is used to adjust
the contrast. Move the slider to the right to
increase the contrast or to the left to decrease
the contrast.
2.
Click
Sepia
or
Gray
to select the color tone.
3.
Click
Next
.
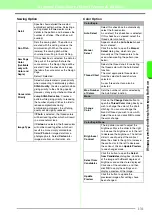
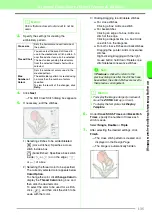
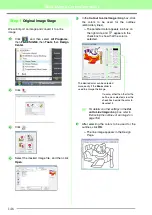
4.
Specify the sewing attributes and the settings
for creating the embroidery pattern.
5.
Click
Next
.
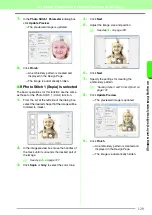
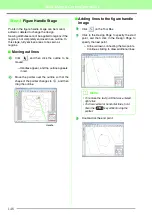
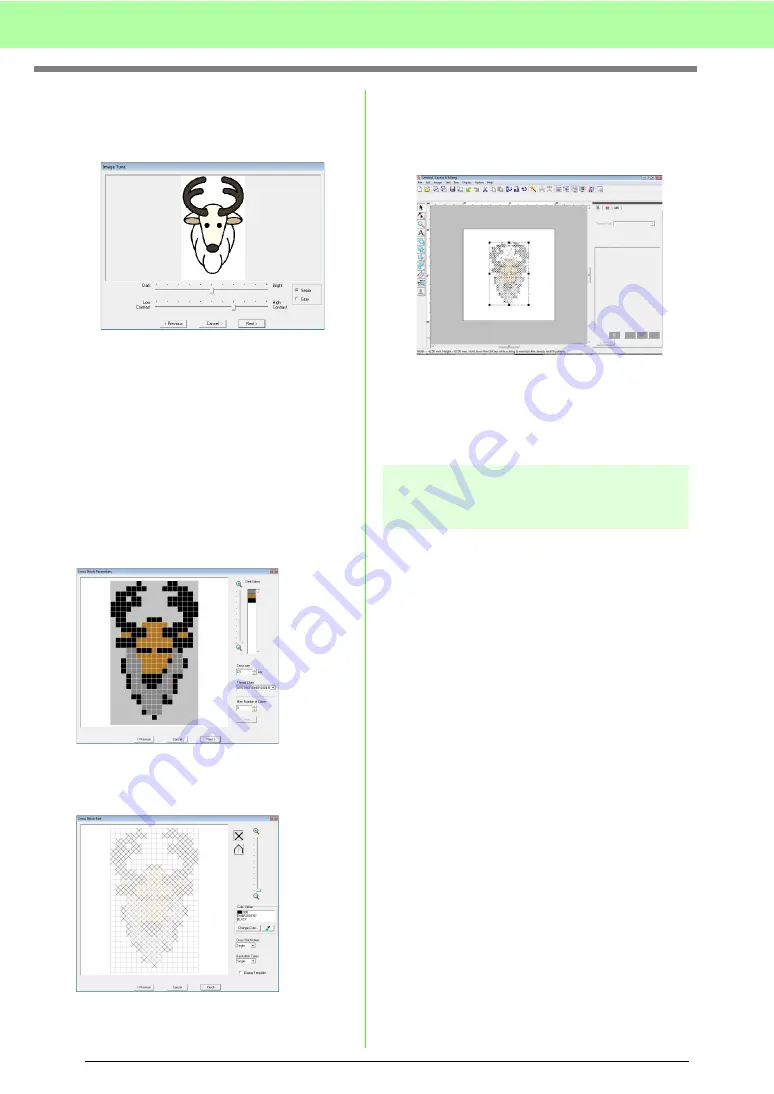
6.
If necessary, edit the stitches.
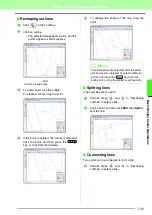
7.
Specify the number of times each stitch is
sewn.
8.
After selecting the desired settings, click
Finish
.
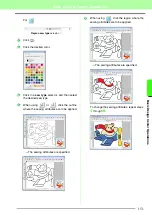
→
The cross stitch pattern is created and
displayed in the Design Page.
The operations described starting with step 4
are the same as those starting with step 1
when
Cross Stitch (Color)
is selected.
c
“If Cross Stitch (Color) is selected” on
page 134.
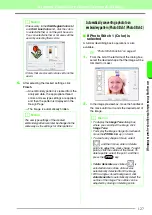
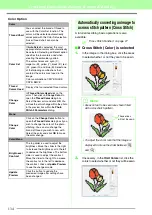
Manually create embroidery patterns
from images (Design Center)
■
If Design Center is selected
→
Design Center starts up, and a Design
Page is displayed with the image
imported into it.
c
“Manually Creating Embroidery Patterns
From Images (Design Center)” on
page 153.
Содержание PE-Design 8
Страница 1: ...Instruction Manual ...
Страница 146: ...144 Arranging Embroidery Designs Layout Editing ...
Страница 200: ...198 Managing Embroidery Design Files Design Database ...
Страница 218: ...216 Creating Custom Stitch Patterns Programmable Stitch Creator ...
Страница 244: ...242 Tips and Techniques ...
Страница 269: ...English ...


