


Troubleshooting
115
B
(MFC-J3520/
MFC-J6520DW)
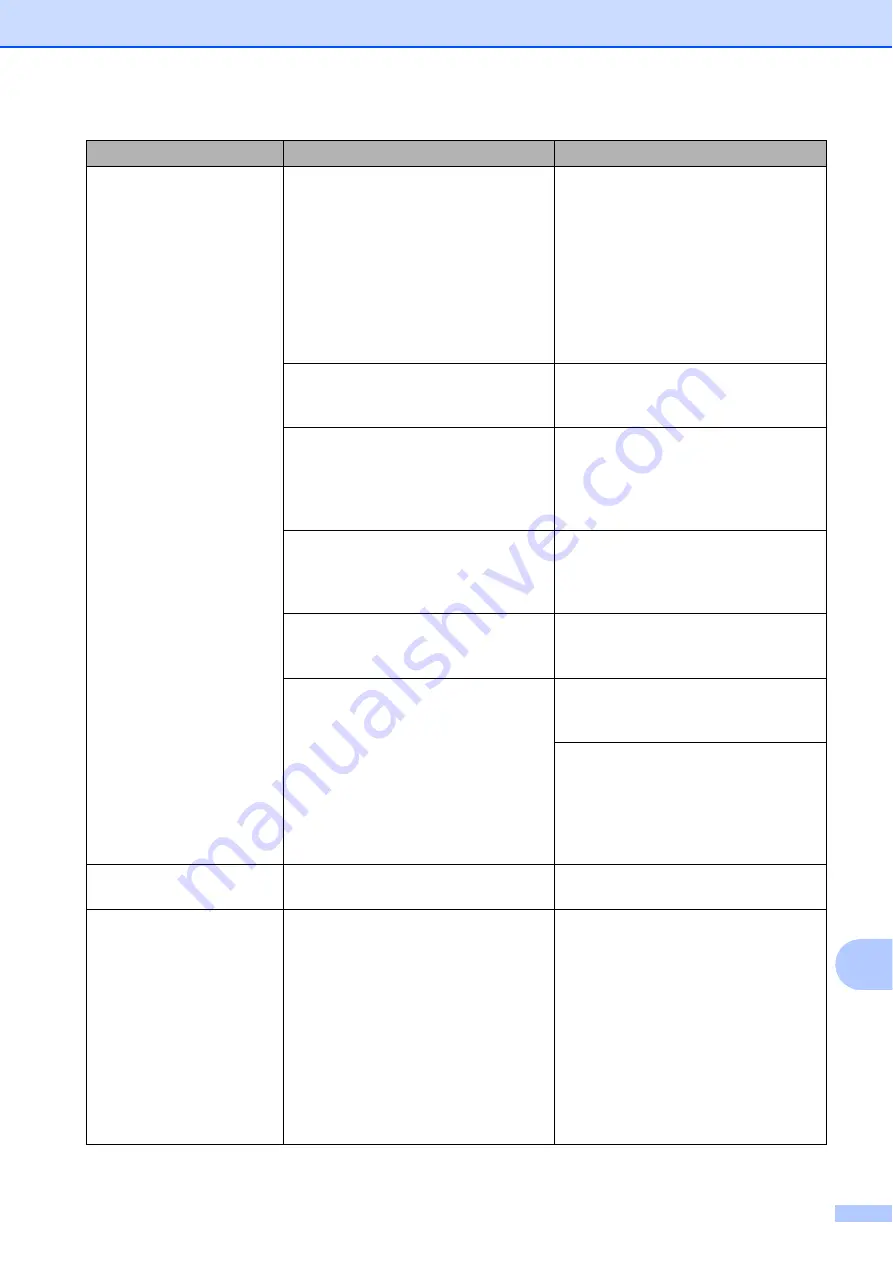
No Paper Fed
(MFC-J3720/
MFC-J6720DW)
No Paper Fed
No Paper Fed #1
No Paper Fed #2
The machine is out of paper, or paper
is not correctly loaded in the paper
tray.
Do one of the following:
Refill the paper in the paper tray,
and then press
OK
on the
Touchscreen.
Remove and reload the paper,
then press
OK
on the
Touchscreen. (See
The paper tray was not fully inserted. Remove the paper tray and re-install
it until it locks into place, and then
press
OK
on the Touchscreen.
The paper was not inserted in the
centre position of the manual feed
slot.
Remove the paper and re-insert it in
the centre of the manual feed slot,
and then press
OK
on the
Touchscreen. (See
The Jam Clear Cover is not closed
correctly.
Make sure the Jam Clear Cover is
closed evenly at both ends. (See
Paper dust has accumulated on the
surface of the paper pick-up rollers.
Clean the paper pick-up rollers.
(See Advanced User’s Guide:
Cleaning the paper pick-up rollers
.)
The paper is jammed in the machine. Remove the jammed paper by
If this error occurs often during
2-sided copying or 2-sided printing,
the paper feed rollers may be stained
with ink. Clean the paper feed rollers.
(See Advanced User’s Guide:
Cleaning the paper feed rollers
.)
No Response/Busy
The number you dialled has not
answered or is busy.
Verify the number and try again.
Out of Fax Memory
The fax memory is full.
Do one of the following:
Clear the data from the memory.
To gain extra memory, you can
turn off Memory Receive.
(See Advanced User’s Guide:
Turning off Memory Receive
operations
.)
Print the faxes that are in the
memory. (See Advanced User’s
Guide:
Printing a fax from the
memory
.)
Error Message
Cause
Action


