Brocade FastIron Edge X-Series Hardware Installation Guide
31
Part Number: 53-1002499-02
Installing a FastIron Compact Switch
Installing a redundant power supply
Make sure you insert the power supply right-side up. It is possible to insert the supply upside down,
although the supply will not engage with the power backplane when upside down. The power supply is
right-side up when the power connector is on the left and the fan vent is on the right.
5.
Press the two latches near the edges of the supply outward to lock the supply in place.
6.
Connect the power cord to the power supply.
7.
Connect the plug end of the power cord into an outlet.
Installing a DC power supply
Use the following procedures for DC power supplies in FastIron compact devices. Refer to
on page 21 for a list of which
power supplies are supported in which devices, and for illustrations of power supply placement in the Brocade devices.
Before beginning the installation, refer to the precautions in
Complete the following steps to install a DC power supply.
1.
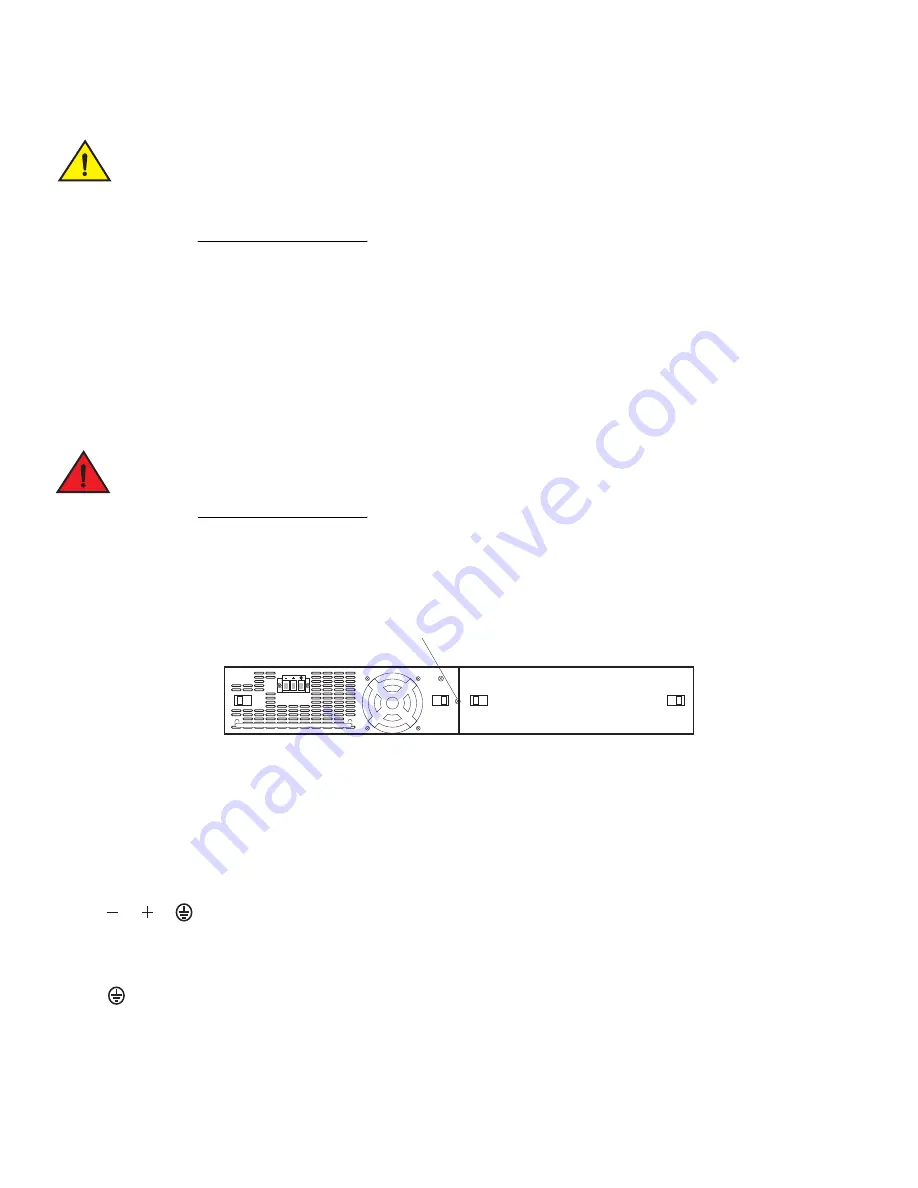
If necessary, before installing a power supply, remove the power supply locking screw located in the center rear of the device
(illustrated below).
2.
If the empty power supply bay has a cover plate, press inward on the two latches near the edges of the cover plate to unlock the
plate, then remove the plate.
3.
Remove the power supply from its packaging.
4.
Prepare the positive, negative, and ground wires by stripping about 1/4 inch of insulation off the end of each one. (Use 14 AWG
wire.)
5.
Loosen the three screws used to hold the wires in the connector. These are the wires under the following markings
6.
Slip the ground wire into the opening under the marking shown below until the wire is fully in place, then tighten the screw to hold
the wire in place.
7.
Repeat for the negative (—) and positive (
+
) wires.
8.
Pull gently on each wire to make sure they are securely fastened in the connector.
Power
S
upply locking
s
crew


