WARNING!
• Hot surfaces! Do not touch the heat nozzle and the construction
platform in operation!
• Danger! Moving parts in printer may cause injury. Do not wear
gloves or other sources of entanglement in operation!
Quickstart Guide
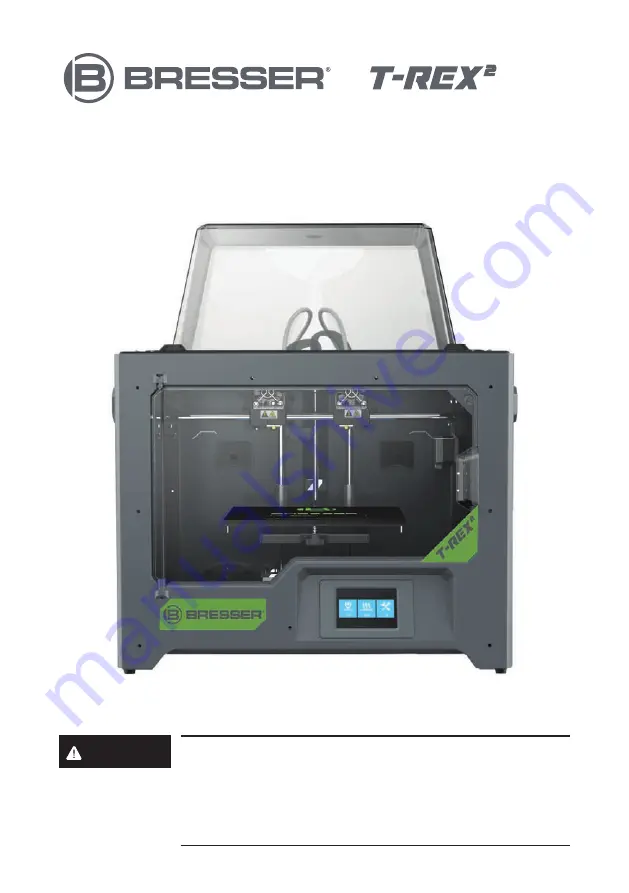
3D printer
Art. No. 2010600


