OWNER’S MANUAL
HIGH WALL INVERTER
(English) (BSHVD1S SERIES)
Страница 1: ...OWNER S MANUAL HIGH WALL INVERTER English BSHVD1S SERIES ...
Страница 2: ...t is also a condition of warranty cover that the Maintenance Schedule in the Manual is filled out by signing and dating it in the places indicated when the item is completed For complete warranty terms refer to the separate Warranty Booklet sold with the product Alternatively visit to download the terms Warranty terms are subject to property access and industry safety standards www braemar net au ...
Страница 3: ... 6 BUTTONS 6 CLOCK 6 TIMER SETTINGS 7 SWING UP DOWN 7 X FAN 7 TURBO 7 TEMP 8 SLEEP 8 I FEEL 8 CHILD LOCK 8 FAHRENHEIT CENTIGRADE 8 LIGHT 8 ENERGY SAVING 9 8 C HEATING FUNCTION 9 ERROR DISPLAY 10 MAINTENANCE SERVICE 11 MAINTENANCE SCHEDULE 12 OPERATION TIPS 13 TROUBLESHOOTING 14 WARRANTY SERVICE 15 SEELEY INTERNATIONAL OWNER S MANUAL 1 CONTENTS ...
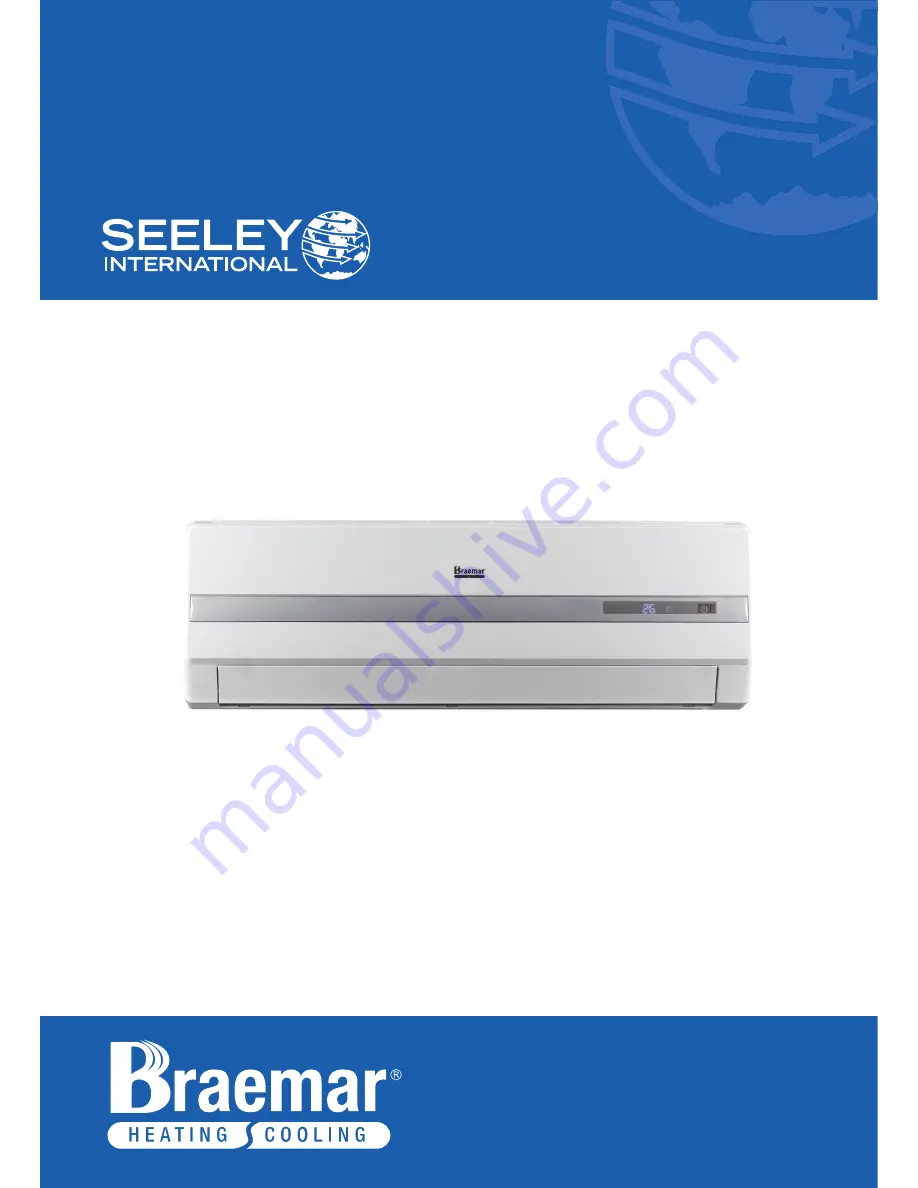
Страница 4: ...mote control 9 Condensate tube 10 Gas Pipe 11 Liquid Pipe NOTE Display panel style or position may differ from the above graphics 1 2 3 4 5 6 7 8 9 10 11 Air outlet Air inlet SINGLE SPLIT OR MULTI SPLIT UNIT heating indicator temp indicator cooling indicator power indicator receiver window drying indicator BSHVD1S Series High Wall Inverter Unit ...
Страница 5: ...agram on page 2 to ensure grass leaf and other matter are not drawn into or onto the Inlet side of the Outdoor unit Restriction to the air flow across the coil will reduce the system s capacity and result in high operation pressures and excessive operating costs IMPORTANT THE AUSTRALIAN GREENHOUSE OFFICE HAS ISSUED VARIOUS REGULATIONS ON THE USE AND DISPOSAL OF REFRIGERANTS IN THE UNIT FAILURE TO ...
Страница 6: ...controller 1 Ensure there are no obstructions between the High Wall receiver and remote controller 2 Don t let the remote control drop onto hard surfaces or be subjected to sudden shocks in any way The warranty does not cover misuse or accidental damage 3 Don t place the remote control in direct sunlight or near extremes of temperature This will affect the control s temperature reading 4 Don t pla...
Страница 7: ...ton Signal transmitter buttons FAN button MODE button ON OFF button FAN button 8 heating function Light Sleep mod Clock Heat mode Fan mode Dry mode Cool mode Auto mode Operation mod I Temp display type Set temp Outdoor ambient temp Indoor ambient temp e e feel Send signal Turbo mode Set temperature Set time TIMER ON TIMER OFF Child lock Up down swing Set fan speed ventilation operation health func...
Страница 8: ...blow air after a 1 5 minute delay FAN SPEED CLOCK Press the FAN button to toggle between AUTO Low Medium and High speed AUTO fan speed is default on power up In DRY mode only Low FAN speed is selected Use to adjust the SET temperature within the range 16 30 C 61 86 F Hold the button down for quick adjustment Note Temperature adjustment is unavailable in AUTO mode Press the CLOCK button to set the ...
Страница 9: ...omplete press the TIMER OFF button again to set OFF will stop blinking and Pressing the TIMER OFF button again will cancel the TIMER OFF function TIMER OFF SWING UP DOWN Press to adjust the UP DOWN louvre each press will toggle between the below settings Where a single line indicates a fixed position multiple lines indicate swinging up down in the positions shown This remote is universal select or...
Страница 10: ...this temperature SLEEP SLEEP cont cancel CHILD LOCK In HEAT mode the SET temperature will decrease by 1 C and then 2 C for the first 2 hours and then stay constant Press the I FEEL button to activate this feature The remote controller will act as the temperature thermostat sending a temperature reading to the unit every 10 minutes By this method the unit will react to where the remote controller i...
Страница 11: ...HT ON When in COOL mode press the TEMP and CLOCK buttons simultaneously to start Energy Saving function The remote controller display will show the SE icon Repeat to cancel When in HEAT mode press the TEMP and CLOCK buttons simultaneously to start 8 C Heating function The remote display will show and a selected temperature of 8 C 46 F Repeat to cancel ENERGY SAVING ...
Страница 12: ...turn off the air conditioner and isolate its power immediately and then contact the Seeley qualified service agents for assistance Power cord is overheating or damaged Abnormal sound during operation Circuit breaker is continually tripping Burning smell is noticed Indoor unit is leaking condensate Error Description Defrost status entered This is a normal occurrence in HEAT mode Please contact Seel...
Страница 13: ...RIGERANT PLEASE REFER TO THE NEXT PAGE FOR THE MAINTENANCE SCHEDULE Ensure drain connections are checked on an annual basis as set out in the Maintenance Schedule below Drains can become blocked by all types of insects and rats have been known to chew through the drain to get to the water in the pipe The Outdoor unit has either one or two fans it draws air through the appliance to expel the heat g...
Страница 14: ...heck refrigerant charge Check refrigeration connections for soundness Check outdoor fans Check electrical connections Check overall installation Report to the home owner user all tasks that require attention Please NOTE the Maintenance Schedule covers Year 1 to Year 5 To preserve your investment for many years afterwards we strongly recommend that you continue to maintain and service the Braemar H...
Страница 15: ...on of the plastic parts in the Unit when the temperature is changing This is a normal condition when the air conditioner has not been used for a long time or during first use of the Unit This is caused by the Indoor unit giving off smells permeated from building material from furniture or smoke for example if someone is cooking food When indoor air temperature reaches the setting on the remote con...
Страница 16: ...any plastic parts may expand or shrink due to a sudden temperature change in this event a clicking sound may occur 5 1 Unit is operating in AUTO mode 5 2 The required SET temperature is outside of the allowable range 6 1 DRED Demand Response energy saving mode has been activated by the Electricity Supplier Remedy 1 1 Wait for power to resume 1 2 Replace the fuse or reset the breaker 1 3 Check ther...
Страница 17: ...y International strives for continuous product improvements therefore specifications are subject to change without notice Unit colour may vary slightly from that depicted in this booklet Installation and commissioning of this system to the manufacturer s specification and compliance with industry standards and local state and national regulatory codes are the responsibility of the installer Inform...
Страница 18: ...16 NOTES BSHVD1S Series High Wall Inverter Unit ...
Страница 19: ...SEELEY INTERNATIONAL OWNER S MANUAL 17 NOTES cont ...
Страница 20: ...ng 1300 526 477 seeleyinternational com It is the policy of Seeley International to introduce continuous product improvements Accordingly specifications are subject to change without notice Please consult with your dealer to confirm the specifications of the model selected ...