BradyJet J4000 User Manual
15
Ethernet Network
Adjusting the Gap Sensor
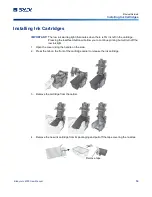
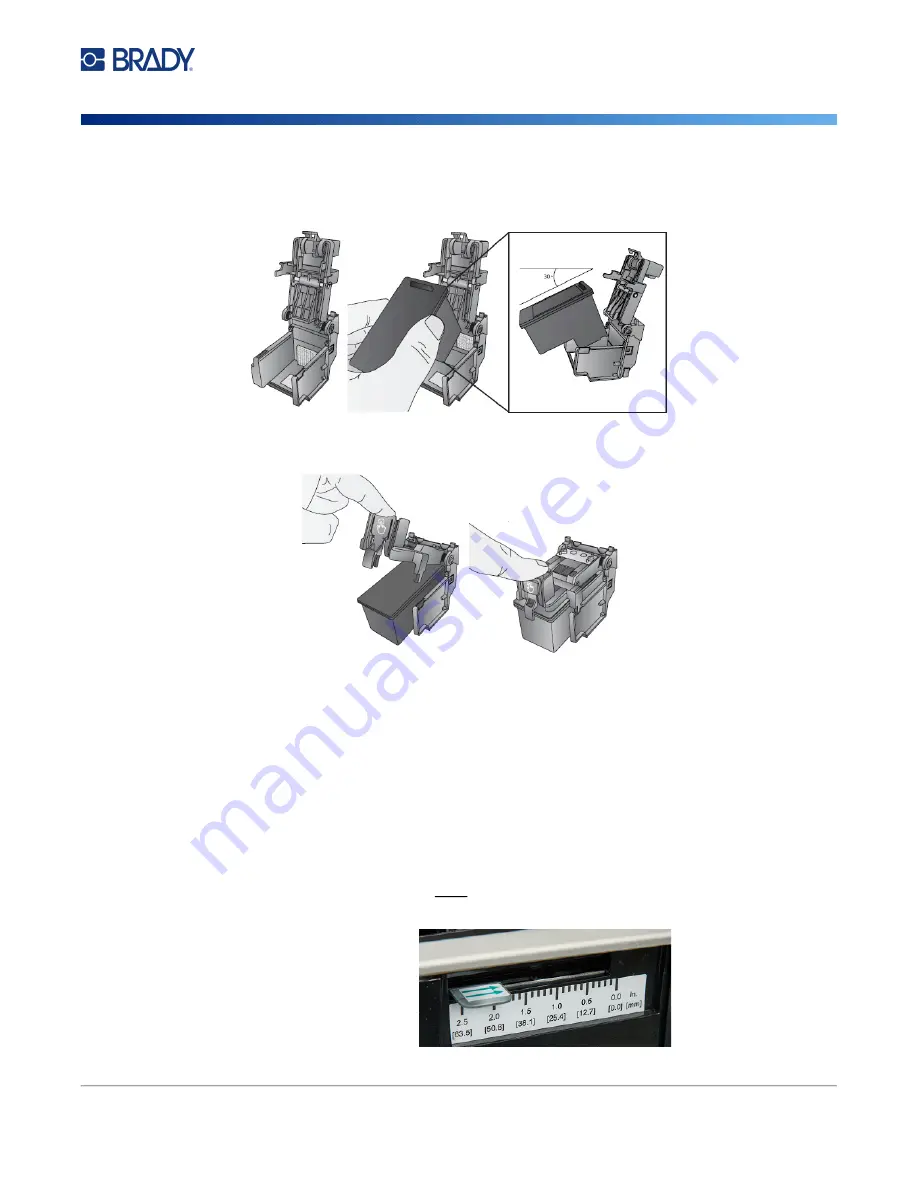
5. Place the new cartridge into the carrier by tilting the cartridge at a slight backward angle of
approximately 30 degrees.
6. Close the lid on the carrier by pressing down until you hear a click.
Adjusting the Gap Sensor
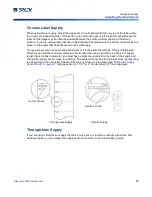
If you are using circular die-cut labels or through-hole supply, use the instructions below to adjust the
position of the gap sensor. The sensor can be adjusted using the slide bar on the inside of the printer.
Below the slide bar is a measurement which represents the distance between the edge of the supply
and the sensor. Measure the distance from the edge of the supply to the correct position on the label.
Set the sensor so that the side of the slide bar lines up to this measurement. See dashed line in the
figure below. The slide can be found by opening the cover and viewing from the back of the printer.
IMPORTANT!
The gap sensor slide must be adjusted when loading irregular shaped labels.
Gap Sensor Slide
Содержание BradyJet J4000
Страница 1: ...User Manual...


