124
Chapter 11 Creating User Styles
Copying Styles
This copies a Style (Preset or User) to the User Styles.
1.
While play is stopped, press [COPY] ([SHIFT] +
[EFFECTS]).
2.
Press [CURSOR
] to select “COPY STYLE?”
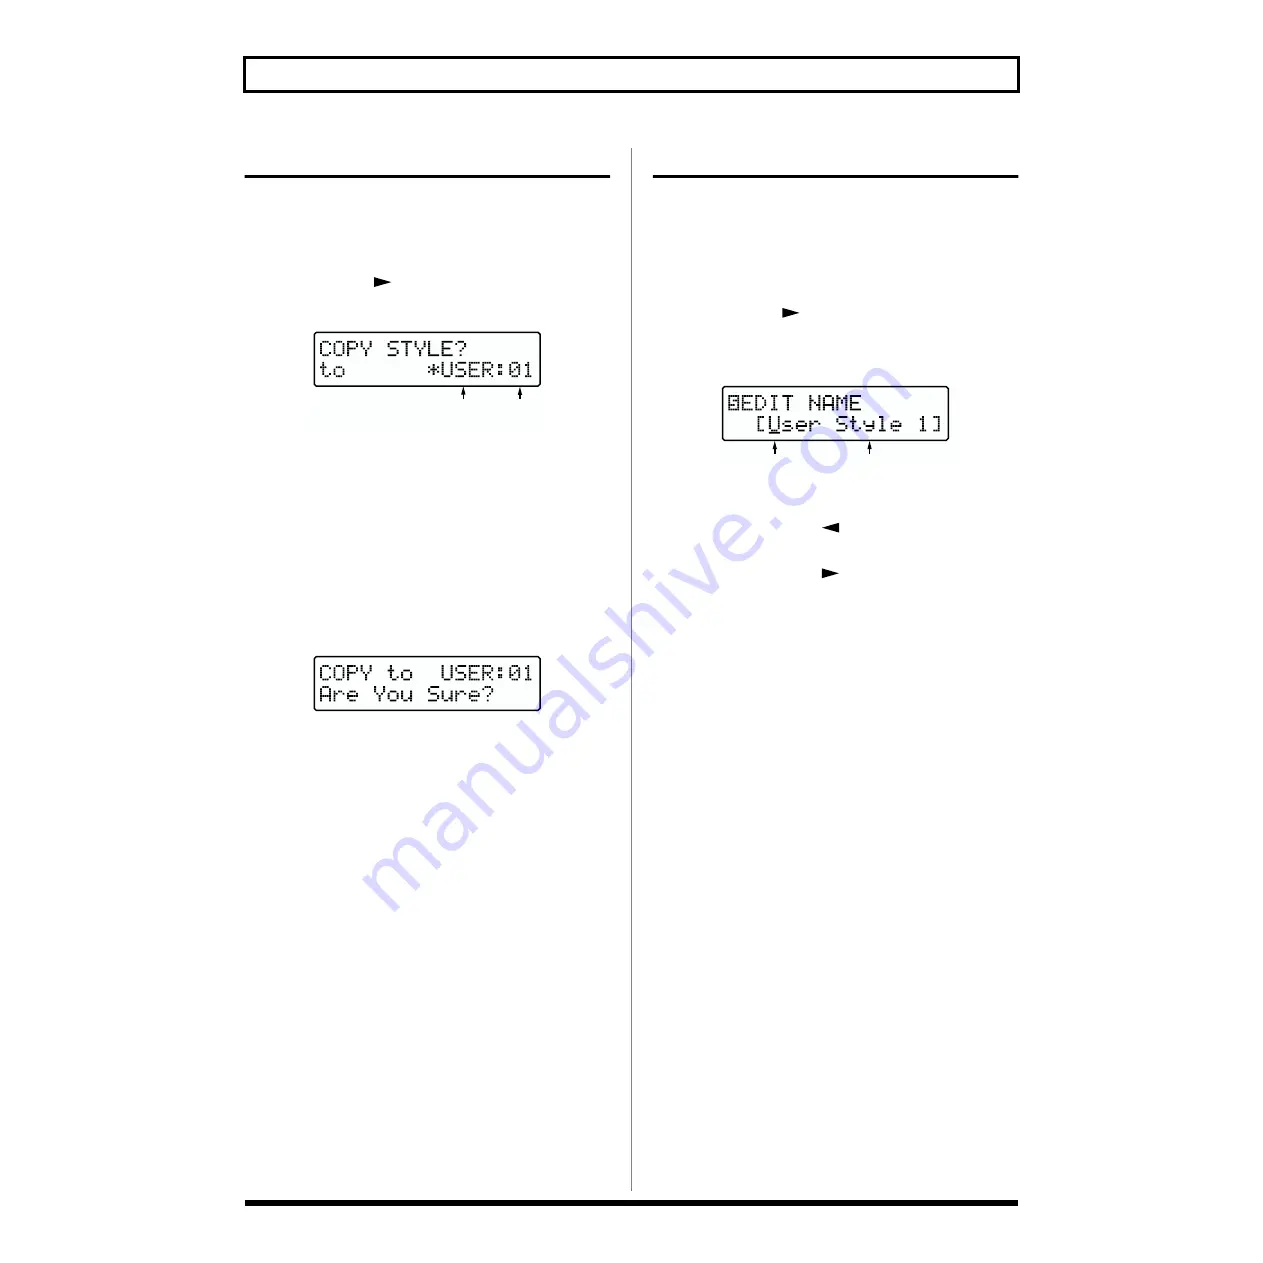
The Style’s copy screen appears.
fig.RE11-19
3.
Select the User Song to be used as the copy destination.
■
Use [CURSOR] and [VALUE] to select “USER” (the JS-
5) or “CARD” (memory card).
* If no memory card is inserted, then you can’t select “CARD”
even when you press [CARD].
■
Use [CURSOR] and [VALUE] to select a Style number.
4.
Once you have decided on a number, press [ENTER].
The copy confirmation screen appears.
fig.RE11-20
* To cancel, press [EXIT].
5.
Press [ENTER] when you want to execute the copy.
The copy will be executed, and when it is finished the
display will indicate “Completed!”
Naming the Style
This adds names (Style names) to the Styles you create.
1.
Select the User Style to be named.
2.
Display the User Style’s Record Standby screen.
(p. 120)
3.
Press [CURSOR
] several times to select “5 EDIT
NAME?”.
The Style Name input screen appears.
fig.RE11-21
4.
Use [CURSOR] and [VALUE] to input the characters.
■
If you press [SHIFT] + [
], the cursor will move to the
beginning of the name.
■
If you press [SHIFT] + [
] , the cursor will move to the
end of the name.
■
If you press [INSERT] ([SHIFT] + [PART]), a space will
be inserted at the cursor location.
■
If you press [ERASE] ([SHIFT] + [UTILITY]), the
character at the cursor location will be deleted, and
subsequent characters will be moved toward the left to
fill the gap.
■
If you hold down [SHIFT] and turn [VALUE], uppercase /
lowercase / symbols / (space) / numerals will be
displayed.
5.
Repeat Step 4 as needed.
* Press [EXIT] to return to the User Style’s Record Standby
screen.
6.
To end the procedure, press [STOP].
Destination Style
category / number
Style name
Cursor


