1.
Move your cursor over the live image and wait for the area to display a directional arrow.
2.
Click and hold a mouse button to pan to the desired position you want to save.
3.
Click any number combination from 1-64 from the on-screen keypad to identify the scene
number.
4.
Click the Set Shot button. The image area displays a message that indicates which shot
number was saved.
To View a Preset Shot:
1.
Click the number of the scene you want to view using the on-screen keypad.
2.
Click the Show Shot button.
Notice!
For more information about the AutoDome Junior IP settings and controls, click the Help on
this page? link to open the AutoDome Junior online help.
Operation
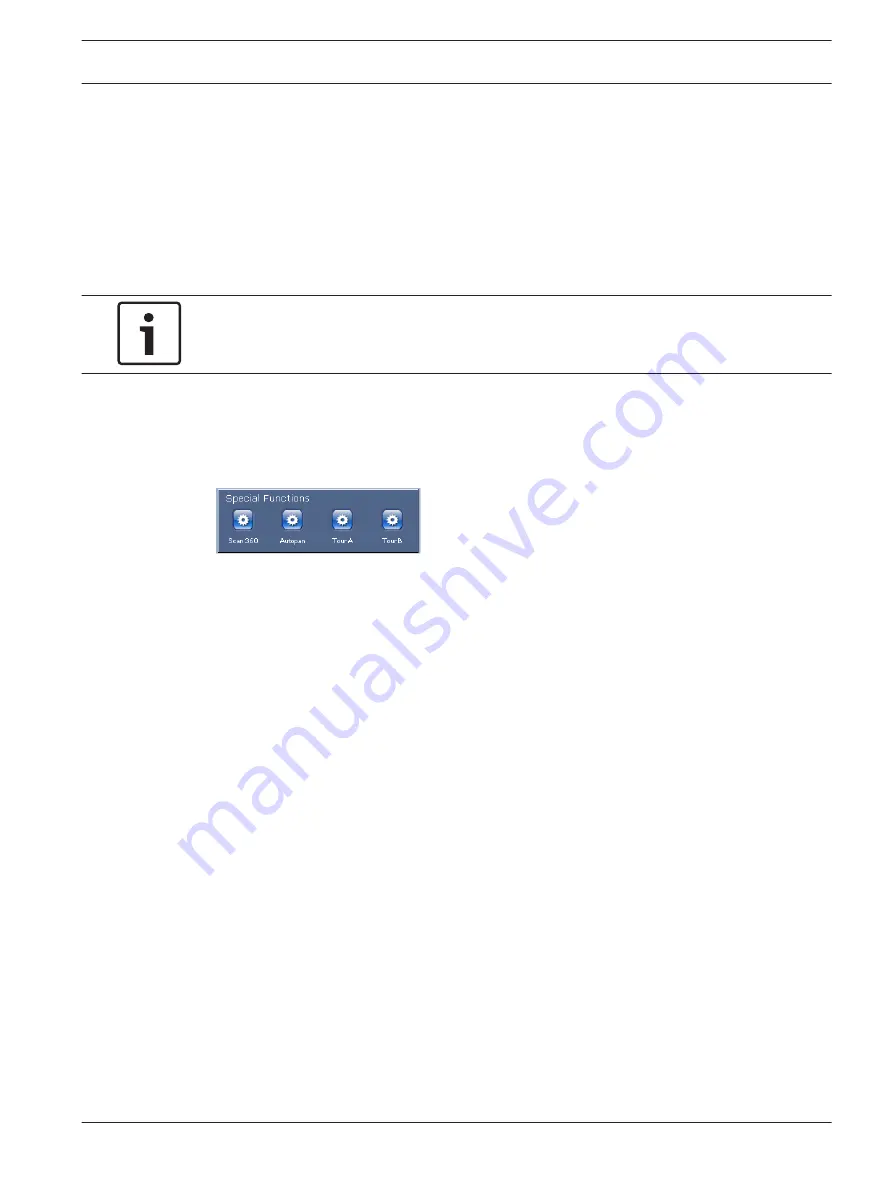
Using Special Functions
The AutoDome offers several special command buttons on the Livepage.
Scan 360
Click this button to start a continuous 360° pan. To stop the continuos pan, click a directional
control in the View Control tab.
Autopan
Click this button to pan the AutoDome between user-defined limits. To set the left and right
pan limits, refer to PTZ Settings, page 76, so set the Autopan limits. To stop the continuos
pan, click a directional control in the View Control tab.
Tour A / Tour B
Click one of these buttons to start a recorded (guard) tour. A Recorded Tour saves all manual
camera movements made during the recording, including its rate of pan, tilt and zoom speeds
and other lens setting changes. Refer to PTZ Settings, page 76, to program a recorded tour.
To stop a tour, click a directional control in the View Control tab.
Commissioning the AutoDome Junior Fixed Camera
The remote commissioning feature simplifies installation by allowing operators to position and
zoom the camera via a remote head-end unit.
This section provides instructions for setting the position and the zoom level for an AutoDome
Junior HD Fixed camera (VJR-F801 Series).
Using the Built-in Web Server:
1.
Launch Microsoft Internet Explorer and navigate to the IP Address for the AutoDome
Junior HD Fixed camera.
The Web browser opens the Livepage.
2.
Type the password for the Service level user.
3.
Click the SETTINGS link in the upper section of the window.
The Web browser opens a new page with the configuration menu.
4.
Click the Advanced Link; then click the Camera link, located in the left pane of the
Settings window.
11.5.2
11.5.3
11.6
AutoDome Junior HD Series
Using the IP Interface | en
57
Bosch Security Systems, Inc.
Operation Manual
2014.11 | 6.1 | F.01U.275.803
Содержание AutoDome Junior HD VJR Series
Страница 1: ...AutoDome Junior HD Series VJR Series en Operation Manual ...
Страница 2: ......
Страница 112: ......
Страница 113: ......


