EN
WWW.BORMANNTOOLS.COM
10
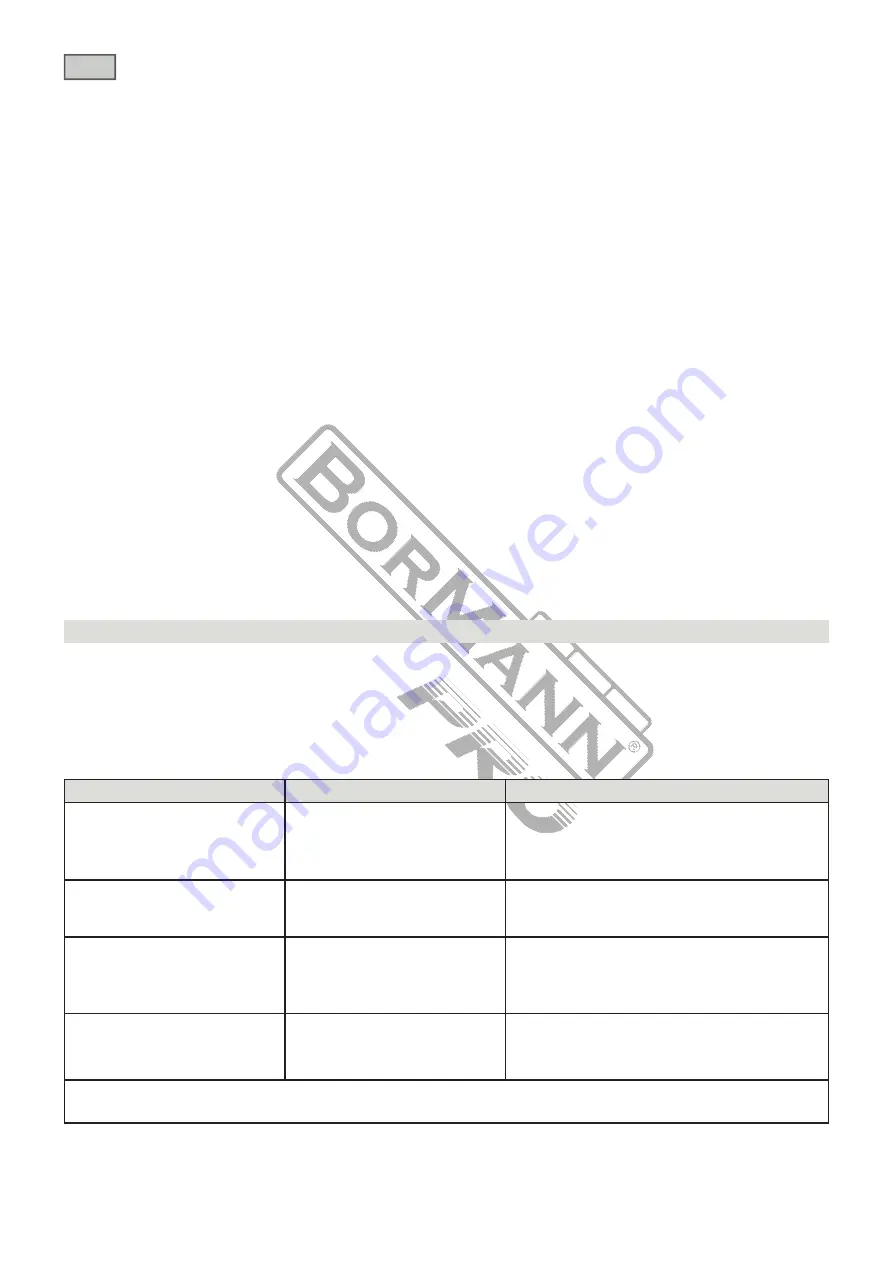
Completing the charging cycle:
Disconnect battery charger from the power supply.
Caution: Do not pull the plug out of the power supply by pulling on the cord
• Make sure to grasp the plug when removing from power supply to avoid damaging the cord.
Remove the battery pack from the battery charger.
• Supporting the battery charger with hand, pull out the battery pack from the battery charger
Caution: When the battery charger has been continuously used, the battery charger will be hot.
Once the charging has been completed, give 15 minutes rest until the next charge.
If the battery pack is charged when it is warm due to battery use or exposure to sunlight, the battery pack will not be
recharged. In such a case, let the battery pack cool before charge.
If the red indicator flickers rapidly at 0.2 - second intervals, check for and take out any foreign objects in the charger's battery
slot. If there are no foreign objects, it is probable that the battery pack or charger is malfunctioning. Now battery/charger to
normalise and try again. If a fault remains after trying this then contact an authorised supplier.
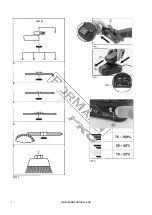
Battery charging status (Fig.3)
To display the amount of charge left in the battery pack press the charge level indicator button 5.2
Battery Pack Efficiency And Charging Advice
Recharge the battery packs before they become completely exhausted
When you feel that the power of the tool becomes weaker, stop using the tool and recharge the battery packs. If you continue
to use the tool and exhaust the electric current, the battery pack may become damaged.
Avoid recharging at high temperatures. A rechargeable battery pack will be hot immediately after use. If such a battery pack is
recharged immediately after use, its internal chemical substance will deteriorate, and the battery life will be shortened. Leave
the battery pack and recharge it after it has cooled for a while.
The battery pack should only be used and/or charged when battery pack temperature is between 50C and 300C.
The battery pack needs to be warmed-up or cooled down in order to prevent damage to the batteries internal components.
Note: Failure to warm up or cool down a battery pack could result in serious damage to tie battery, charger and user.
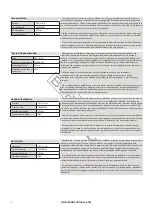
Troubleshooting
Problem
Possible Cause
Remedy
Motor does not start
1. Battery no charge.
2. Battery faulty or damaged.
3. Blown fuse in charger plug.
1. Re-charge battery.
2. Replace battery.
3. Replace fuse.
Motor runs, but slowly/ losing
power.
1. Battery no charge.
2. Battery faulty or damaged.
1. Re-charge battery.
2. Replace battery.
Machine vibrates.
1. Wheel damaged or out of
balance.
2. Wheel loose.
1. Replace wheel.
2. Stop machine immediately
- When stopped, refit accessory.
Wheel will not cut/grind.
Incorrect disc fitted.
Fit correct disc for material/application.
Important: Please note, all repairs/service should be carried out by a qualified person.
Maintenance
Regular inspection and cleaning reduces the necessity for maintenance operations and will keep your tool in good working
condition.
The motor must be correctly ventilated during tool operation. Avoid blocking the air inlets and vacuum the ventilation slots
regularly.
Main Description Maintenance and Troubleshooting
Содержание 027614
Страница 3: ...WWW BORMANNTOOLS COM 3 M14 A B C D E...
Страница 12: ...WWW BORMANNTOOLS COM 12 EL 1 2 Off...
Страница 13: ...WWW BORMANNTOOLS COM 13 EL Bormann 30...
Страница 14: ...WWW BORMANNTOOLS COM 14 EL D 80 mm 1 On Off 2 3 4 5 20V 6 7 4 6 5 6...
Страница 15: ...WWW BORMANNTOOLS COM 15 EL 7 9 B C D 6 3 4 8 4 1 7 4 4 On Off 10 1 ON 1 ON OFF OFF ON...
Страница 16: ...WWW BORMANNTOOLS COM 16 EL 5 5 1 1 9 13amp 230V AC LED 9 1 2 LED 9 2 2 LED 9 1 1 2 Bormann 11 30 25...
Страница 17: ...WWW BORMANNTOOLS COM 17 EL 15 0 2 3 50C 300C...
Страница 18: ...WWW BORMANNTOOLS COM 18 EL...
Страница 31: ...WWW BORMANNTOOLS COM 31 BG 1 2 3 1 2 1 2 3 4 5 1 2 3 4 5 6 7...
Страница 32: ...WWW BORMANNTOOLS COM 32 BG Bormann 30...
Страница 33: ...WWW BORMANNTOOLS COM 33 BG D 80 mm 1 2 3 4 5 20V 6 7 4 6 5 6 7 9...
Страница 34: ...WWW BORMANNTOOLS COM 34 BG B C D 6 3 4 8 4 1 7 4 4 10 1 1 ON OFF G 11 30 25...
Страница 35: ...WWW BORMANNTOOLS COM 35 BG 1 2 Bormann 5 5 1 1 9 230 V AC 13amp 9 1 2 9 2 2 9 1 15 0 2 3 5 2...
Страница 36: ...WWW BORMANNTOOLS COM 36 BG 1 2 3 1 1 2 2 1 2 3 50C 300C...
Страница 37: ...WWW BORMANNTOOLS COM 37 BG...
Страница 38: ...WWW BORMANNTOOLS COM 38 SRB 1 2 3 1 2 1 2 3 4 5 1 2 3 4 5 6 7...
Страница 39: ...WWW BORMANNTOOLS COM 39 SRB 30...
Страница 40: ...WWW BORMANNTOOLS COM 40 SRB 1 2 3 4 5 20 6 7 4 6 5 6 7 9 6 3 4 8 4 1 7 80...
Страница 41: ...WWW BORMANNTOOLS COM 41 SRB 4 4 10 1 1 11 30 25 1 2 5 5 1 1...
Страница 42: ...WWW BORMANNTOOLS COM 42 SRB 15 0 2 3 5 2 5 30 9 230 13 9 1 2 9 2 2 9 1...
Страница 43: ...WWW BORMANNTOOLS COM 43 SRB 1 2 3 1 2 3 1 2 1 2 1 2 1 2...
Страница 44: ...WWW BORMANNTOOLS COM 44 1 2 3 1 2 1 2 3 4 5 1 2 3 4 5 6 7 m...
Страница 45: ...WWW BORMANNTOOLS COM 45 Bormann 30...
Страница 46: ...WWW BORMANNTOOLS COM 46 1 2 3 4 5 20V Li ion 6 7 4 6 5 6 7 9 6 D 80 mm...
Страница 47: ...WWW BORMANNTOOLS COM 47 3 4 8 4 1 7 4 4 10 1 ON 1 ON OFF G OFF ON retardant 11 30 25...
Страница 48: ...WWW BORMANNTOOLS COM 48 1 2 Bormann 5 5 1 1 9 230V AC 13amp 9 1 Fig 2 LED 9 2 2 9 1 15 0 2 3 5 2...
Страница 49: ...WWW BORMANNTOOLS COM 49 1 2 3 1 2 3 1 2 1 2 1 2 1 2 50 300C WEEE...
Страница 56: ......

