EN
PKT3UMIMEN-100
www.bora.com
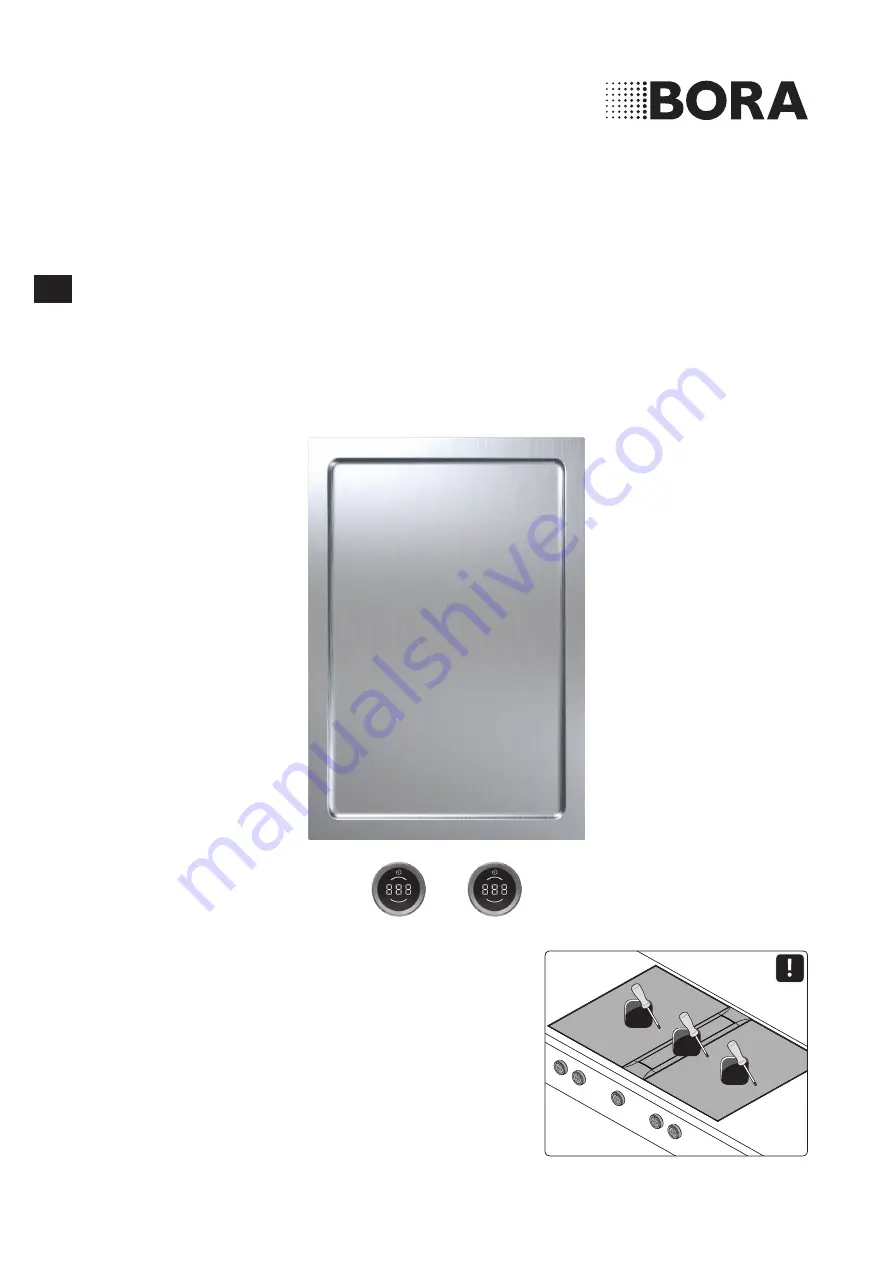
Operating and installation instructions PKT3
BORA Pro Tepan stainless steel grill with 2 cooking zones
1.
2.
1044118 - 32
Страница 1: ...EN PKT3UMIMEN 100 www bora com Operating and installation instructions PKT3 BORA Pro Tepan stainless steel grill with 2 cooking zones 1 2 2 1044118 32...
Страница 2: ...function 25 Deactivating the bridging function 25 6 4 Function menu 26 Calling up the function menu 26 6 4 1 Cleaning function 26 Activating the cleaning function 26 Deactivating the cleaning function...
Страница 3: ...your cooktops 28 7 4 Cleaning the control knobs 28 Cleaning the knob ring 28 Cleaning the touch surface and the knob housing 28 8 Troubleshooting 29 9 Decommissioning disassembly and disposal 30 9 1...
Страница 4: ...for the first time Other documents apply alongside these instructions Please by all means adhere to all documents that form part of the scope of delivery Assembly and installation may only be carried...
Страница 5: ...onsible for the safe use of the appliance cleaning and maintenance Improper use can lead to personal injury and damage to property 2 1 Use as intended The appliance is solely intended for preparing fo...
Страница 6: ...onductor system that has been installed in line with regulations Ensure that this basic safety precaution is met DANGER Risk of electric shock or injury from damaged surfaces The underlying electronic...
Страница 7: ...e place which is practical and safe 2 4 1 Safety instructions for cooktop installation DANGER Risk of electric shock from incorrect mains connection Connecting the appliance to the mains incorrectly p...
Страница 8: ...liquids boiling over Unattended pans can boil over allowing hot liquids to escape X X Keep an eye on pans when cooking X X Try not to let them boil over WARNING Risk of burns from hot steam Liquid bet...
Страница 9: ...original spare parts for repairs X X Do not make any modifications additions or alterations to the appliance i i A damaged power supply cable must be replaced by a suitable power supply cable This may...
Страница 10: ...N Frequency 50 60 Hz Power consumption 4 8 kW Fuse protection 2 x 16 A Dimensions width x depth x height 370 x 540 x 73 mm Weight incl accessories packaging 15 8 kg Cooktop Temperature control 80 250...
Страница 11: ...cooktop front cooking zone 5 Control knob for right cooktop rear cooking zone X X Observe all safety and warning information during operation see the Safety chapter 4 1 Control knob How it works The c...
Страница 12: ...h halves banana slices 160 170 Browning chopped vegetables fried eggs veal poultry 180 190 Browning breaded or battered fish pancakes sausages pork lamb 190 200 Browning potato fritters prawns corn on...
Страница 13: ...hut down If an appliance is switched on but is not used for a predefined time it is automatically switched off Cooktops Each cooking zone is switched off automatically when the cooking zone exceeds th...
Страница 14: ...hers stoves ovens washing machines or dryers i i The contact surfaces of the worktops and wall sealing strips must be made of a heat resistant material up to approx 100 C i i Worktop cut outs must be...
Страница 15: ...erhang 60 74 14 x Fig 5 4 Worktop overhang X X Please note the worktop overhang x when creating the worktop cut out Applies to flush installation and surface mounting i i In the case of cooktop extrac...
Страница 16: ...ab 5 3 Cut out dimensions of the appliance combinations in the case of surface mounting 5 5 1 Flush installation x A 2 B 2 544 2 R 5 R 5 74 70 516 2 700 Fig 5 5 Cut out dimensions for flush installati...
Страница 17: ...ol knob 4 3 5 2 1 Fig 5 13 Structure of control knob 1 Knob housing 2 Universal nut 3 Sticker 4 Knob ring 5 Wave spring i i In the case of steel fronts wave springs must not be used The corresponding...
Страница 18: ...spring when installation is complete X X Remove the knob ring 4 X X Unscrew the universal nut 2 X X Remove the wave spring 5 X X Insert the knob housing 1 from the front through the hole in the panel...
Страница 19: ...g brackets 1 Mounting bracket 2 Washer 3 Screw 4 Screw 60 mm X X Secure the appliance using the mounting brackets 1 X X Tighten the mounting brackets with the screws 3 and 4 using the washer 2 with ma...
Страница 20: ...plied in the scope of delivery i i The full range of functions on the appliances will only be available if the cooktop extractor and cooktops are connected correctly 5 8 3 Connecting the power supply...
Страница 21: ...with an impedance Zmax at the transfer point mains connection of 0 116 ohms maximum The user is to ensure that the appliance is only operated on a mains supply network which meets this requirement If...
Страница 22: ...ances all the way round also between the cooktop extractor and cooktop with black heat resistant silicone sealant 1 X X Make sure that no silicone sealant gets under the cooktop 5 13 Handover to user...
Страница 23: ...power level 0 O O Any active additional functions will be deactivated and the appliance will be switched off X X Observe all safety and warning information during operation see the Safety chapter 6 1...
Страница 24: ...played i i If all connected appliances are switched off power level 0 the whole system is automatically switched off after 10 seconds The cooktop was switched on O O H is shown in the control knob dis...
Страница 25: ...ction cooktop very large pans or roasters can be used O O Both cooking zone indicators are activated in the display on both control knobs i i If the bridging function is activated on cooktop PKFI3 the...
Страница 26: ...n maintained for 10 minutes Activating the cleaning function X X Open the Tepan stainless steel grill function menu X X Do the following 1 2 3 Fig 6 10 Activating the cleaning function O O The cleanin...
Страница 27: ...tes X X Then remove all coarse dirt and food residues using a Tepan spatula X X Remove the remaining dirt and water with a clean cloth X X Dry the appliance with a clean cloth X X Observe all safety a...
Страница 28: ...cleaning temperature of 70 C X X Dilute a dessert spoon of citric acid approx 10 15 ml in a bowl of warm water approx 200 ml X X Pour the liquid on the grill surface X X Leave the solution to work for...
Страница 29: ...s off automatically A cooking zone has been in operation too long Put the cooking zone back into operation see the Operation chapter The overheating protection has tripped see the Appliance descriptio...
Страница 30: ...were necessary for them to function properly and safely These can damage human health or the environment if disposed of improperly or incorrectly handled X X Never put your old appliance in domestic...
Страница 31: ...turer s warranty are O O BORA products that were not sold by authorised BORA dealers or from BORA trained salespeople O O Damage caused by non adherence to the operating instructions including product...
Страница 32: ...our apologies in this eventuality An updated version can be requested from the BORA Service Team Subject to printing errors and mistakes BORA Vertriebs GmbH Co KG All rights reserved AU NZ BORA APAC P...