Model No: KSX850
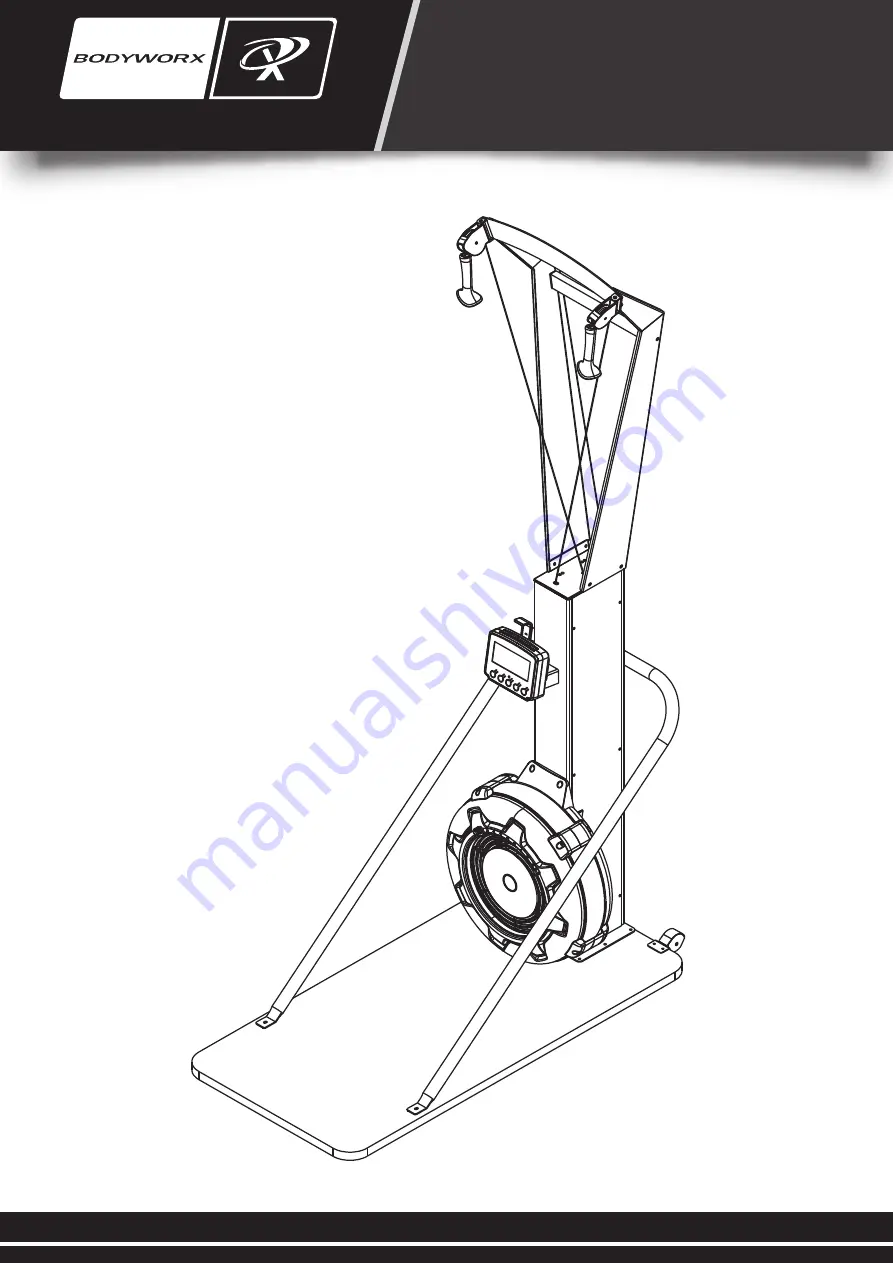
SKI TRAINER PRO
(FREE STANDING)
Retain this owner’s manual for future reference. Read and follow all instructions in this owner’s manual.
Страница 1: ...Model No KSX850 SKI TRAINER PRO FREE STANDING Retain this owner s manual for future reference Read and follow all instructions in this owner s manual...
Страница 2: ......
Страница 3: ...UCTIONS 4 SAFETY GUIDELINES 5 BEFORE YOU BEGIN 6 HARDWARE IDENTIFICATION CHART 7 8 ASSEMBLY INSTRUCTIONS 9 16 COMPUTER INSTRUCTIONS 17 21 OPERATIONAL INSTRUCTIONS 22 MAINTENANCE 23 STORAGE 24 PRODUCT...
Страница 4: ...ects into any opening in the equipment Always check the unit before each use Make sure that all fasteners are secure and in good working condition Do not use the equipment outdoors or near water Only...
Страница 5: ...s is especially important for individuals over the age of 35 or persons with pre existing health problems Always warm up before starting a workout Try to do a total body warm up before you start Maint...
Страница 6: ...a convenient and simple method to begin your journey of getting your body in shape and achieving a happier and healthier lifestyle Before reading further please review the drawing below and familiaris...
Страница 7: ...red from the top of the head to the end of the bolt or screw After unpacking the unit open the hardware bag and make sure that you have all the following fasteners Some fasteners may be already attach...
Страница 8: ...Screw ST8x50mm 4 53 Socket Head Cap Screw M8x35 mm 2 71 55 Flat Washer M8 Flat Washer 22x 9x2 0mm 2 4 Below chart include the EXTRA fasteners for Free Standing Style assembly Drawing of Parts Parts N...
Страница 9: ...4 and place it on the ground right next to Box 1 called Box A in the drawings and continue to take out Main Body 1 NOTE Fan Shrouds will be easily damaged if it faces down on the ground during the as...
Страница 10: ...and M8 Flat Washer 71 Then tighten all bolts STEP 3 Attach the Arm Connection Bracket 5 to Left and Right Upper Arms 2 3 using 2 PC of M8x15mm Socket Head Cap Screw 87 and 2 PC of M8 Flat Washer 71 T...
Страница 11: ...he Top Bracket 4 to Left and Right Upper Arms 2 3 using 4 PCs of M8x12mm Socket Head Cap Screw 86 and M8 Flat Washer 71 Then tighten all bolts NOTE Fully tighten bolts at end of above step 86 M8X12mm...
Страница 12: ...e Left and Right Upper Arms 2 3 using 2 PCs of M8x12mm Socket Head Cap Screw 86 and M8 Flat Washer 71 Then tighten all bolts NOTE Fully tighten bolts at end of this step STEP 6 Remove the clicker from...
Страница 13: ...ach the Console Monitor 14 to the console mounting bracket on Main Body 1 using 1 PC of M8x75mm Button Head Cap Screw 82 M8 Flat Washer 71 and M8 Nylon Nut 72 STEP 9 Connect Sensor Cable 17 into the b...
Страница 14: ...10 Attach the Main Body 1 to Wooden Base 18 using 4 PCs of M8x30mm Socket Head Screw 83 and M8 Flat Washer 71 NOTE Fully tighten bolts at end of this step 1 18 83 83 71 83 71 71 71 83 M8X30mm 4PCS 71...
Страница 15: ...he U bar Bracket 6 to Main Body 1 using 2 PCs of M8x50mm Button Head Cap Screw 84 M8 Arc washer 85 and 1 PC of U bar Bracket Cushion 42 NOTE Fully tighten bolts at end of this step 84 85 6 42 84 M8X50...
Страница 16: ...U bar Bracket 6 to Wooden Base 18 using M8x30mm Socket Head Screw 83 and M8 Flat Washer 71 Tighten all screws on the U bar Bracket 6 NOTE Fully tighten bolts at end of this step 83 M8X30mm 2PCS 71 M8...
Страница 17: ...mode POWER OFF In IDLE mode automatically shuts off after 20 seconds of inactivity When running an Interval Program automatically shuts off after 2 minutes of inactivity In all other programs automat...
Страница 18: ...e button to return to the previous program When you finish a running program press the button to jump into the IDLE mode ENTER STOP BUTTON When selecting the programs and presetting target values pres...
Страница 19: ...30MIN Display range 0 9999 meters It s accumulated in cycle mode that numbers go back to 0 if the distance exceeds 9999 meters The workout distance is accumulated when under any workout mode Display f...
Страница 20: ...e between programs Use UP and DOWN buttons to adjust the value and press ENTER STOP to confirm 2 DISTANCE Countdown PROGRAM During the workout the DISTANCE program will count down from preset value Th...
Страница 21: ...flashing 8 for presetting value of cycle Then user can user UP and DOWN buttons to input the value from 1 to 99 User will workout for 10 seconds and then rest for 20 seconds The program will start onc...
Страница 22: ...There are settings from 1 to 9 Setting 1 will provide the lowest resistance Setting 9 will provide the highest resistance USING THE CELL PHONE BRACKET The Cell Phone Bracket 15 can move up and down Mo...
Страница 23: ...3 Verify that all nuts and bolts are present and properly tightened Replace missing nuts and bolts Tighten loose nuts and bolts 4 Check the condition of the Drive Cord 52 Replace the Drive Cord 52 if...
Страница 24: ...batteries from the Console Monitor 14 before storing the AIR SKIER for one year or more 3 Move the AIR SKIER with the Transport Wheels 49 on the Wooden Base 18 Lift one end of Wooden Base 18 to move t...
Страница 25: ...6 71 3 29 74 30 75 13 29 74 30 75 13 79 29 74 30 75 13 29 74 30 75 13 73 40 48 27 28 48 64 75 73 40 48 27 48 75 64 28 1 5 87 87 71 71 79 79 79 79 79 10 82 71 72 14 41 68 68 81 68 68 81 15 79 10 80 80...
Страница 26: ...itor 1 15 Cell Phone Bracket 1 16 Generator 1 17 Sensor Cable 1 18 Wooden Base 1 19 Fan Axle 1 20 Bearing 6001RS 6 21 One Way Bearing HF1212 12t 2 22 Magnet 1 23 Balance Weight 3 24 Small Balance Weig...
Страница 27: ...1 62 Philips Head Screw M6x10mm 8 63 Lock Washer Internal Tooth M6 8 64 Flat Washer M6 4 65 Flat Washer 16x 6 2x1 5mm 1 66 Philips Head Screw M6x16mm 2 67 Cushion Nut M8 6 68 Philips Head Screw ST4 2x...
Страница 28: ...8x50mm 2 85 Arc washer M8 2 86 Socket Head Cap Screw M8x12mm 10 87 Socket Head Cap Screw M8x15mm 2 88 Wrench 1 89 Allen Wrench 6mm 1 90 Allen Wrench 5mm 1 91 EVA Single Glue 2 92 Rubber Cushion 2 93 P...
Страница 29: ...SKI TRAINER PRO FREE STANDING Model No KSX850 To register your warranty please go to www gpisports com au 275 Wellington Road Mulgrave VIC 3170 Australia DISTRIBUTED EXCLUSIVELY BY...
Страница 30: ...Model No KSX850 SKI TRAINER PRO WALL MOUNTING STYLE Retain this owner s manual for future reference Read and follow all instructions in this owner s manual...
Страница 31: ......
Страница 32: ...INSTRUCTIONS 4 SAFETY GUIDELINES 5 BEFORE YOU BEGIN 6 HARDWARE IDENTIFICATION CHART 7 8 ASSEMBLY INSTRUCTIONS 9 15 COMPUTER INSTRUCTIONS 16 20 OPERATIONAL INSTRUCTIONS 21 MAINTENANCE 22 PRODUCT PARTS...
Страница 33: ...ects into any opening in the equipment Always check the unit before each use Make sure that all fasteners are secure and in good working condition Do not use the equipment outdoors or near water Only...
Страница 34: ...s is especially important for individuals over the age of 35 or persons with pre existing health problems Always warm up before starting a workout Try to do a total body warm up before you start Maint...
Страница 35: ...rcise The AIR SKIER provides a convenient and simple method to begin your journey of getting your body in shape and achieving a happier and healthier lifestyle Before reading further please review the...
Страница 36: ...and screws are measured from the top of the head to the end of the bolt or screw After unpacking the unit open the hardware bag and make sure that you have all the following fasteners Some fasteners...
Страница 37: ...5 86 87 Socket Head Cap Screw M8x12 mm Socket Head Cap Screw M8x15 mm 10 2 71 55 Flat Washer M8 Flat Washer 22x 9x2 0mm 15 4 89 Allen Wrench 6mm 1 88 Wrench 13 15 1 8...
Страница 38: ...4 and place it on the ground right next to Box 1 called Box A in the drawings and continue to take out Main Body 1 NOTE Fan Shrouds will be easily damaged if it faces down on the ground during the as...
Страница 39: ...and M8 Flat Washer 71 Then tighten all bolts STEP 3 Attach the Arm Connection Bracket 5 to Left and Right Upper Arms 2 3 using 2 PC of M8x15mm Socket Head Cap Screw 87 and 2 PC of M8 Flat Washer 71 T...
Страница 40: ...he Top Bracket 4 to Left and Right Upper Arms 2 3 using 4 PCs of M8x12mm Socket Head Cap Screw 86 and M8 Flat Washer 71 Then tighten all bolts NOTE Fully tighten bolts at end of above step 86 M8X12mm...
Страница 41: ...e Left and Right Upper Arms 2 3 using 2 PCs of M8x12mm Socket Head Cap Screw 86 and M8 Flat Washer 71 Then tighten all bolts NOTE Fully tighten bolts at end of this step STEP 6 Remove the clicker from...
Страница 42: ...the Console Monitor 14 to the console mounting bracket on Main Body 1 using 1 PC of M8x75mm Button Head Cap Screw 82 M8 Flat Washer 71 and M8 Nylon Nut 72 STEP 9 Connect Sensor Cable 17 into the back...
Страница 43: ...e Left Upper Arm 2 Attach the Upper Wall Mounting Bracket 9 on Left Upper Arm 2 using the same screw and washer 87 71 STEP 12 Remove 1 PC of M8x15mm Socket Head Cap Screw 87 and M8 Flat Washer 71 on t...
Страница 44: ...he positioning marks STEP 14 Attach and tighten the assembly to the solid wall using 4 PCs of ST8x50mm Socket Head Cap Screw 54 and Flat Washer 22x 9x2 0mm 55 NOTE Fully tighten bolts at end of this s...
Страница 45: ...mode POWER OFF In IDLE mode automatically shuts off after 20 seconds of inactivity When running an Interval Program automatically shuts off after 2 minutes of inactivity In all other programs automat...
Страница 46: ...e button to return to the previous program When you finish a running program press the button to jump into the IDLE mode ENTER STOP BUTTON When selecting the programs and presetting target values pres...
Страница 47: ...30MIN Display range 0 9999 meters It s accumulated in cycle mode that numbers go back to 0 if the distance exceeds 9999 meters The workout distance is accumulated when under any workout mode Display f...
Страница 48: ...e between programs Use UP and DOWN buttons to adjust the value and press ENTER STOP to confirm 2 DISTANCE Countdown PROGRAM During the workout the DISTANCE program will count down from preset value Th...
Страница 49: ...flashing 8 for presetting value of cycle Then user can user UP and DOWN buttons to input the value from 1 to 99 User will workout for 10 seconds and then rest for 20 seconds The program will start onc...
Страница 50: ...There are settings from 1 to 9 Setting 1 will provide the lowest resistance Setting 9 will provide the highest resistance USING THE CELL PHONE BRACKET The Cell Phone Bracket 15 can move up and down Mo...
Страница 51: ...3 Verify that all nuts and bolts are present and properly tightened Replace missing nuts and bolts Tighten loose nuts and bolts 4 Check the condition of the Drive Cord 52 Replace the Drive Cord 52 if...
Страница 52: ...6 71 3 29 74 30 75 13 29 74 30 75 13 79 29 74 30 75 13 29 74 30 75 13 73 40 48 27 28 48 64 75 73 40 48 27 48 75 64 28 1 5 87 87 71 71 79 79 79 79 79 10 82 71 72 14 41 68 68 81 68 68 81 15 79 10 80 80...
Страница 53: ...nitor 1 15 Cell Phone Bracket 1 16 Generator 1 17 Sensor Cable 1 19 Fan Axle 1 20 Bearing 6001RS 6 21 One Way Bearing HF1212 12t 2 22 Magnet 1 23 Balance Weight 3 24 Small Balance Weight 2 25 Cord Pul...
Страница 54: ...62 Philips Head Screw M6x10mm 8 63 Lock Washer Internal Tooth M6 8 64 Flat Washer M6 4 65 Flat Washer 16x 6 2x1 5mm 1 66 Philips Head Screw M6x16mm 2 68 Philips Head Screw ST4 2x16mm 4 71 Flat Washer...
Страница 55: ...23 91 EVA Single Glue 2 92 Rubber Cushion 2 93 Philips Head Screw M5x8mm 2 94 Socket Head Cap Screw M4x12mm 3 26...
Страница 56: ...SKI TRAINER PRO WALL MOUNTING STYLE Model No KSX850 To register your warranty please go to www gpisports com au 275 Wellington Road Mulgrave VIC 3170 Australia DISTRIBUTED EXCLUSIVELY BY 27...