Keyboard Layout
: Sets the keyboard layout.
Mode-Adaptive Keyboard
: Changes keyboard layout when you
change transportation modes.
Device and Privacy Settings
To open the Device settings page, from the main menu, select
Settings
>
Device
.
About
: Displays the software version number, the unit ID
number, and information on several other software features.
EULAs
: Displays the end-user license agreements that apply to
your choice.
NOTE:
You need this information when you update the
system software or purchase additional map data.
Travel History
: Allows the device to record information for the
myTrends, Where I’ve Been, and Trip Log features.
Clear Travel History
: Clears your travel history for the
myTrends, Where I’ve Been, and Trip Log features.
Proximity Alerts Settings
NOTE:
You must have custom points of interest (POIs) loaded
for proximity points alerts to display.
Select
Settings
>
Proximity Alerts
.
Audio
: Sets the style of alert that plays when you approach
proximity points.
Alerts
: Sets the type of proximity points for which alerts are
played.
Restoring Settings
You can restore a category of settings or all settings to the
factory default values.
1
Select
Settings
.
2
If necessary, select a settings category.
3
Select >
Restore
.
Appendix
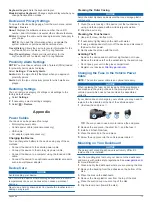
Power Cables
Your device can be powered four ways.
• Motorcycle power cable
• Vehicle power cable (optional accessory)
• USB cable
• AC adapter (optional accessory)
Charging the Device
You can charge the battery in the device using any of these
methods:
• Connect the device to the vehicle power cable.
• Connect the device to the motorcycle power cable.
• Connect the device to a computer using the included USB
cable.
• Connect the device to an optional power adapter accessory,
such as a wall power adapter.
Device Care
NOTICE
Avoid dropping your device.
Do not store the device where prolonged exposure to extreme
temperatures can occur, because it can cause permanent
damage.
Never use a hard or sharp object to operate the touchscreen, or
damage may result.
Cleaning the Outer Casing
NOTICE
Avoid chemical cleaners and solvents that can damage plastic
components.
1
Clean the outer casing of the device (not the touchscreen)
using a cloth dampened with a mild detergent solution.
2
Wipe the device dry.
Cleaning the Touchscreen
1
Use a soft, clean, lint-free cloth.
2
If necessary, lightly dampen the cloth with water.
3
If using a dampened cloth, turn off the device and disconnect
the device from power.
4
Gently wipe the screen with the cloth.
Avoiding Theft
• Remove the device and mount from sight when not in use.
• Remove the residue left on the windshield by the suction cup.
• Do not keep your unit in the glove compartment.
• Register your device at
.
Changing the Fuse in the Vehicle Power
Cable
NOTE:
The vehicle power cable is an optional accessory.
NOTICE
When replacing the fuse, do not lose any of the small pieces
and make sure they are put back in the proper position. The
vehicle power cable does not work unless it is assembled
correctly.
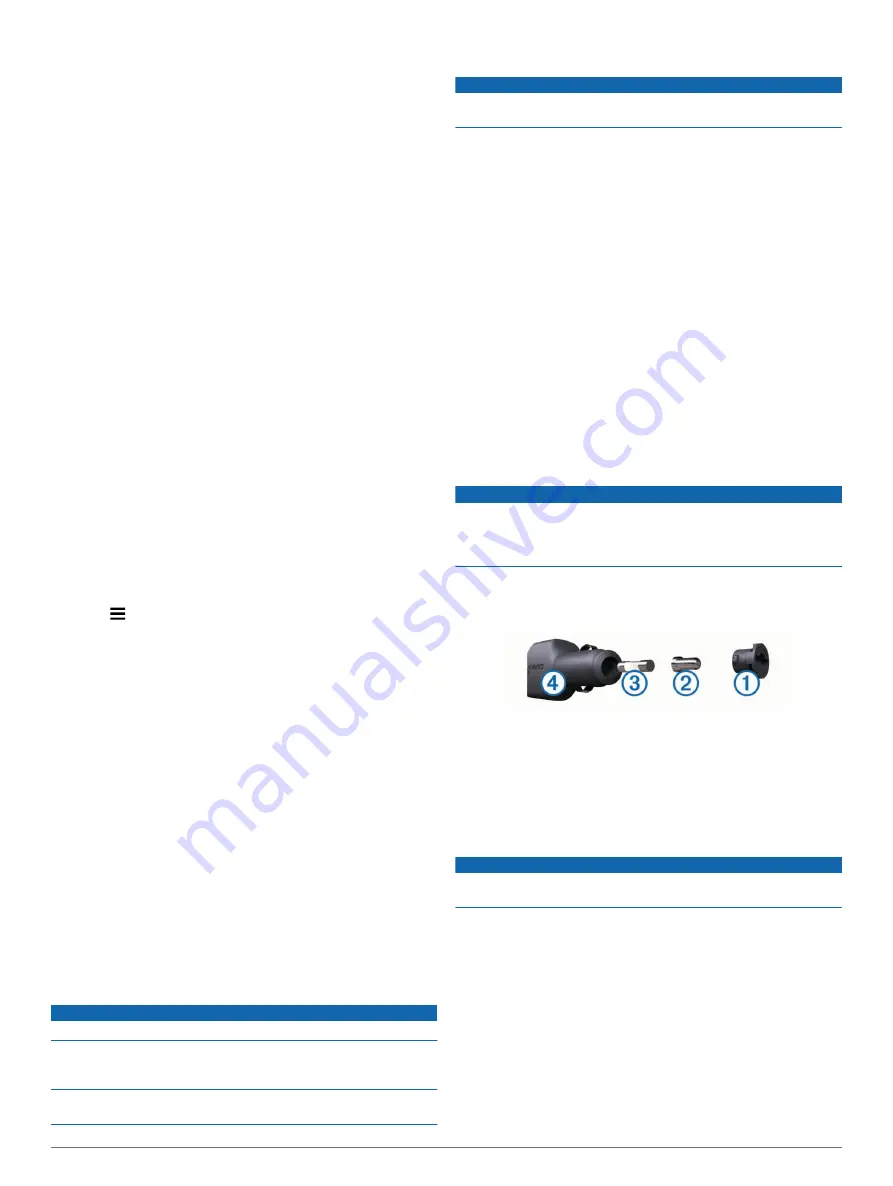
If your device does not charge in your vehicle, you may need to
replace the fuse located at the tip of the vehicle adapter.
1
Unscrew the end piece
À
.
TIP:
You may need to use a coin to remove the end piece.
2
Remove the end piece, the silver tip
Á
, and the fuse
Â
.
3
Install a 2 A fast-blow fuse.
4
Place the silver tip in the end piece.
5
Screw the end piece into the vehicle power cable
Ã
.
Mounting on Your Dashboard
NOTICE
The permanent mounting adhesive is extremely difficult to
remove after it is installed.
Use the mounting disk to mount your device to the dashboard
and comply with certain state regulations. See
for more information.
1
Clean and dry the dashboard where you are placing the disk.
2
Remove the backing from the adhesive on the bottom of the
disk.
3
Place the disk on the dashboard.
4
Remove the clear plastic cover from the top of the disk.
5
Place the suction cup mount on top of the disk.
6
Flip the lever down (toward the disk).
Appendix
13


