background image

Meet your new BISSELL product!

Go to 

support.BISSELL.com

 for a comprehensive walkthrough 

of your new purchase, including videos, tips, support, and more. 
Want to get started right away? This guide has all the information 
you need to set up your new product. Let’s take a look…

1. Upper Handle
2. Spray Trigger
3. Mode Button
4. Power Button
5. Carry Handle
6. Digital Display

7. Clean Out Cycle Button
8. Clean Water Tank
9. Dirty Water Tank
10. Brush Roll Window

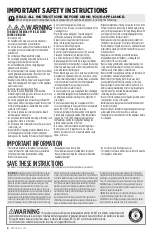
Important Safety Instructions .. 2
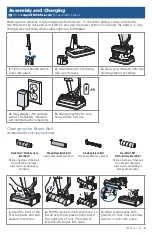
Assembly and Charging ............. 3
Connecting to the BISSELL 

Connect App .................................. 4
Filling the Clean Water Tank ..... 4
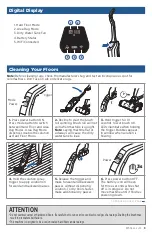
Digital Display ................................ 5

Cleaning Your Floors ................... 5
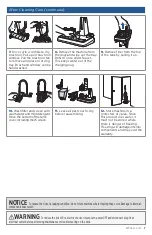
After-Cleaning Care ..................... 6
Troubleshooting ............................ 8
Warranty .......................................... 8

CROSSWAVE® CORDLESS

 (MAX, PREMIER)

ALL-IN-ONE MULTI-SURFACE CLEANER

2554, 2597 SERIES

1

6

7

2
3
4

5

8

9

10

Product Overview

What’s In The Box?

Standard accessories may vary by model.

Handle 

& Body

Brush 

Roll(s)

Trial 

Formula(s)

Brush Roll 

Drying Tray

Docking 

Station

Содержание CROSSWAVE 2554 Series

Страница 1: ...7 Clean Out Cycle Button 8 Clean Water Tank 9 Dirty Water Tank 10 Brush Roll Window Important Safety Instructions 2 Assembly and Charging 3 Connecting to the BISSELL Connect App 4 Filling the Clean W...

Страница 2: ...yoftheproductismaintained DonotturnONyourapplianceuntilyouarefamiliarwith allinstructionsandoperatingprocedures Riskofinjuryfrommovingparts Brushmaystart unexpectedly TurnOFFbeforecleaningorservicing...

Страница 3: ...to support BISSELL com for assembly videos Changing the Brush Roll Included brush rolls vary by model FreshStart Multi Surface Brush Roll Maintain freshness of the brush roll while removing tough sti...

Страница 4: ...a rugs or carpet 1 Hold the groove at the top of the tank and pivot it backwards 2 Unscrew the cap from the clean water tank 3 Choose your formula Scan the QR code with your smartphone camera or visit...

Страница 5: ...g the trigger Bubbles appear in window when solution is flowing Power 4 Hold the solution spray trigger to apply solution on forward and backward passes 5 Release the trigger and make forward and back...

Страница 6: ...ess the Clean Out Cycle Button to start the 40 second cycle Note If the battery runs out the Clean Out Cycle cannot run until your machine is docked for 30 seconds WARNING To reduce the risk of fire e...

Страница 7: ...ttom of the tank cover including mesh screen 11 Leave all parts out to dry before reassembling 12 Store machine in a protected dry area Since this product uses water it must not be stored where there...

Страница 8: ...sses without dispensing solution Loss of suction power Brush roll window is not latched in place Reinstall brush roll window Debris channel in foot is clogged Clean the channel with a paper towel Filt...

Отзывы: