Glide V2 Assembly Instructions
Level the unit
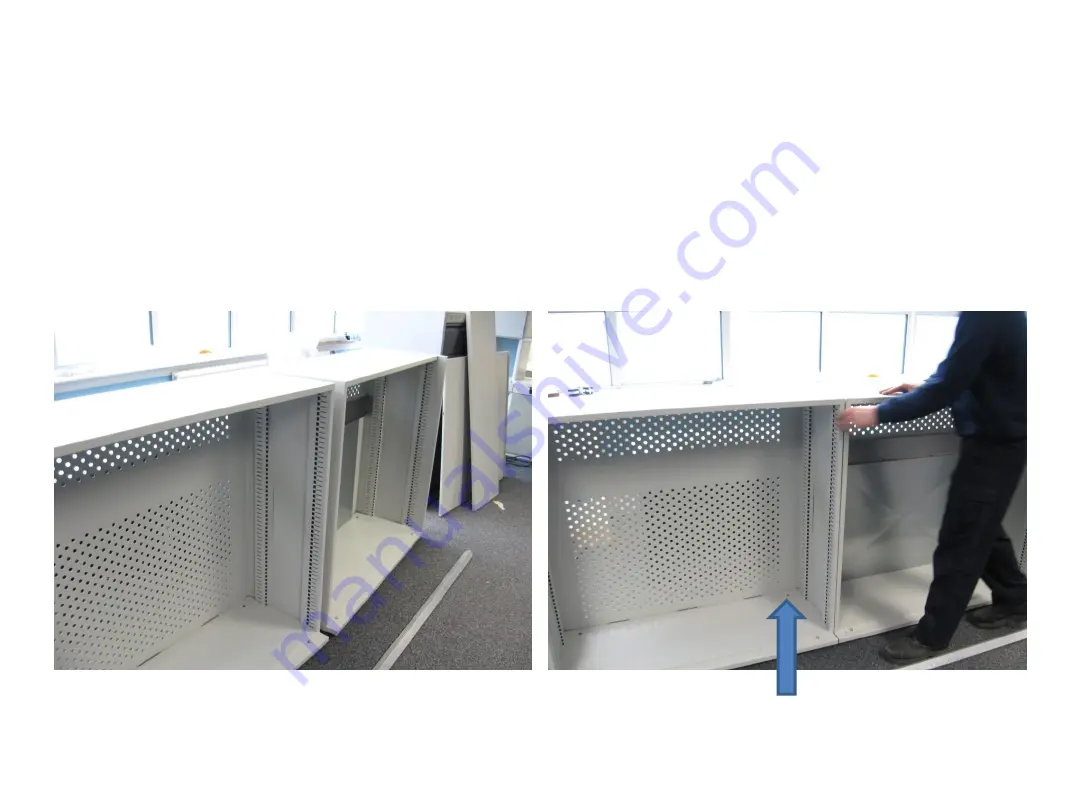
One Left and one Right handed unit. Place inner sides together matching front and tops and level units using adjustable feet
Страница 1: ...Glide V2 Assembly Instructions Level the unit One Left and one Right handed unit Place inner sides together matching front and tops and level units using adjustable feet...
Страница 2: ...Glide V2 Assembly Instructions Fitting the top Screw 2x No 8 Dome head screws into the holes at each corner Place the over sailing top assembly across the two cabinets...
Страница 3: ...Glide V2 Assembly Instructions Fitting the top With the Aluminium track at the front Locate the keyhole cut outs over the screws Lower the top and push it back flush with the front as far as it goes...
Страница 4: ...Glide V2 Assembly Instructions Fitting the top M6 x 14mm Pan head screws Fix top down with screws Fit hanging rails at same time using these fixings not shown...
Страница 5: ...Glide V2 Assembly Instructions Fitting the top Use all screws provided in both carcases...
Страница 6: ...Glide V2 Assembly Instructions Fitting bottom plinth rail Place the rail at an angle to the front edge of the carcase base line up the ob round cut outs to the screw threads and press home...
Страница 7: ...Glide V2 Assembly Instructions Fitting Bottom Plinth Rail Use supplied No 8 x 3 8 pan head screws Screw in securely in pre drilled positions...
Страница 8: ...Glide V2 Assembly Instructions Fitting Base Channel Cover Fit supplied Base Channel Covers to sit over the screw heads covers are handed...
Страница 9: ...V2 Assembly Instructions Fitting Doors Check there is 2x top running gear in the outer top channel and 2x in the inner channel The Outer door LH has a lock fixed in the right hand edge opposite the h...
Страница 10: ...nstructions Fitting Doors Fit the Inner Door RH first place the base sliders into the rear bottom channel Top running gear has spring clips to the sides so will snap fit when located correctly into th...
Страница 11: ...Glide V2 Assembly Instructions Fitting Doors Tighten off the centre screws in the upper running gear Fit the Outer Door in the same way locating the bottom running rear into the front channel...
Страница 12: ...Glide V2 Assembly Instructions Fitting Door Stop Bracket Door Stop Bracket Screw into position with 2x screws supplied...
Страница 13: ...Height at which door can run can be adjusted by turning this screw Glide V2 Assembly Instructions Door Adjustment...
Страница 14: ...Glide V2 Assembly Instructions Door Adjustment Soft Closing can be adjusted by the repositioning of this component within the top track using an Allen key to loosen the grub screw...
Страница 15: ...Glide V2 Assembly Instructions Finished Unit...