


Chapter 7 Creating Experiments and Workspaces
To remove a gate limit
1.
Point to a plot or histogram that contains the gated region(s).
The plot and histogram toolbar appears.
2.
Click Assign Gate Limit Regions.
3.
In the Available Gate Limit Regions area that appears, clear the checkbox for each region from
which to remove a gate.
4.
Point outside the plot or histogram to save your changes.
The gate symbol is removed from the region(s) and the gate limit no longer applies.
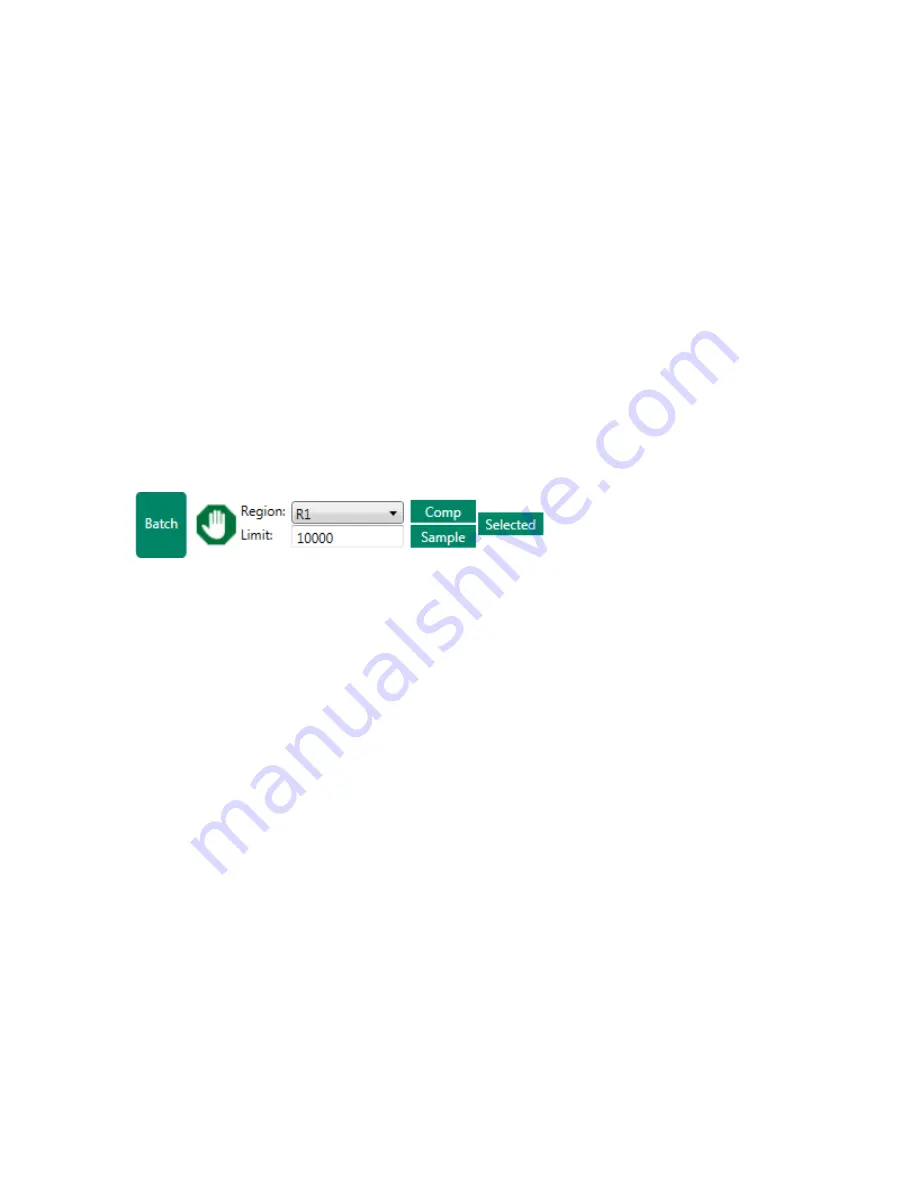
Tip:
You can also assign gate limits using the Batch section of the toolbar in the Settings window.
This applies the specified limit to the specified gate in Setup positions (compensation controls),
Sample positions, or selected positions.
For more information on using this tool, see
Creating Plots for the Experimental Sample on page 366
Assigning Data Track Regions
You can use data track regions to monitor for clogs or sample disturbances during acquisition. When
you assign data tracking to a region in a density plot, you specify a target percentage. During
acquisition, if the percentage of events drops below the target, acquisition pauses and you are notified
so that you can determine what might be causing unexpected results. Data tracking is especially
useful in high-throughput sampling mode.
Note:
When assigning data tracking to quadrant regions, wait until the experiment has been
applied to the workspace.
To assign data tracking to a region
1.
Point to a density plot that contains the region where you want to use data tracking.
The plot and histogram toolbar appears.
2.
Click Assign Data Track Regions.
3.
In the Available Track Region area that appears, select the region where in which to track data.
242 | ZE5 Cell Analyzer and Everest Software
Содержание ZE5
Страница 1: ...ZE5 Cell Analyzer and Everest Software User Guide Version 2 0 ...
Страница 2: ......
Страница 3: ...ZE5 Cell Analyzer and Everest Software User Guide Software Version 2 0 ...
Страница 14: ...Table of Contents xii ZE5 Cell Analyzer and Everest Software ...
Страница 50: ...Chapter 2 Hardware Description 48 ZE5 Cell Analyzer and Everest Software ...
Страница 82: ...Chapter 4 Everest Software 80 ZE5 Cell Analyzer and Everest Software ...
Страница 84: ...Chapter 4 Everest Software 82 ZE5 Cell Analyzer and Everest Software ...
Страница 92: ...Chapter 4 Everest Software 90 ZE5 Cell Analyzer and Everest Software ...
Страница 104: ...Chapter 4 Everest Software 102 ZE5 Cell Analyzer and Everest Software ...
Страница 109: ...Managing Users 9 Click OK to save the new user account User Guide 107 ...
Страница 120: ...Chapter 5 Configuring the System 118 ZE5 Cell Analyzer and Everest Software ...
Страница 125: ...Working with Optical Filter Configurations User Guide 123 ...
Страница 126: ...Chapter 5 Configuring the System 124 ZE5 Cell Analyzer and Everest Software ...
Страница 173: ...Setting Up the Run List The plate setup displays a layout of the selected media User Guide 171 ...
Страница 177: ...Setting Up the Run List User Guide 175 ...
Страница 191: ...Setting Up the Run List User Guide 189 ...
Страница 276: ...Chapter 7 Creating Experiments and Workspaces 274 ZE5 Cell Analyzer and Everest Software ...
Страница 295: ...Setting Up the Experiment 6 Set up samples User Guide 293 ...
Страница 333: ...Decontaminating the System User Guide 331 ...
Страница 380: ...Appendix B Example 9 Color Immunophenotyping Experiment 378 ZE5 Cell Analyzer and Everest Software ...
Страница 384: ...Appendix C Optional External DI Water and Waste Ports 382 ZE5 Cell Analyzer and Everest Software ...
Страница 392: ...Appendix F References 390 ZE5 Cell Analyzer and Everest Software ...
Страница 397: ......


