62
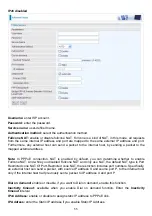
IPv6 disabled
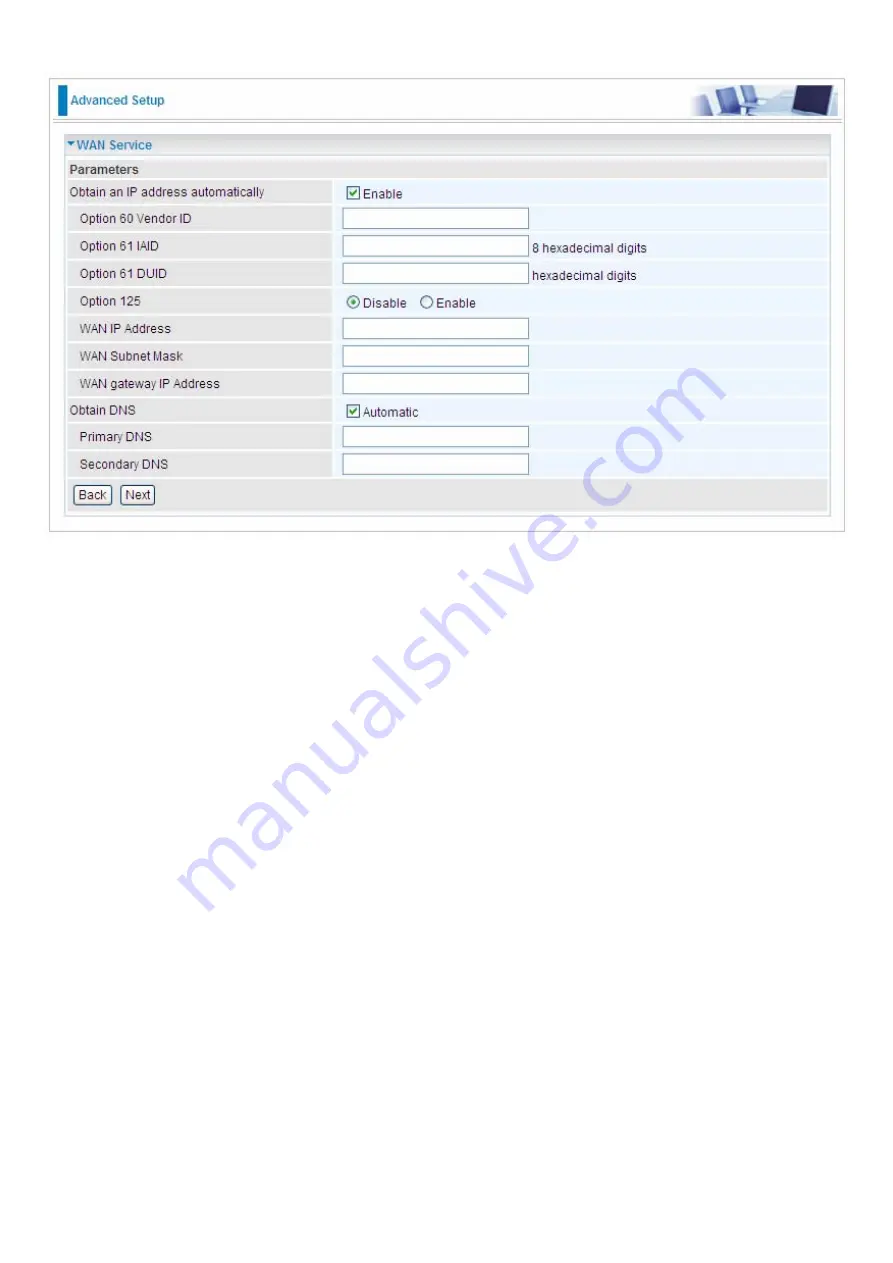
Here two modes are supported for users to deal with the IP and DNS. You can select obtain
automatically or manually input the information according to your ISP.
Obtain an IP address automatically:
check whether to enable this function.
Option 60 Vendor ID:
Enter the associated information by your ISP. This option is used by DHCP
clients to optionally identify the vendor type and configuration of a DHCP client. The information is a
string of n octets, interpreted by servers. Vendors may choose to define specific vendor class
identifiers to convey particular configuration or other identification information about a client.
Option 61 IAID:
Enter the associated information provided by your ISP. You should input 8
hexadecimal numbers.
Option 61 DUID:
Enter the associated information provided by your ISP. You should input
hexadecimal number(s).
Option 125:
Option 125 is a complementary standard of DHCP protocol, it is used to encapsulate
option 125 message into DHCP offer packet before forward it to clients. After the clients receive the
packet, it check the option 125 field in the packet with the prestored message, if it is matched, then
the client accepts this offer, otherwise it will be abandoned. Check Enable or Disable this function.
Default setting is Disable.
WAN IP Address:
Enter your IP address to the device provided by your ISP. If Fixed IP Address is
selected in the IPv4 Protocol field, default value 0.0.0.0 will display in this field.
WAN Subnet Mask:
Enter your submask to the device provided by your ISP.
WAN gateway IP Address:
Enter your gateway IP address to the device provided by your ISP.
Obtain DNS:
check whether to enable obtain DNS function.
Primary/Secondary DNS:
enter the primay/secondary DNS address when you uncheck Obtain
DNS checkbox.
Note:
If you don’t know well about the DHCP Option, you can leave it empty or leave it as default.
Содержание BiPAC 7800NEXL
Страница 6: ...3 Firmware Upgradeable Device can be upgraded to the latest firmware through the WEB based GUI ...
Страница 12: ...9 Important note for using this router ...
Страница 17: ...14 Connecting Your Router Users can connect the ADSL2 router as the following ...
Страница 57: ...54 The device summary information ...
Страница 64: ...61 Click Next to check the settings If you confirm click Apply to submit the settings ...
Страница 67: ...64 Click Next to go on to check the settings Click Apply to apply your settings ...
Страница 69: ...66 IPv6 disabled Click Apply to apply your settings ...


