manualshive.com logo in svg
background image

ADM2003W/Z/R

Handleiding 3-in-1 snackmaker

Gebrauchsanweisung 3-in-1 snackmaker

Mode d’emploi multi-gril 3 en 1

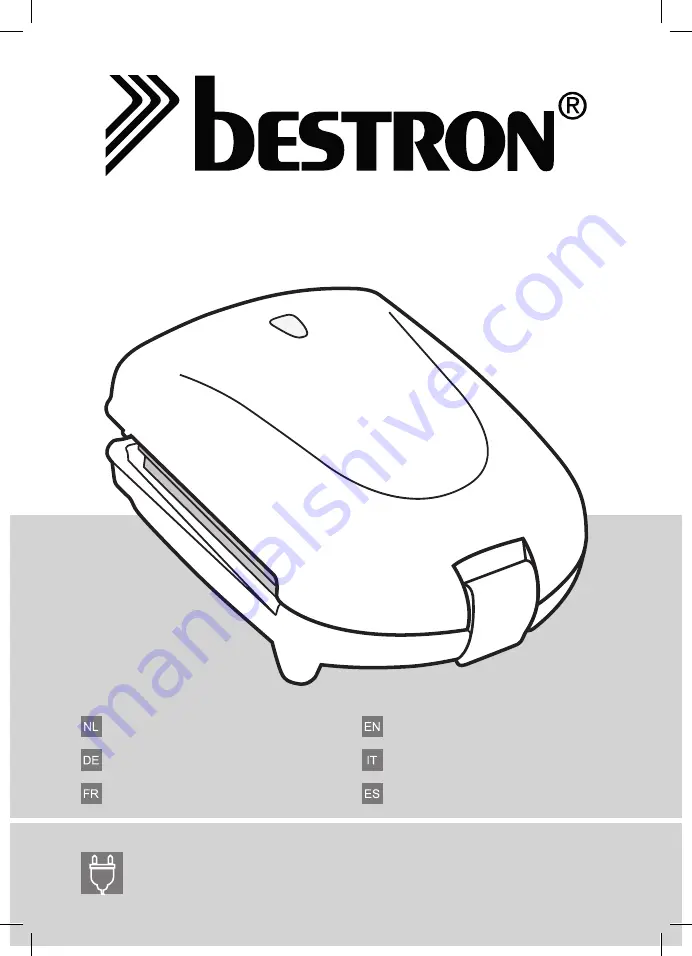
Instruction manual 3-in-1 snack maker

Istruzioni per l’uso multi-griglia 3 in 1

Manual del usuario multi-parrilla 3 en 1

520W, 220-240V ~ 50/60Hz

v 230316-09

Содержание ADM2003R

Страница 1: ...nackmaker Gebrauchsanweisung 3 in 1 snackmaker Mode d emploi multi gril 3 en 1 Instruction manual 3 in 1 snack maker Istruzioni per l uso multi griglia 3 in 1 Manual del usuario multi parrilla 3 en 1...

Страница 2: ...raat voordat u het apparaat gebruikt Controleer of de contactdoos waarop u het apparaat aansluit geaard is Haal altijd de stekker uit het stopcontact wanneer u het apparaat niet gebruikt Als u de stek...

Страница 3: ...m altijd de handgreep om het deksel te openen en te sluiten Gebruik het apparaat niet in de nabijheid van een vogelkooi Bij het verwarmen van de anti aanbaklaag op de bakplaten kan een stof vrijkomen...

Страница 4: ...ti van de bakplaat en plaats hem op een bord De tosti is heet Als u het apparaat niet kunt sluiten en niet kunt vergrendelen is de tosti te dik belegd Probeer niet met kracht het apparaat te sluiten m...

Страница 5: ...nt bij u in de buurt Garantiebepalingen De importeur geeft onder de volgende voorwaarden 60 maanden na aankoopdatum garantie op deze apparatuur tegen defecten die zijn ontstaan door fabricage en of ma...

Страница 6: ...zij zullen u vertellen hoe u het apparaat moet inpakken en verzenden 11 Het apparaat is niet voor professioneel gebruik geschikt Service Mocht zich onverhoopt een storing voordoen dan kunt u zich in...

Страница 7: ...Kochplatten oder offenem Feuer in Ber hrung kommen Sorgen Sie daf r dass das Ger t das Kabel und der Stecker nicht mit Wasser in Ber hrung kommen Sicherheitsvorschriften Elektrizit t und W rme Bestim...

Страница 8: ...ei der Benutzung St rungen auftreten Sie das Ger t reinigen oder es nicht mehr benutzen Lassen Sie das Ger t bei der Benutzung niemals unbeaufsichtigt Verschieben Sie das Ger t keinesfalls in eingesch...

Страница 9: ...platte 5 Setzen Sie die R nder der Backplatte in die Aussparungen an der Innenseite des Ger ts ein Dr cken Sie die Backplatte vorsichtig an bis diese einrastet 6 Wiederholen Sie Schritt 3 bis 5 f r di...

Страница 10: ...te und legen Sie es auf einen Teller Das Grillgut ist hei Verwenden Sie nie Metallspatel Messer oder Gabeln Diese besch digen die Antihaftschicht Reinigung und Wartung Reinigen Sie das Ger t nach jede...

Страница 11: ...Auf diese Garantiebestimmungen kann kein Anspruch erhoben werden im Falle von a Verlusten die w hrend des Transports auftreten b Entfernung oder nderung der Ger teseriennummer 8 Ausgenommen von der G...

Страница 12: ...que la tension du r seau correspond la tension du r seau indiqu e sur la plaquette type de l appareil Assurez vous que la prise sur laquelle vous branchez l appareil est raccord e la terre D branchez...

Страница 13: ...e ni s il est encore chaud Coupez au pr alable l alimentation de l appareil N utilisez pas d ustensiles ac r s sur la plaque Ceci peut endommager le rev tement antiadh sif Certaines parties de cet app...

Страница 14: ...e pour pouvoir retirer la plaque de cuisson 4 Choisissez une autre plaque 5 Placez les languettes de la plaque dans les encoches l int rieur de l appareil Enfoncez doucement la plaque jusqu au d clic...

Страница 15: ...spatule m talliques de couteau ou de fourchette Ceci peut endommager le rev tement antiadh sif Nettoyage et entretien Nettoyez les plaques de cuisson chaque fois que vous les avez utilis es 1 D branc...

Страница 16: ...ection et l emballage appropri s 7 Les pr sentes conditions de garantie ne peuvent pas tre invoqu es dans les cas suivants a pertes survenues pendant le transport b effacement ou modification du num r...

Страница 17: ...ed on the type plate on the appliance before use Make sure that you always use an earthed wall socket to connect the appliance Always remove the plug from the socket when the appliance is not in use R...

Страница 18: ...switched on or is still hot Switch off the appliance before moving it Do not use sharp implements on the griddle plate these will damage the non stick coating Parts of the appliance will become hot du...

Страница 19: ...lates 4 Take a different baking plate 5 Place the lips of the baking plate into the openings inside the appliance Carefully push the baking plate until it clicks into place 6 Repeat steps 3 to 5 for t...

Страница 20: ...r fork These will damage the non stick coating Cleaning and maintenance 1 Remove the plug from the wall socket and allow the appliance to cool down completely 2 The baking plates can be cleaned with h...

Страница 21: ...d parties f Careless transport i e without suitable packaging materials or protection 7 No claims may be made under this warranty for a Losses incurred during transport b The removal or changing of th...

Страница 22: ...indicata sulla targhetta identificativa dell apparecchio Verificare che la presa cui si collega l apparecchio sia provvista di messa a terra Disinserire sempre la spina dalla presa quando l apparecch...

Страница 23: ...ilizzare oggetti taglienti o acuminati sulla piastra di cottura onde evitare di danneggiare il rivestimento antiaderente Durante l utilizzo alcune parti dell apparecchio sono soggette a surriscaldamen...

Страница 24: ...co per rimuovere la piastra di cottura 4 Prendere un altra piastra di cottura 5 Inserire i fermi sporgenti 2 presenti della piastra di cottura negli appositi spazi che si trovano all interno dell appa...

Страница 25: ...in metallo onde evitare di danneggiare il rivestimento antiaderente Pulizia e manutenzione Detergere la piastre di cottura dopo ogni utilizzo 1 Estrarre la spina dalla presa e lasciare raffreddare com...

Страница 26: ...f trasporto eseguito in modo improprio privo dell imballaggio o delle protezioni idonee 7 Le presenti condizioni di garanzia non si applicano inoltre in caso di a perdite che si verificano durante il...

Страница 27: ...que la toma de pared a la que va a conectar el aparato tenga conexi n a tierra Retire siempre el enchufe de la toma de alimentaci n cuando no est utilizando el aparato Al retirar el enchufe de la tom...

Страница 28: ...pague primero el aparato No use ning n accesorio con filo para dar vuelta a los alimentos en la plancha de asado stos da an la capa antiadherente Algunas partes del aparato se calientan demasiado dura...

Страница 29: ...parato 3 Deslice hacia un lado el bot n negro que viene en la empu adura para retirar la plancha de asado 4 Tome otra plancha de asado 5 Coloque las pesta as de la plancha de asado en los orificios qu...

Страница 30: ...n un plato Los alimentos est n calientes No use nunca esp tulas cuchillos o tenedores met licos stos da an la capa antiadherente Limpieza y mantenimiento 1 Retire el enchufe de la fuente de alimentaci...

Страница 31: ...in el embalaje o protecci n adecuados 7 No podr apelarse a estas disposiciones de garant a en los siguientes casos a p rdida ocurrida durante el transporte b remoci n o modificaci n del n mero de seri...

Страница 32: ......

Отзывы: