2009 BERNINA
®
of America, Inc DL Page 1 of 3
DesignerPlus V6 - Carving Stamps
Open a New File
•
Select
File/New
or click on the New File icon.
•
Right click on
Show Hoop.
•
Make sure Display Hoops is checked and select
artista
400 x
150 Mega—Auto Split Machines.
Draw the rectangles
•
Select C42 from the Color Bar.
•
Select the Rectangle tool and draw a rectangle by clicking in the
upper left hand corner and dragging to the lower right hand cor-
ner.
•
Press
Escape.
•
Select the rectangle and open
Object Properties
. Click on the
General tab. Make sure
Proportional Scaling
is turned off.
•
Change the width of the rectangle to 70 mm and the height to
85 mm. Click
OK.
•
Quick Clone (right click and drag on the object) to make a copy
of the rectangle. Move the copy in a below the first rectangle.
•
Clone the second rectangle; position below the second object.
•
Select
File/Save As.
•
Navigate to the folder in which the file will be stores. Name the
file Carving Stamps. Click
Save
.
Using an Object for a Stamp
•
Select
File/Insert Design
.
•
Navigate to My Computer/C: My Designs Embroidery Software
6. Select the Animal folder. Open the folder.
•
Select FB 253-48. Open the file.
•
Decrease the size of the dragonfly by clicking and dragging on
one of the corner black sizing handles. Move it away from the
rectangles.
Note: Decrease th object so that it will fit within the rectangle, or
use the stamp so that only part of the object stamps the back-
ground.
•
Open the
Carving Stamp
dialog box.
•
Click on the
Use Object Tab
.
•
Click on the
Start Selecting
button and use one of the selection
tools to select the dragonfly. The dragonfly will appear in the
Use Object
window. Press Esc.
•
Select one of the rectangles.
Click on Use Stamp—the outline
of the stamp is visible.
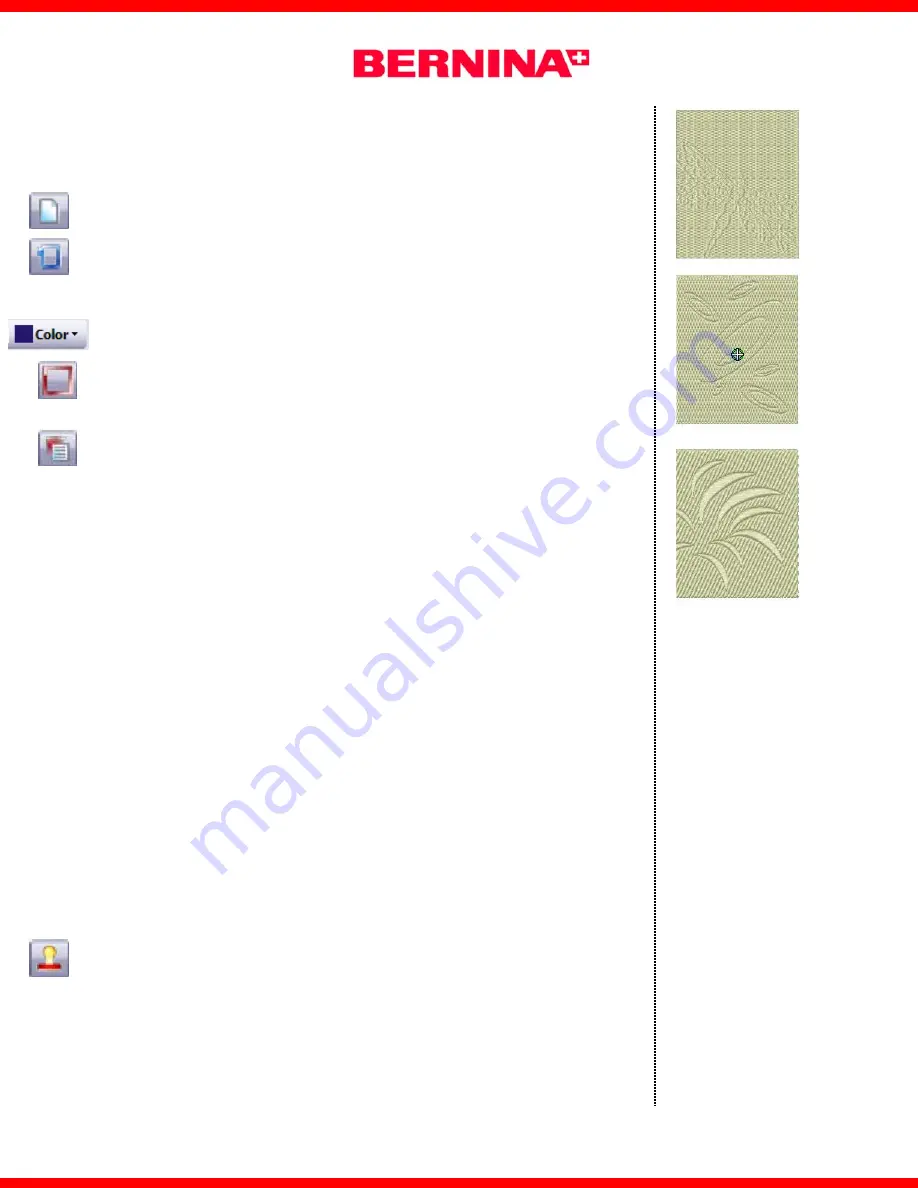
Notes:
Carving stamp defines a pat-
tern of needle penetrations in
a fill. There are three different
ways to stamp— use a de-
sign, use a built-in stamp, or
create a custom stamp.
Any of the selection tools be
used to select the object that
will be used as a stamp.
Select part of the object by
drawing the bounding box
around part of the design or
by using Polygon Select
(remember to first ungroup).
Add stamps to selected back-
ground objects or choose to
not pre-select an object and
add the stamp to other ob-
jects.
Follow the prompts on the
lower left corner of the screen
for information on setting the
stamps.


