Wa ter C o n t ro l S o lu t io n s
Installation & Operation Manual
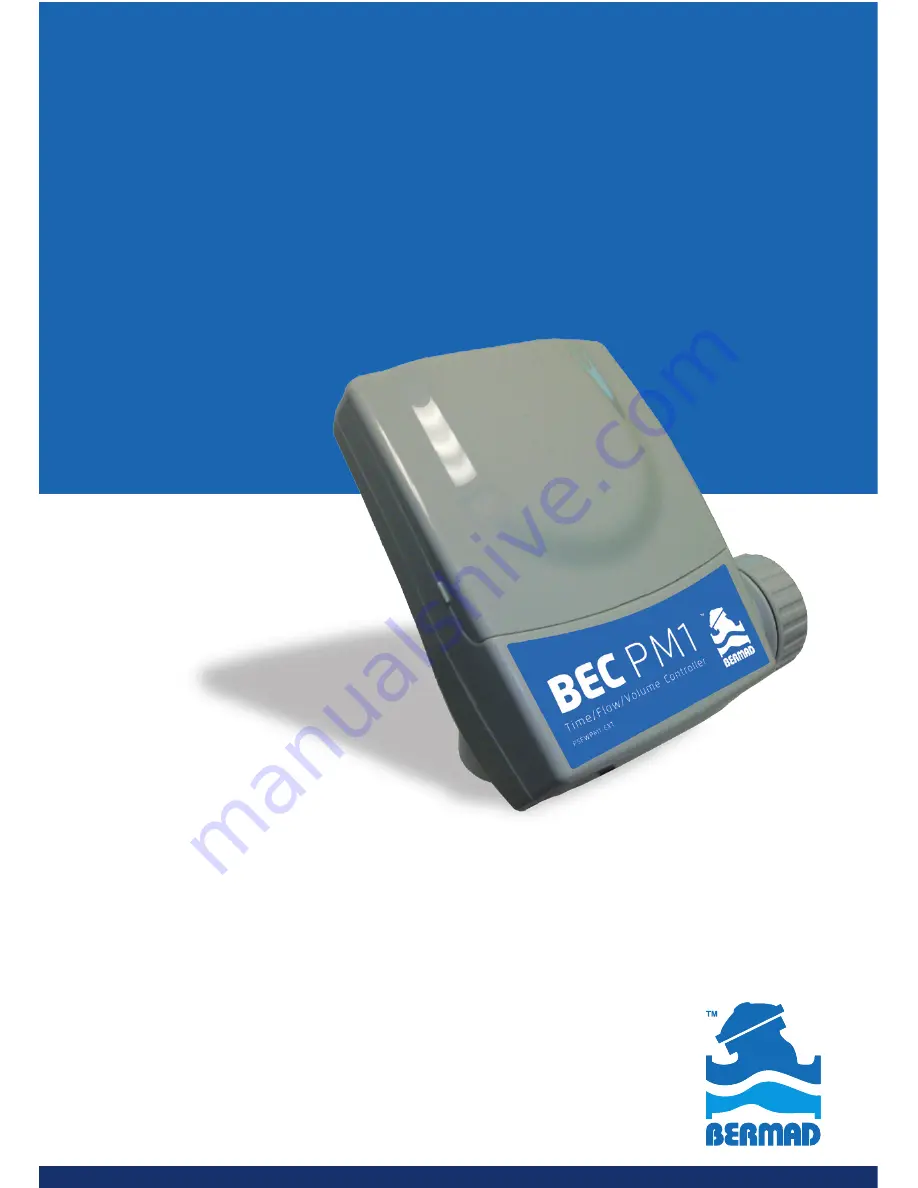
BEC
PM1
Controller
Time/Flow/Volume Controller
Страница 1: ...Water Control Solutions Installation Operation Manual BEC PM1 Controller Time Flow Volume Controller...
Страница 2: ...Wiring Table 7 Switching the Controller s Operation Modes 8 Chapter 2 Pressure Management according to Flow rate Application 9 Background 9 The Control Panel Display Icons 10 Programming Steps 11 Bas...
Страница 3: ...lication Settings 20 Chapter 5 On Off Irrigation Application 26 Display Icons 26 Programming Steps 27 Basic Settings 27 Irrigation Program Settings 29 Volumetric Irrigation Program Parameters 30 Irrig...
Страница 4: ...the chapter related to your specific application Pressure Management Applications Optimizing water supply and reducing non revenue water by using the BEC PM1 controller is done by connecting it to BE...
Страница 5: ...ds refreshing reservoirs and other such On Off applications Please refer to chapter 4 if your specific application in of an On Off type Chapter 5 Irrigation Control The BEC PM1 controller can be used...
Страница 6: ...ttings screen Under normal use the battery should last for at least one season Hydrometer or Water Meter BERMAD s 900 series Hydrometer or a water meter with dry contact pulse output is used in applic...
Страница 7: ...le Water meter RED Connect one of the water meter s pulse wires to one of the controller s RED wires There is no polarity significance in this connection RED Connect the other water meter s pulse wire...
Страница 8: ...buttons simultaneously for 5 second the system displays the mode name and starts switching to the Pr mode Continue pressing the buttons for additional 3 seconds until the software version appears on s...
Страница 9: ...e crossing of the set point is not a temporary pressure fluctuation If by the end of the delay counting the flow rate reading remains beyond the set point the solenoid state changes There are two dela...
Страница 10: ...by Flow Pr and Pressure Management by Time Irr Applications Display Icons The following icons may appear on the screen during programming or operation modes Pressure Management by Flow Description Ic...
Страница 11: ...hour The factory default value is 50 pulses per hour Press the button to move to the next screen Setting the Low to High flow stabilization delay timer Upon entering to this screen the display shows t...
Страница 12: ...er title Use the or the buttons to set the required delay time parameter which is used for verifying that the change from High flow to Low flow is stable Please note The timer values range between 0 a...
Страница 13: ...the automatic Pressure Management operation is active The Display shows the current reading of the system s flow rate The Up arrow indicates that the current flow rate is higher than the SET POINT fl...
Страница 14: ...or programming step SHIFT button Used to sequentially change the focus between the items of the current screen PLUSE ON button Used to increase numeric data set on operation days and start manual ope...
Страница 15: ...gramming or operation modes High Flow seconds Setting Mode Operation Days Set Time Time Mode Manual Operation Volumetric Mode Uncontrolled Water Meter minutes Operation Time Station Number 1 Automatic...
Страница 16: ...nnected solenoid type is checked by the controller it must be a DC latch solenoid 2 Clock Mode Press the bbutton and set the system clock to 12 or 24 hour clock Factory default 24h 3 Time Volume Opera...
Страница 17: ...ird setting screen is used for setting the system time and day of the week System Time Use the and the buttons to set the system time Hold the button pressed to quickly advance the digits Press both b...
Страница 18: ...gher demand for water is detected such as in case of fire The following chapter describes the programming steps required for setting up this application Programming the Pressure Management by Time Int...
Страница 19: ...digit 1 in it and the icon Use the buttons to set the required operation time 8 00 hours in our example Press the button to move to the next programming screen which is the Operation Days screen 2 Ope...
Страница 20: ...g of the systems dead ends of pipes for refreshing the water supply BERMAD s control valves equipped with BEC PM1 controllers can be installed in these systems BERMAD s Dead end Pipes Purging Applicat...
Страница 21: ...triangle with the digit 1 in it and the icon Use the and the buttons to set the required operation time 00 05 minutes in our example Press the button to move to the next programming screen which is t...
Страница 22: ...es in our example Press the button to move to the next programming screen which is the Operation Days screen 2 Operation Interval On the days of the week screen press the button 7 times for skipping t...
Страница 23: ...BERMAD control valve and to a water meter The BEC PM1 controller should be also set to volumetric operation which can be done only at the initial setup process of the controller when power is connecte...
Страница 24: ...s to set the required T O R parameter Press the button to move to the next water meter setup parameter Fill Up Time F U T indicated by the on screen icon This parameter defines the time it takes to fi...
Страница 25: ...particular day as an operation day the cursor advances to the next day In our example set Monday and Friday for operation Press the button to move to the next programming screen which is the Start Ti...
Страница 26: ...de Rain OFF No Watering static Watering Volume Volumetric Mode Stopped by Rain Sensor Watering Time High Flow seconds Operation Days Uncontrolled Water Meter Operation minutes Manual Operation Station...
Страница 27: ...Basic Settings First Basic Settings Screen The basic controller setting should be done once the controller is wired to the system and the power is connected or after a total reset operation is perform...
Страница 28: ...tion mode Select between TIME and Volume and note the icons change according to your selection The selected method indication time volume is shown on the controller s operational screens Press the but...
Страница 29: ...e days of the week and set the current day Press the button to exit the basic settings screens and move to the Irrigation programming screens Irrigation Program Settings General Notes Each irrigation...
Страница 30: ...s parameter a High Flow indication is presented by the controller and the irrigation stops Use the and buttons in order to set the H F R value Press the button in order to move to the T O R setting Se...
Страница 31: ...the button Press the button in order to move to next settings screen Irrigation Program Common Parameters Used for all Irrigation Modes Watering by Time Volume NOTE It is necessary to set the Time Vol...
Страница 32: ...rease the cycle by a day Note that the cycle interval range is between 1 to 30 days On the right side of the screen the cycle length is shown and the remaining days till the next irrigation day are sh...
Страница 33: ...ns to the AUTO screen after 3 minutes with no activity on the MANUAL screen Press the button in order to move to the AUTO screen Auto Mode Auto screen When no button is pressed in the controller s key...
Страница 34: ...een During active alert the controller displays the alert type message As long as the alert is active the message is Sticky on the screen foreground Blinking icons are shown when trying to leave the s...
Страница 35: ...1 The valve s number icon is lit Timer Override AL tr All Valves Automatically canceled at midnight Buttons Buttons Combination Function Remarks Short press Go to Next Screen Cyclic Activity 2 sec pre...
Страница 36: ...ication and its remaining operation time or volume During a fault or malfunction mode the relevant fault message overrides the AUTO screen data see the Fault Messages Table on page To cancel the fault...
Страница 37: ...onds The icon appears Use the and the buttons to start or stop the operation of the valve Please note that when manually started the valve operates for the duration of its programmed operation time or...
Страница 38: ...com Copyright 2007 2012 BERMAD CS Ltd All Rights Reserved The information contained in this document is subject to change without notice BERMAD shall not be liable for any errors contained herein PIE...