Basic operations
24
Initial setup
After you have connected the display to the power, you are ready to power on the
display. The first time you power on the display, you will be guided through a series of
setup screens. Follow the on-screen instructions or the steps below to start up your
display and complete the initial setup.
1. Turn on the display. Wait for the display to boot up with the BenQ screen. This may
take a moment.
2. Click
Next
on the screen to begin. Follow the on-screen instructions to set up the
language, date and time, and network. Or your can skip some of these steps and
complete the setup later.
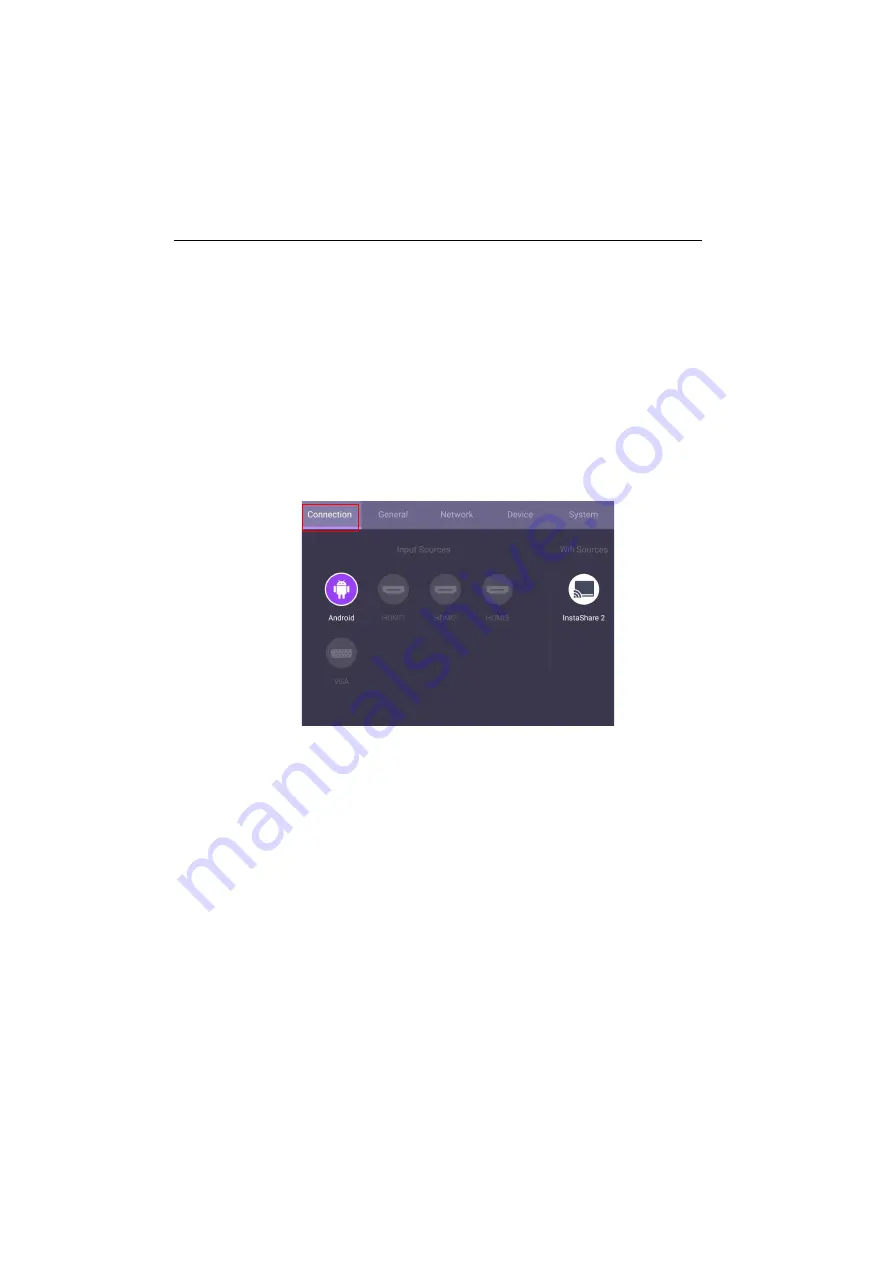
OSD Setting
• Use your mouse or cursor to control the mouse pointer.
• Under
Connection
, you can select a desired input source and adjust backlight. Refer
to
Содержание CS6501
Страница 1: ...CS6501 CS7501 CS8601 LCD Monitor User Manual...
Страница 43: ...Menu operations 43 Enter the proxy host name Enter the using channel...
Страница 71: ...Working with Android OS 71 3 Select the external source or switch source...
Страница 72: ...Apps 72 4 You can save the current screen image as an image file...
Страница 73: ...Working with Android OS 73 5 You can also capture the current screen image and import the image to EZWrite 5 0...
Страница 75: ...Working with Android OS 75 4 Click to unpair the displays Remote link transfer files 1 Open DuoBoard from APPs...
Страница 77: ...Working with Android OS 77 5 Click to unpair the displays...
Страница 83: ...Product information 83 Dimensions CS6501 Unit mm 287 1 287 1 7 9 5 23 1 1 23 1 1 7 9 5 028176 5 7 5 37 0...
Страница 84: ...Product information 84 Dimensions CS7501 Unit mm 287 1 23 1 1 7 9 5 7 9 5 23 1 1 287 1 02817 6 5 7 5 37 0...
Страница 85: ...Product information 85 Dimensions CS8601 Unit mm 287 1 23 1 1 7 9 5 7 9 5 23 1 1 287 1 028176 5 7 5 37 0...


