47
How to adjust your monitor
Adjusting display mode
To display images of aspect ratio other than 16:9 and size other than the panel size of your
purchased model, you can adjust the display mode on the monitor.
1. Press any of the control keys to bring up the hot key menu. Select
(
Menu
) to access
the main menu.
2. Go to
Display
and
Aspect Ratio
.
3. Select an appropriate display mode. The setting will take effect immediately.
Choosing an appropriate picture mode
Your monitor provides various picture modes that are suitable for different types of images.
See
for all the available picture modes.
Go to
Color Adjustment
and
Color Mode
for a desired picture mode.
Video source selection in PIP/PBP mode
Your monitor scans for the available video sources in the following order: HDMI, DP, and
USB-C™, and displays the first available one. This video source will become the main source in
PIP/PBP mode. You will need to decide the second source for PIP/PBP mode from the menu in
. Menu options that are not available will become grayed out.
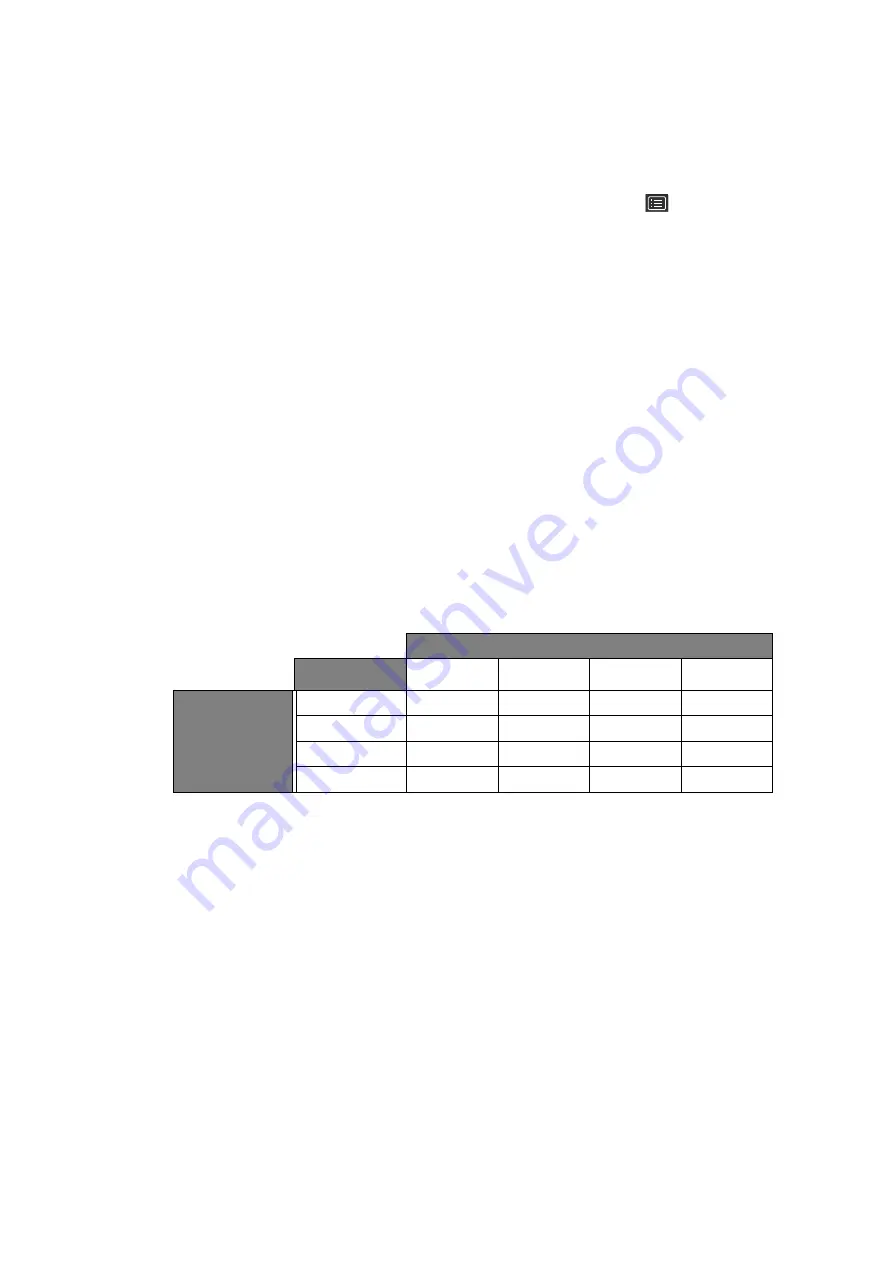
Refer to the following table to find your main source and its supporting second sources.
Minimizing the color difference between the screen and the
hardcopy (Paper Color Sync)
Your monitor features Paper Color Sync technology that helps minimize the color difference
between the monitor and the hardcopy printed by the connected printer. Once the printing
result is predictable on the screen, you can retouch the image efficiently.
No additional software is required if you are working exactly with the following:
• Printer: Canon PIXMA PRO-10
• Paper: Canon Photo Paper Pro Lustor
• Color gamut of the image to be printed: sRGB (the information is usually available in the
image properties)
1. Make sure the specified printer, paper, and the images are ready.
If you cannot meet the above requirements, you will need the software solution P
aper
Possible second sources
Inputs
HDMI-1
HDMI-2
DP
USB-C™
Main source
HDMI-1
V
V
V
V
HDMI-2
V
V
V
V
DP
V
V
V
V
USB-C™
V
V
V
V


