background image

OPERATION INSTRUCTIONS 

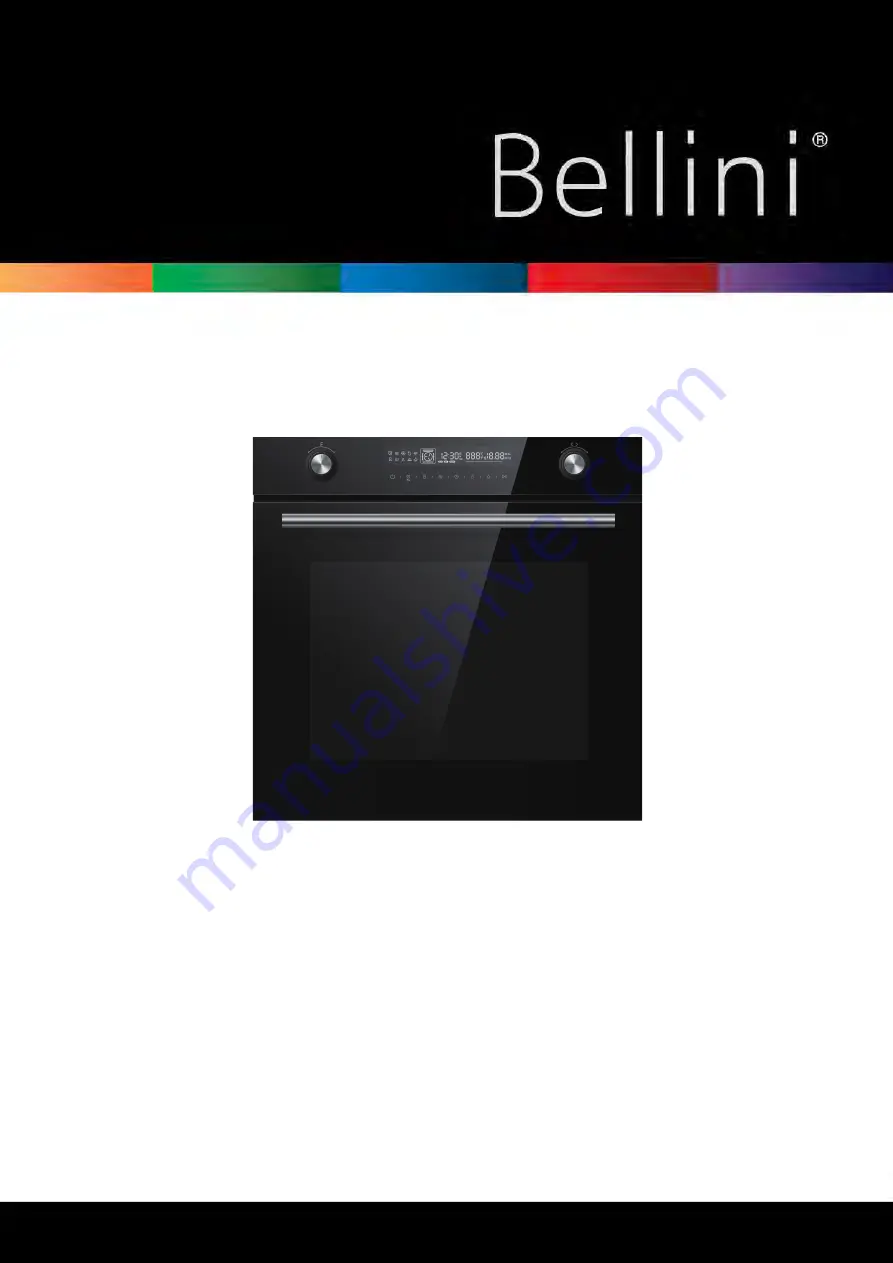
Built-in Electric Oven 

Model No. 

B

OM

6

13

G

V

6


Feb

 2022

GSM Retail Australia Pty Ltd ABN: 53 007 582 475   

For Warranty and technical queries: 1300 373 199 Aust OR 0800 764 912 NZ


www.belliniappliances.com.au 

Model: 

B

OM613G


Fineline:

 Built-in Electric Oven

Содержание BOM613G

Страница 1: ...ctric Oven Model No BOM613G V6 Feb 2022 GSM Retail Australia Pty Ltd ABN 53 007 582 475 For Warranty and technical queries 1300 373 199 Aust OR 0800 764 912 NZ www belliniappliances com au Model BOM61...

Страница 2: ...llini appliances carry a 3 year In Home warranty be sure to retain your installation and user manual and receipt For all warranty and technical queries please phone 1300 373 199 GSM Retail Australia P...

Страница 3: ...912 NZ www belliniappliances com au Model BOM613G Fineline Built in Electric Oven SAFETY INSTRUCTIONS INSTALLATION OPERATING THE APPLIANCE BEFORE USING THE APPLIANCE 6 7 8 9 TYPES OF HEATING 11 USING...

Страница 4: ...at a safe distance from the appliance and power cable Please always slide accessories into the cavity the right way round Incorrect repairs are dangerous Repairs may only be carried out and damaged p...

Страница 5: ...a long time it is advised to plug it off Safety Instructions FITTING THE OVEN INTO THE KITCHEN UNIT Fit the oven into the space provided in the kitchen unit it may be fitted underneath a work top or i...

Страница 6: ...the appliance The dimensions attached are in mm It is necessary to have the plug accessible or incorporate a switch in the xed wiring in order to disconnect the appliance from the supply after instal...

Страница 7: ...d off oven Use timer function use child proof lock with 3s press Set an end time to the cooking duration Use this to have a quick preheat Set a duration time then select function set clock in standby...

Страница 8: ...en door closed 7 Keep the kitchen highly ventilated while the appliance is heating up first time Keep children and pets out of the kitchen during this time Close the door to the adjacent rooms 8 Adjus...

Страница 9: ...om the heating elements evenly around the cavity Radiant Heat 150 250 For grilling small amounts of food and for browning food Please put the food in the center part under the grill heating element Do...

Страница 10: ...off as required The hot air escapes above the door 1 2 3 To defrost big portions of food it is possible to remove the side racks and place the container on the cavity floor To warming tableware it is...

Страница 11: ...o so unless you are well experienced on cooking 1 2 3 Change during cooking During the period of appliance operating you can change the heating type setting and temperature setting by oven function or...

Страница 12: ...en the oven is work or not Give a long press for 3 seconds you can switch on and off the childproof lock When the childproof is on there will be a in the status bar Caution After the appliance switche...

Страница 13: ...Accessories included Your appliance is equipped with the following accessories Accessory Name Picture Quantity Baking tray 1 Grill rack 2 Screws ST4x30 and Distant holder 13 1 Grill rack 2...

Страница 14: ...you always insert the accessories into the cavity the right way round Always insert the accessories fully into the cavity so that they do not touch the appliance door 3 2 5 4 3 2 1 4 1 Secure the ove...

Страница 15: ...f it is not required 6 If necessary put the food into the oven immediately after reaching the temperature indicated by switching off the indicator light the first time 7 Do not use reflective foil lik...

Страница 16: ...e for protect your new appliance against damages during transport The materials used are selected carefully and should be recycled Recycling reduces the use of raw materials and waste Electrical and e...

Страница 17: ...and albumin e g egg white immediately Corrosion can form under such flecks Special stainless steel cleaning products suitable for hot surfaces are available from our after sales service or from speci...

Страница 18: ...serve the manufacturer s instructions Do not use stainless steel care products Remove the door cover for cleaning Accessories Hot soapy water Soak and clean with a dish cloth or brush If there are hea...

Страница 19: ...nware for roasting e g a roasting dish With good care and cleaning your appliance will retain its appearance and remain fully functional for a long time to come This will tell you how to remove the ap...

Страница 20: ...the cavity Ensure that the hinges are inserted into the correct position You must be able to insert them easily and without resistance If you can feel any resistance check that the hinges are inserted...

Страница 21: ...ove Press on the right and left side of the cover Remove the cover After removing the door cover that rest parts of the appliance door can be easily taken off so that you can go on with the cleaning W...

Страница 22: ...mmend you not to remove the door cover unless the appliance door removed Damage caused by incorrect operation is not covered under warranty Rails When you want have a good cleaning for the rails and c...

Страница 23: ...circuit breaker in the fuse box Check whether the kitchen light or other kitchen appliances are working Knobs have been acci dentally disengaged Knobs can be removed Simply place knobs back in their...

Страница 24: ...Fan does not work all the time in the mode Fan Heating This is a normal operation due to the best possible heat distribution and best possible performance of the oven After a cooking process a noise c...

Страница 25: ...e cavity If the cavity lamp fails it must be replaced Heat resistant 25 watt 230 V halogen lamps are available from the after sales service or specialist retailers When handling the halogen lamp use a...

Страница 26: ...cations as a result of some defect in materials components or workmanship Defect then the Company will at its option repair the Bellini product or supply a replacement Bellini product free of charge A...

Страница 27: ...and is otherwise undamaged the Company will repair or replace the Bellini product in accordance with thiswarranty DO NOT SEND IN THIS WARRANTY Fill out the following details and file with your purcha...

Страница 28: ......

Отзывы: