2.1
You will be prompted to remove the CD
and insert your Card. To do so, remove
the software CD from the CD-ROM drive
then insert the Card, label side UP, into
your computer’s CardBus slot firmly until it
stops. Click “OK” to continue.
IMPORTANT:
Install the software before inserting
the Card.
Note:
If the Belkin Setup Utility screen does not appear
within 20 seconds, access your CD-ROM by
double-clicking on the “My Computer” icon
and double-click on the CD-ROM drive that the
installation CD has been placed in. Double-click
on the folder named “files” then double-click on
the icon named “setup.exe”.
Make sure you have
the following:
System Requirements
PC-compatible computer with:
CD-ROM drive
One available CardBus slot
Windows
®
98SE, Me, 2000, or XP
Start Quick Setup
Make sure you have the following
1
1.
Install
2.
Insert
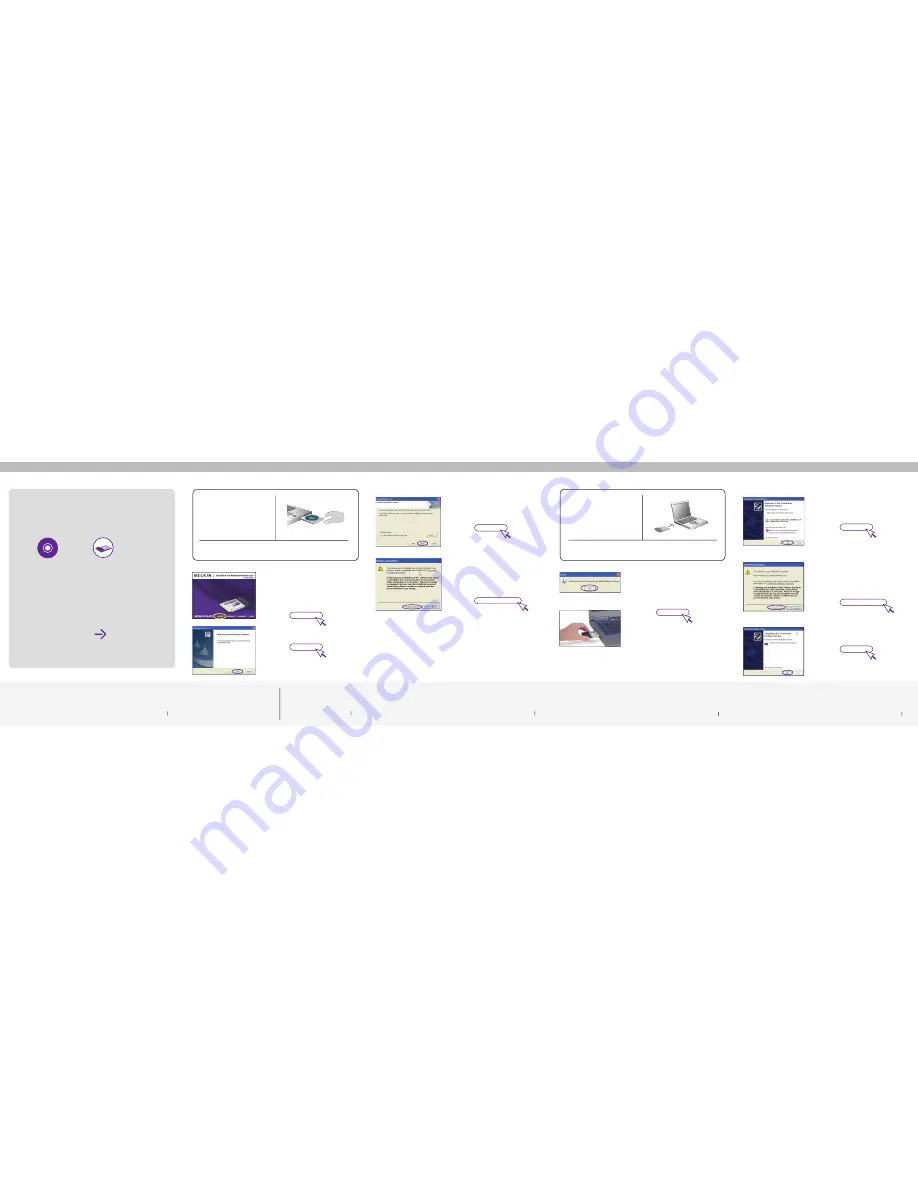
Insert the Card into your computer.
1.1
Insert the Installation Software CD into your
CD-ROM drive.
1.2
The Belkin Setup Utility screen will
automatically appear. (This may take
15-20 seconds). Click “install” to start
the installation.
1.3
Click “Next” to install the software.
Insert
4
Install
3
Install
2
1.4
Choose an installation location, then click
“Next” to accept the default location or
click “Browse” to select a different location
before clicking “Next”.
1.5
You might see a screen similar to this one.
This DOES NOT mean there is a problem.
Our software has been fully tested and is
compatible with this operating system.
Select “Continue Anyway” and follow the
on-screen instructions.
Next
(click)
OK
(click)
Dual-Band Wireless A+G
Notebook Network Card
Installation
Software CD
Continue Anyway
(click)
2.2
The Found New Hardware Wizard will
appear. (This may take 15-20 seconds).
Select “Install the software automatically”
and click “Next” to install the hardware.
2.3
You might see a screen similar to this one.
This DOES NOT mean there is a problem.
Our hardware has been fully tested and
is compatible with this operating system.
Select “Continue Anyway” and follow the
on-screen instructions.
2.4
The installation is now complete.
Click “Finish” to exit.
Insert
5
Next
(click)
Install
(click)
Next
(click)
Continue Anyway
(click)
Finish
(click)


