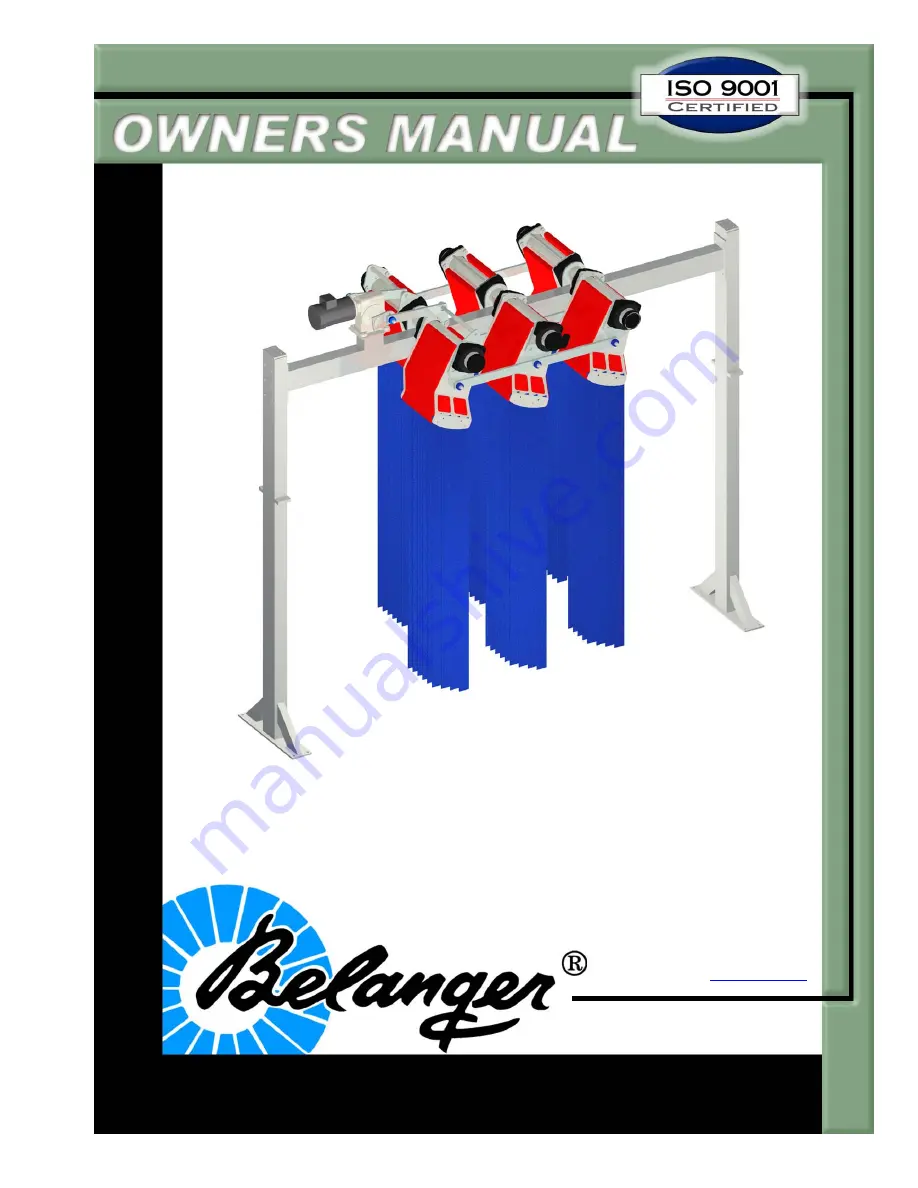
Wave Across™
1MANUL850
REV 14
Belanger, Inc.
P.O. Box 5470
Northville, MI 48167-5470
Customer Service Phone (248) 374-4700
Fax (248) 380-9681
www.belangerinc.com
Страница 1: ...Wave Across 1MANUL850 REV 14 Belanger Inc P O Box 5470 Northville MI 48167 5470 Customer Service Phone 248 374 4700 Fax 248 380 9681 www belangerinc com ...
Страница 2: ......
Страница 3: ...panying equipment are protected by United States and International copyright and patent laws You may make one copy of this manual Do not make additional copies of this manual or electronically transmit it in any form whatsoever in whole or in part without the prior written permission of Belanger Inc ...
Страница 4: ......
Страница 5: ...ions 8 Requirements 8 Output 8 Dimensions 9 Installation 10 Frame Assembly 10 Tunnel Placement 11 Utilities 12 Cloth 14 Maintenance 19 Routine Procedures 19 Special Attention Items 20 Exploded Parts View 21 Upper Frame Assembly 21 Water Manifolds 21 Rack Assembly 22 Drive Arm Assemblies 22 Drive Rack Assembly 1 of 2 identical assemblies 23 Follower Rack Assembly 1 of 2 identical assemblies 23 Stud...
Страница 6: ... with Belanger equipment will void the warranty Hydrofluoric Acid Ammonium Bi flouride Bromic Acid Muriatic Acid Sulfonic Acid Phosphoric Acid Hydrogen Cyanide Hydrochloric Acid Sodium Hydroxide and Chlorinated Solvents 5 Seller makes no warranty express or implied with respect to the design or operation of any entire system in which Seller s goods sold hereunder are mere components 6 In no event ...
Страница 7: ...d Warranty of the Belanger Terms and Conditions of Sales describes the potential limitation of warranty due to your chemical selection 4 This warranty shall be void for all equipment failures and premature component wear caused by the use of corrosive chemicals in the wash process The following list includes some but not all of the particularly corrosive chemicals that if used in conjunction with ...
Страница 8: ... in this manual and on warning labels tell you the seriousness of particular safety hazards The precautions that follow must be followed to prevent death injury or damage to the equipment DANGER This signal word is used to alert you to a hazard or unsafe practice which WILL RESULT IN DEATH OR SERIOUS INJURY This alerts you to a hazard or unsafe practice which COULD RESULT IN DEATH OR SERIOUS INJUR...
Страница 9: ...Doing so will prevent unexpected energization startup or release of hazardous energy while maintenance and servicing activities are being performed BE SURE TO OBSERVE OPERATING ENVELOPE EQUIPMENT MAY START UNEXPECTICALLY OVERHEAD ROTATING AND OR MOVING COMPONENTS COULD RESULT IN SERIOUS INJURY OR DEATH BE AWARE OF FOREIGN OBJECTS IN THE AREA SURROUNDING A ROTATING PIECE OF EQUIPMENT OBJECTS MAY BE...
Страница 10: ...ntact your local distributor for details The purpose of this manual is to familiarize you with the way that the Wave Across is installed The Installation section will be used in conjunction with the location diagram and the Wave Across drawings All of these combined are your guides to installation The Maintenance section will be used to make sure you can keep your car wash component looking and fu...
Страница 11: ... glasses Pry bar Work gloves Level Miscellaneous hand tools Ladder Tin snips Equipment included Qty Head assembly 1 Support legs 3 Accessory box 1 Cloth 1 complete set Note Uncrate and inspect shipment for damage and to verify that all pieces are there If there is any damaged equipment file a claim with the trucking company immediately Receiving party is responsible for filing claim with trucking ...
Страница 12: ...ION Always wear safety glasses when performing maintenance on any equipment CAUTION It is recommended that a licensed electrician is contracted to perform all electrical installations CAUTION A compressed Air System should be set correctly to support 90 PSI necessary to operate equipment but should never be set to deliver more than 120 PSI air pressure to the Belanger specified equipment Note YOUR...
Страница 13: ...001 Doheny Ct Northville MI 48167 Ph 248 349 7010 Fax 248 380 9681 9 Specifications Dimensions Operating envelope when followed by rinse Standard envelope The 126 dimension is taken from the floor to the top of the gearbox 126 116 84 146 ...
Страница 14: ...l location Using a forklift strap the head assembly securely to the forks and raise above the height of the support legs Note Be sure to clamp or strap equipment securely to the forks of the forklift before lifting equipment Do not stand under load while fork lift is in operation 2 Locate the leg assemblies and secure them to the head assembly using the supplied bolts washer and nuts ...
Страница 15: ...el location 2 While placing a level on the vertical surface of one of the legs place shims under the base plate as needed to make the assembly level in both directions Repeat this leveling process on the other leg Note Shims not supplied by Belanger Inc 3 Once the assembly is positioned correctly and level lag it to the floor using the supplied lag bolts The 45 dimension is taken from the inside e...
Страница 16: ... Locate the barbed hose fittings Secure one to opening on the underside of each manifold This is how one manifold will be fed from the other 4 Secure the other fitting to the end of the vertical manifold This is the main water feed Note Fittings require a water sealant We recommend using Teflon tape pipe dope or an equivalent 5 Locate the hose clamps and slide two of them onto the supplied 3 4 wat...
Страница 17: ... 7010 Fax 248 380 9681 13 Installation Utilities Electrical CAUTION It is recommended that a licensed electrician is contracted to perform all electrical installations 1 Supply 3 phase power to the motor on top of the frame assembly Overhead View Gearbox Motor Main electrical feed ...
Страница 18: ...l equipment has been installed turned on and checked for hydraulic pneumatic and water leaks Locate the following hand tools 1 1 8 wrench 9 16 socket 5 16 hex wrench Work gloves 3 16 hex wrench Safety glasses Ladder Parts Identification Entrance View Upper drive arm Lower drive arm Drive rack Passenger side follower rack Center follower rack 1 1 8 bolt remove for cloth installation typical Retaine...
Страница 19: ...r Placement Placement typical on all six bearings Overhead view of Head Frame DO NOT LOOSEN ANY OF THE SIX COLLARS DURING CLOTH INSTALLATION OR REPLACEMENT If circumstances require doing so see dimensions below Overhead View Collar Assembly Collars are to be butted up against the side plates Collars are to be butted up against the side plates ...
Страница 20: ...he drive rack with a 3 16 hex wrench and slide it over against the flat washer 2 Loosen lower locking collar of the drive rack using a 5 16 hex wrench 3 Slide lower locking collar out away from rack and butt it against the plastic end cap Side View Lower locking collar typical 1 1 8 bolt remove for cloth installation typical Cloth typical Plastic end cap typical Upper drive arm Upper locking colla...
Страница 21: ...nd and separate the upper drive arm from the Pitman arm so that the rack hangs vertically 5 Remove the three retainer pins from the lower drive arm and remove the arm 6 Remove 1 1 8 outside rack connector bolt Entrance View Upper drive arm Lower drive arm Drive rack Passenger side follower rack Center follower rack 1 1 8 bolt remove for cloth installation typical Retainer pin typical Pitman arm ...
Страница 22: ...ine 9 Push the Mitter Wave up to hold the inserted cloth piece in place Repeat this process until all cloth is installed 10 Tighten the two loosened lower bolts then the 1 1 8 top bolt 11 Slide the upper locking collar back into position Note Split in collar MUST be perpendicular to the split of the shaft bearing halves 12 Snug upper and lower locking collars tightly against both shaft bearings an...
Страница 23: ...rmance for any abnormalities on the first few vehicles washed each day Hose down the component and surrounding area at the end of each washday This will remove the majority of the dirt and other debris that builds up during a washday Check for water and chemical leaks after equipment is turned off Weekly Check all mixing tanks periodically for sludge build up on bottom If too much sediment is evid...
Страница 24: ...ntenance Special Attention Items Mitter Collar Placement On the Wave Across there are six inside collars which are installed at the factory They are set as shown below Placement typical on all four bearings Collars are to be butted up against the side plates Collars are to be butted up against the side plates ...
Страница 25: ... Manifolds 1FTTNG AJ250 1NOZZL972 Cap and Gasket 1NOZZL993 Nozzle Nozzle Tip typical 1FTTNG BH302 Hose Fitting 1 2 x 1 2 1CLAMP257 1FSTNR SH400 2 102021 102018 103188 103189 1FITTNG BH302 1NOZZL FJ638 1 0 Gal 65 Deg 1NOZZL FJ116 2 0 Gal 25 Deg 4 pieces Nozzle Assembly See Below 1FITTNG BH335 1CLAMP257 4 sets Complete Assembly 1CAP149 6 pieces 1FTTNG AJ250 6 pieces ...
Страница 26: ...uired to make up a complete Wave Across upper frame The quantities shown reflect requirements for a single assembly single side In addition each side has 2 Drive Arm Assemblies Drive Arm Assemblies Stud Retainer Assembly 3 pieces shown later in this section Rack Bushing Assembly 3 pieces shown later in this section 3739 3739 Follower Rack Assembly shown later in this section Drive Rack Assembly sh...
Страница 27: ...2019 2 1FSTNR HH825 7507 3606 1FSTNR HH270 2 102006 2 halves 1WASHR LC291 4 1FSTNR HH392 2 3604 2 halves 1FSTNR SH767 1WASHR LC291 1WASHR LC291 2 102005 1WASHR LC291 4 3606 1WASHR LC830 3604 2 halves 1FSTNR SH767 1WASHR LC291 1COLLR250 1FSTNR HH315 4 102006 2 halves 3607 1FSTNR HH315 4 1WASHR LC291 2 102019 2 3607 1FSTNR HH270 2 1WASHR LC291 2 1FSTNR HH392 2 1FSTNR HH315 4 102020 3604 2 halves 1FS...
Страница 28: ...FL830 1FSTNR HH873 3723 3223 1WASHR FL830 This assembly is to always be used to secure the Drive Arm to the Pitman Arm When replacing the Stud Retainer Assembly that mounts to the Pitman Arm we recommend you also replace the Pitman Arm also They typically wear simultaneously Helpful Hint 3642 1NUT CN075 1RETNR635 7506 7508 3223 3723 3223 3723 1RETNR635 1RETNR132 3642 1WASHR FL830 1NUT JM500 1WASHR...
Страница 29: ...ox Assembly 1MOTOR EL671 1GEABX526 40 1 Gearbox 3737 Drive Arm 2 1GASKT825 1WASHR ST375 4 1FSTNR HH261 4 1MCONC BR025 1RSRVR102 3723 1WASHR FL830 Flat Washer 1MCONC BR025 1RSRVR102 102003 Pitman Arm 2 Helpful Hint When replacing any Pitman Arm We recommend you also replace the Stud Retainer Assembly also They typically wear together Helpful Hint 1BSHNG728 Taper lock Bushing 2 pieces includes setsc...
Страница 30: ...lue Cloth Strips 48 pieces 3 sets required 105521 Red Cloth Strips 48 pieces 3 sets required 3704 Blue Cloth Strips 1 piece 3706 Red Cloth Strips 1 piece 48 pieces cloth set Parts Not Shown 1PLUG PL500 7 16 Plastic Plug 8 1PLUG PL778 9 16 Plastic Plug 4 Misc Fasteners and Washers Plastic Waves 1PLSTC OH160 Red Mitter Wave each 1PLSTC OH120 Blue Mitter Wave each 102023 102000 ...
Страница 31: ...nt Tools needed for installation Power Drill 1 4 Drill Bit 1 4 X 2 1 2 Bolt or Long Narrow Punch Hammer Miscellaneous Hand Tools DISCONNECT AND LOCKOUT ELECTRICAL POWER BEFORE SERVICING ANY EQUIPMENT CAUTION Always wear safety glasses when performing maintenance on any equipment Parts Identification Drive Arm Rack Connector Bushing part 3723 Pins part 1PIN107 ...
Страница 32: ...9 7010 Fax 248 380 9681 1MANUL850 Maintenance Drive Arm Rack Connector Bushing Replacement 1 Remove existing pin part 1PIN107 using a 1 4 x 2 1 2 bolt or a long narrow punch 2 Remove the old bushing part 3723 by pressing it out or by using a hammer 3 Insert the new bushing ...
Страница 33: ...380 9681 29 Maintenance Drive Arm Rack Connector Bushing Replacement 4 Drill a 1 4 diameter hole into the bushing through the existing hole of the Drive Arm Rack Connector 5 Drive the pin back into place using a hammer 6 Make sure the pin is flush with the surface of the Drive Arm Rack Connector ...
Страница 34: ......
Страница 35: ......
Страница 36: ...Wave Across 1MANUL850 Belanger Inc P O Box 5470 Northville MI 48167 Customer Service Phone 248 374 4700 Fax 248 380 9681 ...