background image

Navigation CD 8.X

Subject to errors and technical modifications

20

Copyright by Becker GmbH, D-76303 Karlsbad

If you received this operation guide update when purchasing
a new unit, the functions and modifications described from
page 21 are intended as a supplement to your operation guide.

If you received this operation guide update together with an
update CD, the update procedure and the new functions and
modifications are described on the following pages. As basis
for this description, it is assumed that you already own the
CD 3.X, CD 4.X, CD 5.X, CD 6.X or CD 7.X. 
If this is not the case, i.e. you have previously used a Naviga-
tion CD 2.X, then the required information can be found in
the description for the CD 3.0, which is also enclosed.

Installation of CD 8.X

In order to install CD 8.X, remove the old CD and insert the
new CD 8.X.
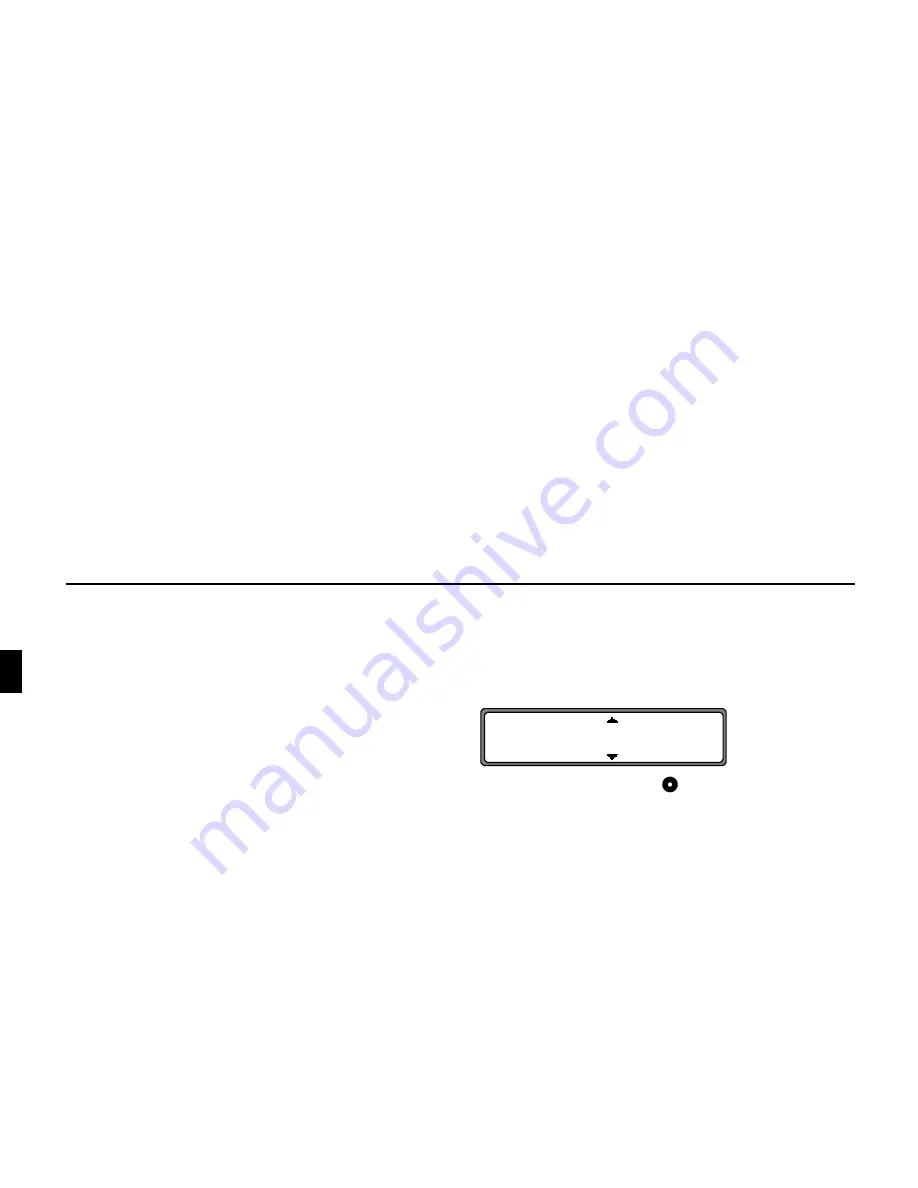
After a short time, the following display or a similar display
appears.

Using the right rotary control 

 select, 

"!

 and press to

confirm.
The navigation and radio software is updated.
A progress bar appears on the display.
During updating, the ignition should be switched on and the
vehicle should not be moved.

Note on update for 4725/26 (blue display) 

After starting an update, the display illumination is switched
off during installation. During this period , the unit should not
be operated. The switching off of the illumination does not
constitute a fault. After installation of the radio software, the
illumination is switched on and the unit is switched to radio
mode. Installation of the navigation software continues in the
background. Navigation mode can only be selected after com-
pletion of navigation software installation.

   V T V V

!


Содержание Traffic Pro 4720

Страница 1: ...so enclosed Installation of CD 8 X In order to install CD 8 X remove the old CD and insert the new CD 8 X After a short time the following display or a similar display appears Using the right rotary c...

Страница 2: ...rn Europe CD no 2 are supplied The complete trunk road network and all destination centres in the digitised area of Northern and Southern Europe are available on the CDs All digitised roads of the nor...

Страница 3: ...d map data is loaded and stored internally after route calculation has started Note For Norway Sweden Finland and Denmark non verified data has been used to achieve a high depth of digitisation i e wi...

Страница 4: ...nput menu instead of the above men tioned list In that case the location name is to be entered as described in Entering the destination The program returns to road or centre entry If there are no stre...

Страница 5: ...the boundaries of the digital map The navigation system will now prompt you to enter a name for the coordinates entered Enter a name as described in the main instructions under Entering a destination...

Страница 6: ...l for more than 2 seconds resets the values to zero Pressing returns to the navigation display if navigation is active If navigation is not active the display shows the infor mation menu Displaying se...

Страница 7: ...above sea level and the number of satellites received are displayed Pressing the right rotary control returns to the navigation display By pressing the right rotary control the program returns to the...

Страница 8: ...ayed The categories and points of interest shown in the illustrations are examples The actual display is dependent upon the CD used Select the desired category with the right rotary control Then press...

Страница 9: ...during active navigation it will be treated as a stopover After a short time route calculation to the selected point of interest is performed Note If a stopover has already been entered it will be ov...

Страница 10: ...alculation of ETA for most drivers p With this setting the unit adjusts for drivers who may take longer for the planned journey This setting could be used for example in areas of dense traffic Selecti...

Страница 11: ...ght hand side of the display indicating the speed limit The distance to the next point at which for example a turn should be made is displayed below the navigation arrow which appears in reduced forma...

Страница 12: ...t traffic announcements into account The traffic announcements are transmitted by a TMC radio station in addition to the radio programme and are received and analysed by the navigation system There is...

Страница 13: ...ation still cannot be found after 10 minutes is displayed ac companied by a brief signal tone Your navigation system can receive TMC information wheth er a TMC station is selected or not However in or...

Страница 14: ...y indicate that additional traffic information is available A selection can be made by turning the right rotary control and pressing to confirm After the desired traffic information has been confirmed...

Страница 15: ...eceived as the TP transmitter If the selected FM station has poor reception quality or cannot function as a TP transmitter the unit applies specified criteria to search for a new TP transmitter Direct...

Страница 16: ...ing on To switch on TP in the TP menu press the multifunction button repeatedly until 65 is dis played Switching off To switch off TP in the TP menu press the multifunction button repeatedly until 6 i...

Страница 17: ...ng is deleted Quit the TP menu Switching TMC on off Note You can find further information on TMC under Dynamic navigation with TMC on page 31 Activate the TP menu Switching on Press the multifunction...

Страница 18: ...ndicated on the display by the ab breviation TMC information is received and analysed by the navigation system The reception of traffic announce ments is free of charge TMC is shown in normal typeface...

Отзывы: