CORRIDOR
®
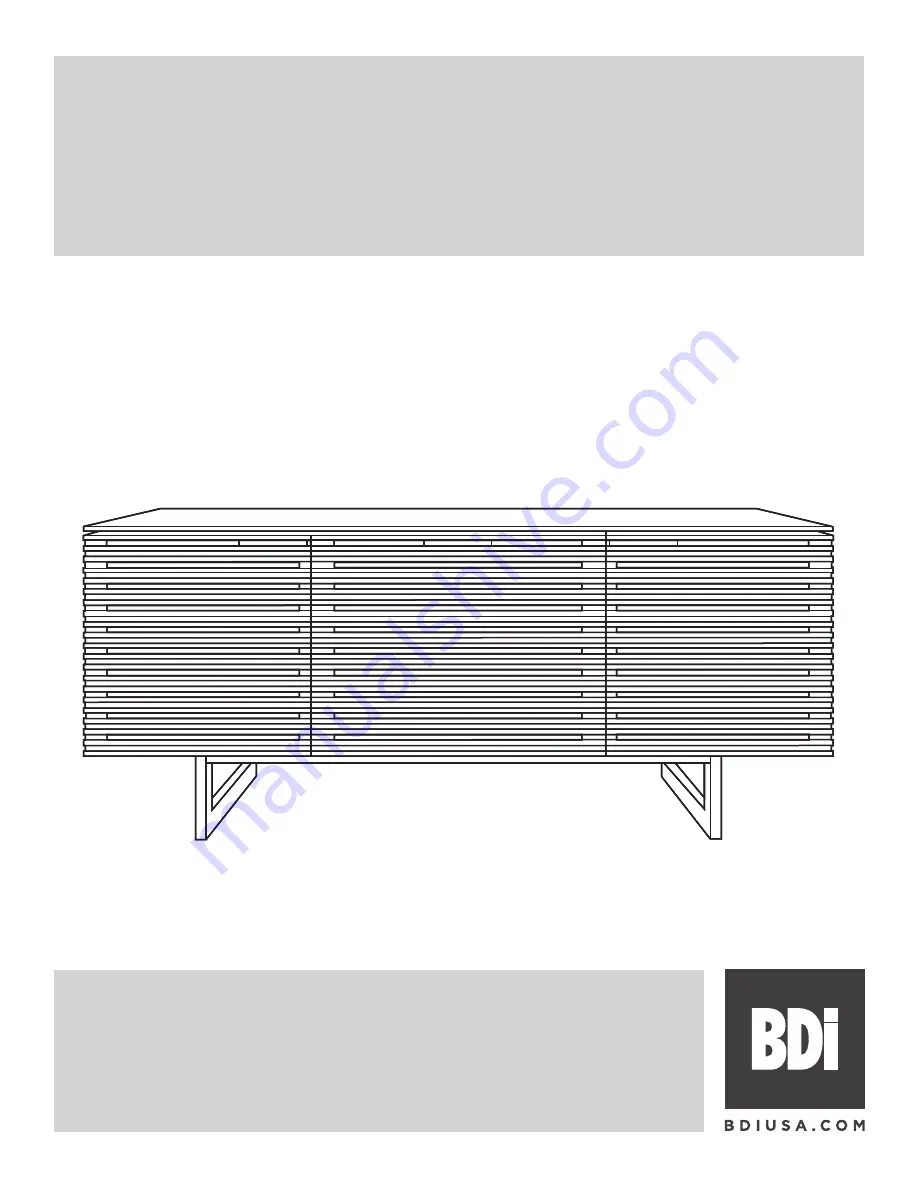
8177
MEDIA CONSOLE
DESIGNED BY MATTHEW WEATHERLY
LET’S GET STARTED.
INSTRUCTION MANUAL
Страница 1: ...CORRIDOR 8177 MEDIA CONSOLE DESIGNED BY MATTHEW WEATHERLY LET S GET STARTED INSTRUCTION MANUAL ...
Страница 2: ......
Страница 3: ...nt This manual will provide you with assembly instructions and other helpful information that will ensure that you get the most out of your cabinet Please save it for future reference Your Corridor cabinet has been engineered for simple assembly Please follow these directions carefully to prevent any damage Should you need further assistance contact BDI at customerservice bdiusa com ENJOY ...
Страница 4: ...60mm Machine Screw QUANTITY 6 PART B2 DESCRIPTION Open Mouth Wrench QUANTITY 1 PART H DESCRIPTION M4 x 35mm Machine Screw QUANTITY 6 HARDWARE AND COMPONENTS Unpack and identify the parts listed below The assembly workspace should be a non marring surface such as carpet For missing hardware pieces please contact BDI Customer Service at customerservice bdiusa com Do not use power tools for assembly ...
Страница 5: ... DESCRIPTION Metal Rail QUANTITY 2 PART E DESCRIPTION Metal Leg QUANTITY 2 PART J DESCRIPTION Rubber Bumper QUANTITY 6 PART L DESCRIPTION Back Panel QUANTITY 2 PART I DESCRIPTION Door Pull QUANTITY 3 PART K DESCRIPTION Glass Top QUANTITY 1 HARDWARE AND COMPONENTS ...
Страница 6: ... E Metal Legs for proper orientation Removal of wheels optional Detach Wheel Assembly from E Metal Leg by removing the Leveler and Screw Reinstall Leveler to E Metal Leg PART DESCRIPTION QTY B1 HEX WRENCH 1 D SCREW 8 D E E STEP 1 BUILD THE BASE ASSEMBLY For your convenience wheel assembly is pre installed Wheels can be removed if desired Æ Æ Æ Æ D D D D F F E E F E E F ...
Страница 7: ...ng B1 Hex Wrench attach the base assembly to the bottom of the C Cabinet with D Screws and G Screws Note Each of the metal legs has levelers that can be adjusted using the B2 Hex Wrench PART DESCRIPTION QTY B1 HEX WRENCH 1 D SCREW 8 G SCREW 6 ASSEMBLY STEP 2 ATTACH THE BASE G G G G G G D D D D C ...
Страница 8: ...r Pulls using H Screws and A Screwdriver Adhere J Rubber Bumper at least one 1 inch from edges of the cabinet as shown below PART DESCRIPTION QTY A SCREWDRIVER 1 H SCREW 6 J RUBBER BUMPER 6 STEP 3 INSTALL DOOR PULLS AND RUBBER BUMPERS ASSEMBLY I I I J J J J J J C J J J J J J H ...
Страница 9: ...on glass flush with cabinet front doors Install both L Back Panels to the backside of the cabinet by inserting top edge in upper channel then tipping bottom edge forward and into lower channel Note Velcro straps are included for your convenience to facilitate wire management ASSEMBLY ASSEMBLY STEP 4 PLACE GLASS TOP C K 2 1 L L ...
Страница 10: ...o Locate the finger latch in the rail of the slide on each side of the Drawer Press the Left Latch down and lift the Right Latch up simultaneously and slide the Top Drawer the rest of the way out Be careful of grease residue on drawer slides REMOVING THE DRAWER FINE TUNING ...
Страница 11: ...e element can cause the need for further adjustments Through a little adjustment you can modify the orientation of the cabinet doors to make sure that they are sitting perfectly on your Corridor unit CORRECT Door is sitting squarely and evenly spaced on tops and sides INCORRECT Door is out of alignment with the rest of the unit DOOR ALIGNMENT Levelers are integrated into each leg assembly and are ...
Страница 12: ...r out of alignment this condition can be corrected with minor adjustment to the European hinges on each door Use a A Phillips Screwdriver to adjust Corridor s door hinges n By adjusting Screw 1 the door will move LEFT or RIGHT within the frame Make minor adjustments at both top and bottom hinges for best results n By adjusting Screw 2 the entire door will move IN or OUT opening or closing the gap ...
Страница 13: ...wel Do not use glass cleaner on wood If moisture remains dry the surface with another cloth If needed a gentle non abrasive cleanser may be used but be sure to wipe away all cleaner residue and dry the surface with a cloth BDI s wood finishes feature natural hardwood solids and veneers Wood is a product of nature and unlike man made materials that can be manufactured to strict and consistent speci...
Страница 14: ...d for three 3 years from the date of purchase as shown on your sales receipt The warranty period starts from the date of purchase This warranty extends only to the original purchasers who acquire new product from BDI Authorized Resellers Any product part or component must have been assembled installed used and maintained according to BDI s published instructions in order to be eligible for warrant...
Страница 15: ... FROM FURNITURE TIP OVER TO HELP PREVENT TIP OVER n Install tip over restraint n Place heaviest items in lower compartments n Never allow children to climb or hang on drawers doors or shelves n Never open more than one drawer at a time USE OF TIP OVER RESTRAINT MAY REDUCE BUT NOT ELIMINATE THE RISK OF TIP OVER ...
Страница 16: ...tive product configurations are protected by US and international patents trade dress and or copyright laws Corridor BDI are trademarks of Becker Designed Inc All rights reserved 2020 BDI V 10 22 2020 Made in China ...