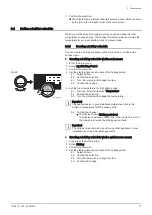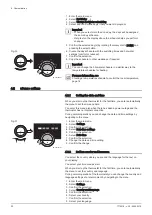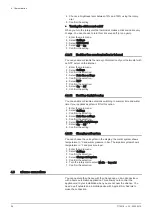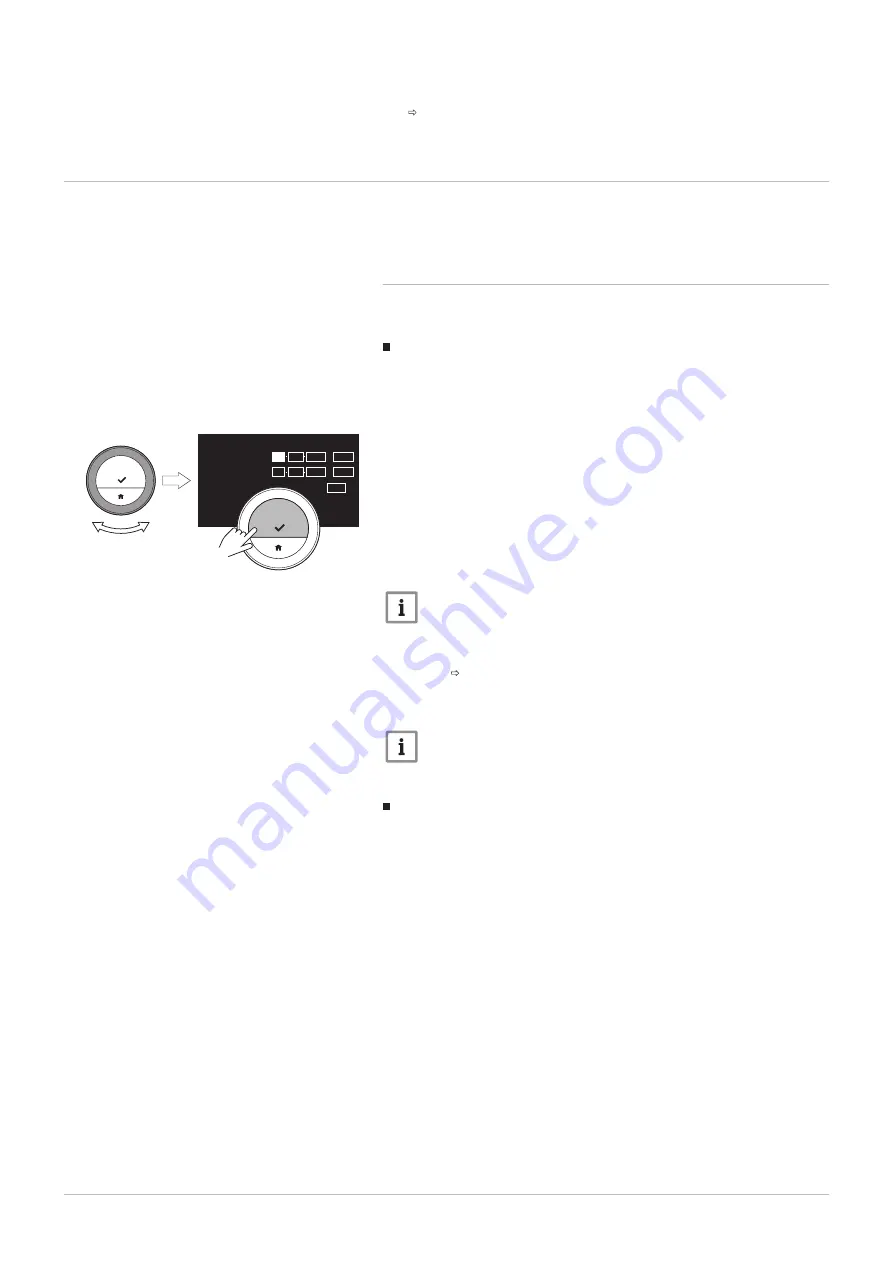
7. Confirm the selection.
The selected temperature schedule becomes active, which is shown
by the icon in the top-right corner of the main screen.
3.4
Setting a holiday schedule
When you will be away for a longer period you can decrease the room
temperature to save energy. The holiday mode temperature overrules the
temperature(s) set in scheduling mode or manual mode.
3.4.1
Creating a holiday schedule
You can create a holiday schedule via the main menu or via the quick
access menu.
Creating a holiday schedule via the main menu
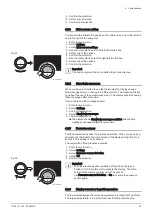
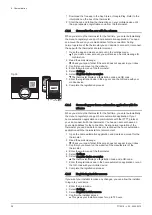
1. Enter the main menu.
2. Select Input Holiday Period.
3. Confirm the selection.
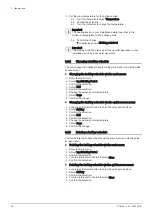
4. Set the starting date and end date of the holiday period:
4.1. Select an item.
4.2. Confirm the selection.
4.3. Turn the rotary dial to change the item.
4.4. Confirm the change.
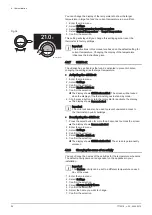
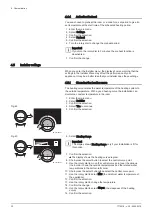
5. Set the room temperature for the holiday period:
5.1. Turn the rotary dial to select Temperature.
5.2. Confirm the selection.
5.3. Turn the rotary dial to change the temperature.
Important
The heating device in your installation determines what is the
minimum temperature for the holiday period.
5.4. Confirm the change.
The display shows: Holiday period set.
The display shows the holiday icon in the top right corner of
the main screen when the holiday period starts.
Important
The holiday mode can also be set for any other appliance in your
installation, such as a hot water generator.
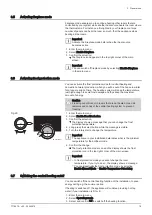
Creating a holiday schedule via the quick access menu
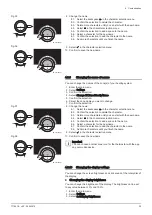
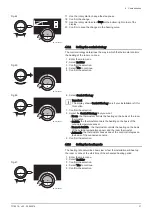
1. Long-press the Select button.
2. Select Holiday.
3. Confirm the selection.
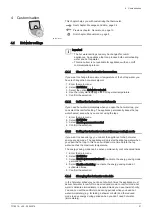
4. Set the starting date and end date of the holiday period:
4.1. Select an item.
4.2. Confirm the selection.
4.3. Turn the rotary dial to change the item.
4.4. Confirm the change.
Fig.28
AD-3001249-01
.. .
.........
....
..
...
.. ..
..... ... .. :
....
..
...
.. ..
..... ... .. :
....... .......
<1
3 General use
7718216 - v.02 - 26042019
17


