To access a minute resolution view, zoom in the schedule all the way using the provided navigation buttons (visible below the scheduler)
or using the mouse wheel
Once the schedule is confirmed click on "SAVE" in the top right corner
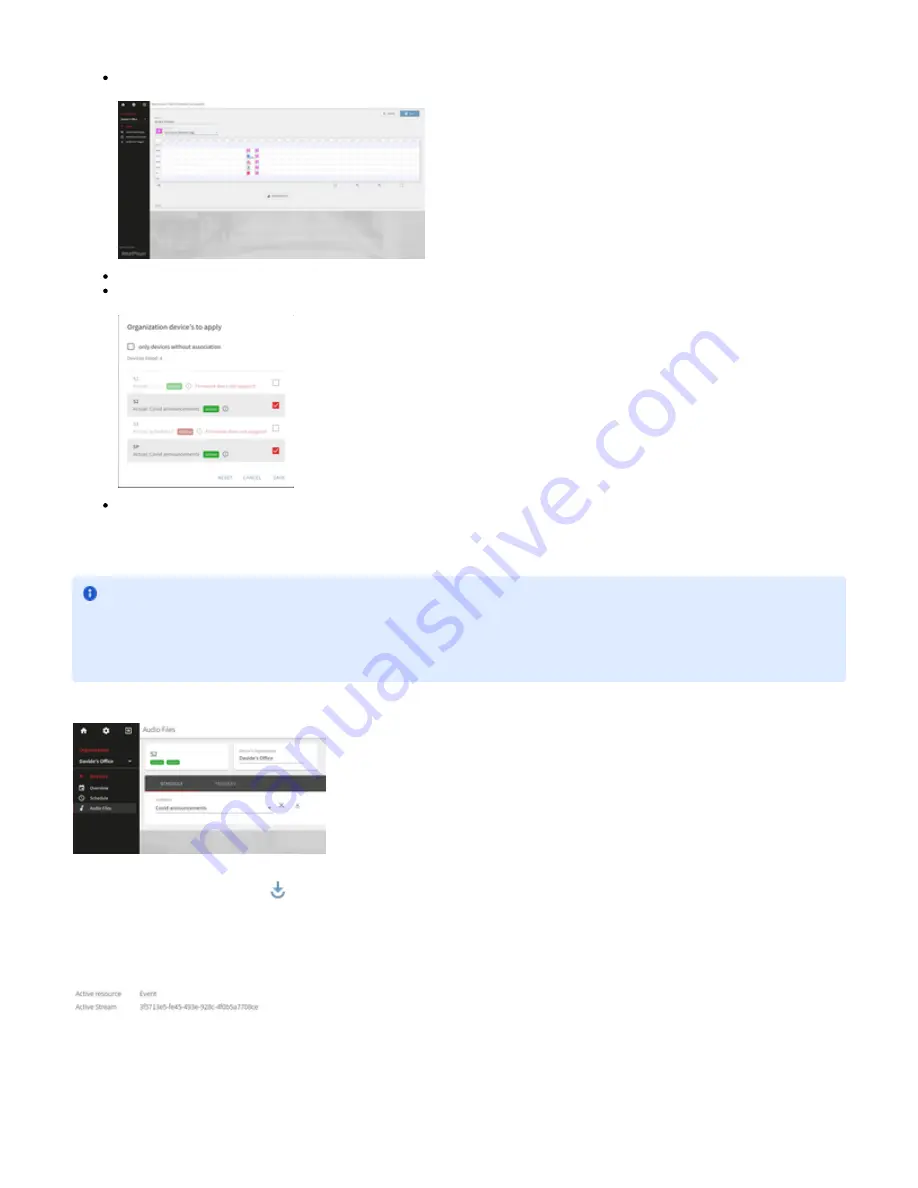
Click on ASSIGN DEVICES button underneath the scheduler to assign the scheduler just created to multiple devices (devices with FW
<6.x cannot be selected. Update the firmware to use this function on those devices)
Click on SAVE
The Schedule is now saved on the selected devices.
The devices will download the audio files scheduled and the trigger points.
From within the device tab in the Portal is possible to check which schedule has been assigned to it. Simply navigate to the device and Audio
Files from the left side navigation menu:
From this tab, clicking on the button
the user can go to the schedule assigned.
From the drop down menu is possible eventually to select another schedule to be assigned to the device where the user is making modifications.
It's important that the schedule is always in the same ORG of the device where the schedule must run.
When a scheduled file is playing, the status report changes the "Active Resource" and "Active Stream" to "Event" and the associated unique ID of
the event playing, see below:
This is a good way to remotely verify if a schedule is running correctly.
Audio Files Triggers
IMPORTANT
The devices will play the scheduled files even without internet connection.
The devices will loose this ability if rebooted, as they need NTP connection to set their system time and the Portal connection to set their
local timezone.


