11. Maintenance
11.3 Firmware upgrade
Upgrade tool
The name of the upgrade tool is according to this format:
Two main parts can be seen:
•
device: this is the device type
-
MCM-400 HFR
•
version: indicates the version
-
two
fi
rst digit (e.g. 01): major revision;
-
second pair of digits (e.g. 20): minor revision;
-
last four digits (e.g. 0005): build number.
Necessary tools
Ethernet connection to the MCM-400 HFR
Upgrading the
fi
rmware
1. Download the latest MCM-400 HFR software version from My.barco.com (
https://my.barco.com
).
2. Save this upgrade
fi
le on a computer which is connected to the same (local) network as the MCM-400 HFR.
3. Make sure that the MCM-400 HFR is powered.
4. On the computer, double click the upgrade tool.
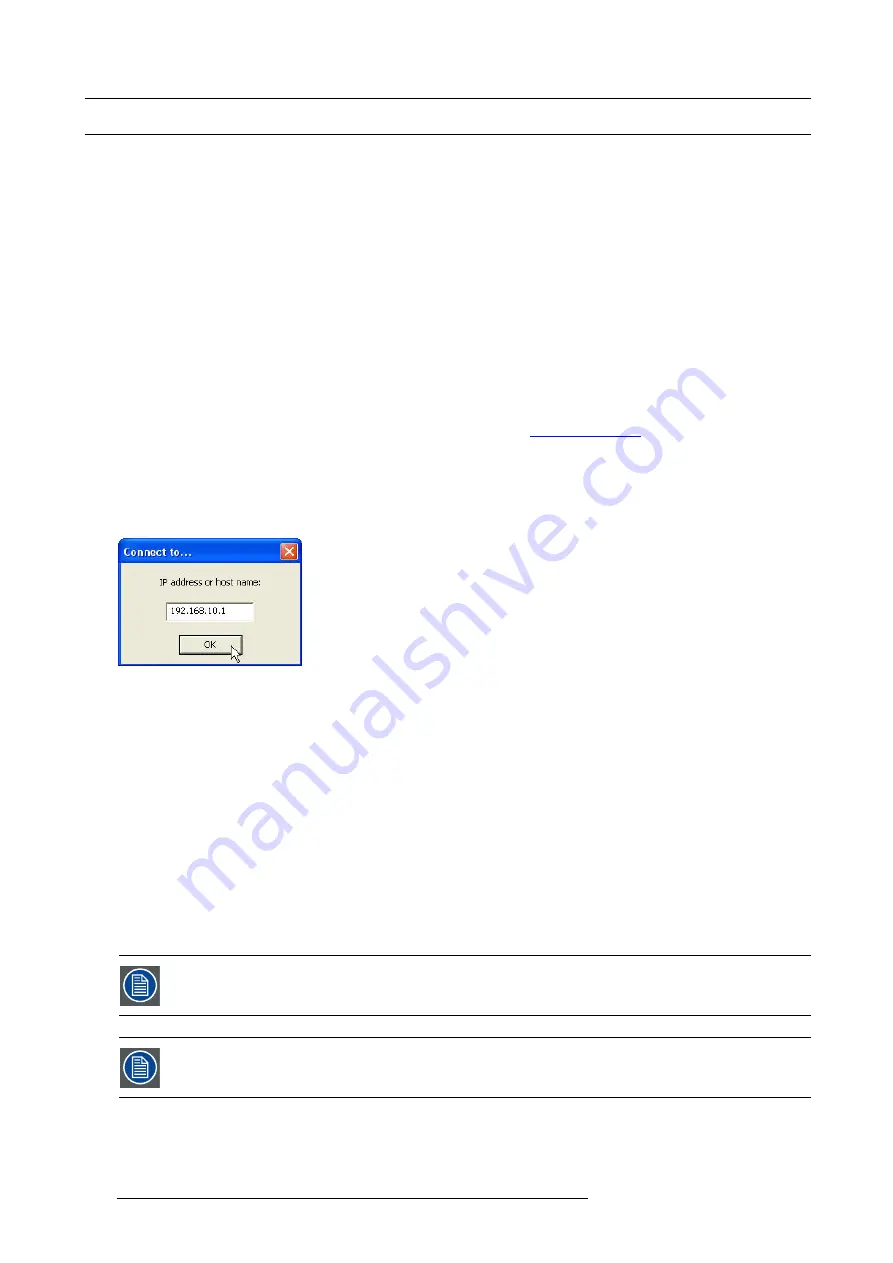
5. Enter the
IP address
or
hostname
of the MCM-400 HFR and click
OK
.
Image 11-1
Upgrading device
6. Carefully follow the instructions to proceed.
7. During the upload of the upgrade
fi
les to the device, a progress bar is displayed.
Caution:
Do not switch off the MCM-400 HFR, nor the computer during the upgrade procedure!
Note:
In case of problems during the upgrade procedure, the following two buttons can be used for diagnostics reasons:
Save text
will save the text inside the Barco Networked Projector Upgrade Tool in a
fi
le;
Screen shot
will save a screen shot of the displayed screen at that particular time.
8. When the upgrade is successful, a green ellipse appears at the bottom of the window and an information window pops up.
9. Click
OK
to
fi
nish the upgrade.
10.Reboot the MCM-400 HFR external warp box by doing the following:
a) Switch the MCM-400 HFR to standby;
b) Unplug the power supply;
c) Plug in the power supply.
If the upgrade fails, a red ellipse appears at the bottom of the window and a message pops up. Restart the
procedure.
On startup of the MCM-400 HFR after an upgrade of its software, the controller checks the software of the
different boards and modules in the MCM-400 HFR. If an old software version in one of these parts is detected,
it is replaced by the new version. During this upgrading sequence, power may be switched automatically!
162
R5909056 MCM-400 HFR 11/05/2016
Содержание MCM-400 HFR
Страница 1: ...MCM 400 HFR User Guide R5909056 02 11 05 2016 ...
Страница 8: ...Table of contents 4 R5909056 MCM 400 HFR 11 05 2016 ...
Страница 36: ...4 Facility and system requirements 32 R5909056 MCM 400 HFR 11 05 2016 ...
Страница 53: ...6 Setup and configuration 5 Exit the menu R5909056 MCM 400 HFR 11 05 2016 49 ...
Страница 60: ...6 Setup and configuration Image 6 19 56 R5909056 MCM 400 HFR 11 05 2016 ...
Страница 62: ...6 Setup and configuration 58 R5909056 MCM 400 HFR 11 05 2016 ...
Страница 86: ...7 Getting started 82 R5909056 MCM 400 HFR 11 05 2016 ...
Страница 105: ...9 Advanced operation Image 9 11 Geometry adjustment Select mode R5909056 MCM 400 HFR 11 05 2016 101 ...
Страница 141: ...10 Expert operation Image 10 46 Soft Edge Adjustment guide ON R5909056 MCM 400 HFR 11 05 2016 137 ...
Страница 152: ...10 Expert operation Image 10 60 2 Press ENTER A bullet indicates the active setting 148 R5909056 MCM 400 HFR 11 05 2016 ...
Страница 154: ...10 Expert operation Image 10 61 150 R5909056 MCM 400 HFR 11 05 2016 ...
Страница 161: ...10 Expert operation Image 10 68 R5909056 MCM 400 HFR 11 05 2016 157 ...
Страница 176: ...11 Maintenance 172 R5909056 MCM 400 HFR 11 05 2016 ...
Страница 192: ...12 MCM 400 HFR tools 188 R5909056 MCM 400 HFR 11 05 2016 ...
Страница 204: ...14 RCU Control 200 R5909056 MCM 400 HFR 11 05 2016 ...
Страница 208: ...15 Environmental information Image 15 1 204 R5909056 MCM 400 HFR 11 05 2016 ...


