9. GUI – Image
2. Use the
◄
or
►
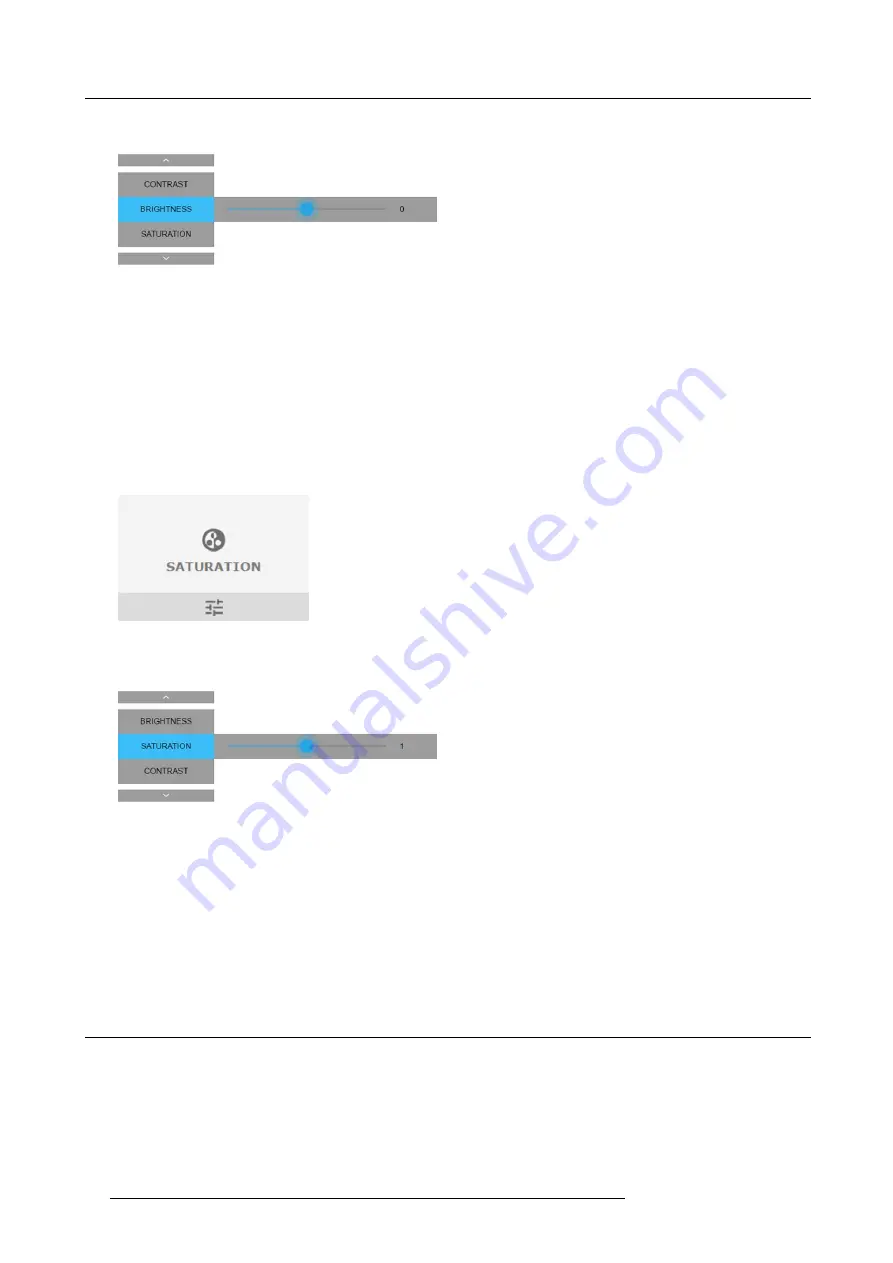
key to change the contrast enhancement until the desired value is reached (adjustable between –1 and 1).
Image 9-4
Brightness slider
3. Use the
▲
or
▼
key to select
Contrast
or
Saturation
.
How to set up Saturation Level
1. In the main menu, select
Image
→
Saturation
.
Image 9-5
Image menu — Saturation
2. Use the
◄
or
►
key to change the contrast enhancement until the desired value is reached (adjustable between 0 and 2).
Image 9-6
Brightness slider
3. Use the
▲
or
▼
key to select
Brightness
or
Control
.
9.2
P7 Realcolor
Purpose
When blending images from multiple projectors, the measured color coordination values of each projector can be altered to a desired
common level. This so that the projected colors are identical over all projectors used.
How to set the P7 desired values
1. In the main menu, select
Image
→
Advanced
→
P7 Realcolor
.
60
R5906070 HDX 4K 23/09/2016
Содержание HDX 4K
Страница 1: ...HDX 4K User guide R5906070 00 23 09 2016 ...
Страница 4: ......
Страница 24: ...2 Installation preparations 20 R5906070 HDX 4K 23 09 2016 ...
Страница 44: ...4 Lenses Lens selection 40 R5906070 HDX 4K 23 09 2016 ...
Страница 50: ...5 Input Communication 46 R5906070 HDX 4K 23 09 2016 ...
Страница 59: ...7 Graphic User Interface GUI Image 7 5 Test Pattern menu OFF button R5906070 HDX 4K 23 09 2016 55 ...
Страница 60: ...7 Graphic User Interface GUI 56 R5906070 HDX 4K 23 09 2016 ...
Страница 62: ...8 GUI Source 58 R5906070 HDX 4K 23 09 2016 ...
Страница 66: ...9 GUI Image 62 R5906070 HDX 4K 23 09 2016 ...
Страница 72: ...10 GUI Installation 68 R5906070 HDX 4K 23 09 2016 ...
Страница 78: ...12 Maintenance 74 R5906070 HDX 4K 23 09 2016 ...
Страница 90: ...13 Servicing 86 R5906070 HDX 4K 23 09 2016 ...
Страница 94: ...A Specifications 90 R5906070 HDX 4K 23 09 2016 ...


