


R5900120 /01
CX-50 Gen2
44
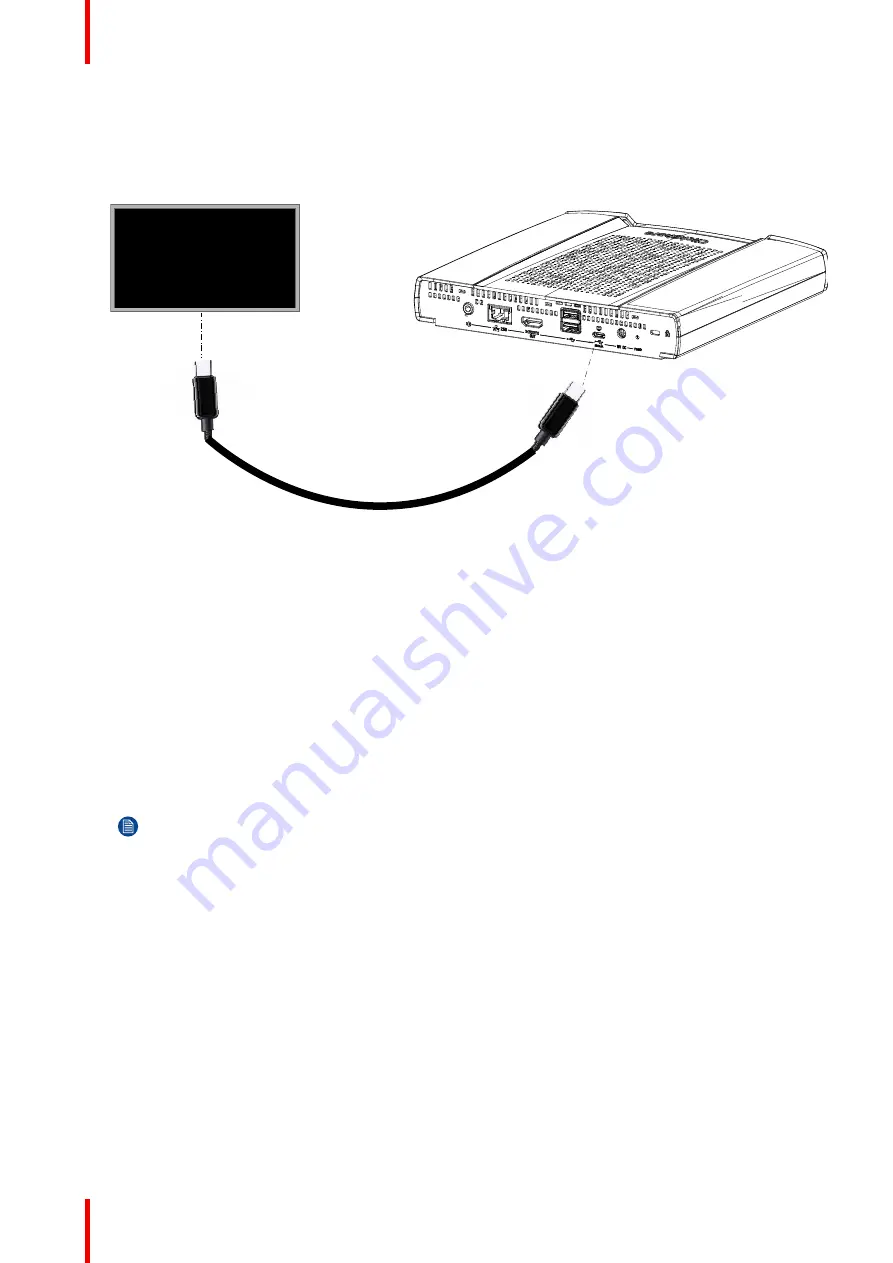
Via USB and display
1.
Connect the USB Type-C port at the backside of the Base Unit to the USB input of the display (only for
displays that can deliver power to the USB port)
Minimum power specification for the USB of the display are: 90W or 100W (20V/5A or 20V/4.5A)
Image 4–12
The display sends power to the Base Unit and the Base Unit sends video signal to the display.
4.19 Wired roomdock
About wired roomdock
The front USB Type-C
TM
port supports the wired roomdock functionality.
With wired roomdock, the user can share high resolution and frame rate content and connect to the room
audio and video over a wired connection.
How to connect
1.
Make a connection between the laptop USB Type-C
TM
port and the front USB Type-C
TM
port of the Base
Unit (can also with the USB Type-C
TM
port on the Barco HDMI-in to USB-C convertor)
Note:
Make sure that the laptop USB Type-C
TM
port supports display port alternate mode.
Содержание CX-50 Gen2
Страница 1: ...ENABLING BRIGHT OUTCOMES Installation manual CX 50 Gen2...
Страница 2: ......
Страница 10: ......
Страница 14: ...R5900120 01 CX 50 Gen2 14...
Страница 15: ...15 R5900120 01 CX 50 Gen2 Introduction 1...
Страница 28: ...R5900120 01 CX 50 Gen2 28 Getting started...
Страница 58: ...R5900120 01 CX 50 Gen2 58 CX 50 Gen2 Installation...
Страница 119: ...119 R5900120 01 CX 50 Gen2 Firmware updates 7...
Страница 121: ...121 R5900120 01 CX 50 Gen2 Troubleshooting 8...
Страница 143: ......
Страница 144: ...www barco com R5900120 01 2023 01 17 Wi Fi...


