8. Input menu
Input
module
Indication
Description
RGB SOG
RGB input with sync on green
YUV HS/VS - CS
Component video with separate horizontal and vertical sync or separate composite
sync.
YUV CV
Component video with composite video as sync signal
YUV SOY
Component video with sync on Y
CVBS
Composite video
S-Video
Super video
INP 1 PRIORITY
When signal on both inputs, input 1 has the priority.
INP 2 PRIORITY
When signal on both inputs, input 2 has the priority.
INP1
Input 1 selected
HD-SDI -
SDI
INP2
Input 2 selected
DVI HDCP
DVI HDCP
High de
fi
nition content protected DVI input
DVI equalization
When a standard DVI module is selected, press
ENTER
to go in edit mode. Use
◄
or
►
to key to change the equalization value.
Default value = 13.
For non DVI-compliant transmitter, stronger equalization may be necessary even for shorter cables.
For longer cables adjust between 0 and 13 (more equalization).
For shorter cables adjust between 13 and 15 (least equalization).
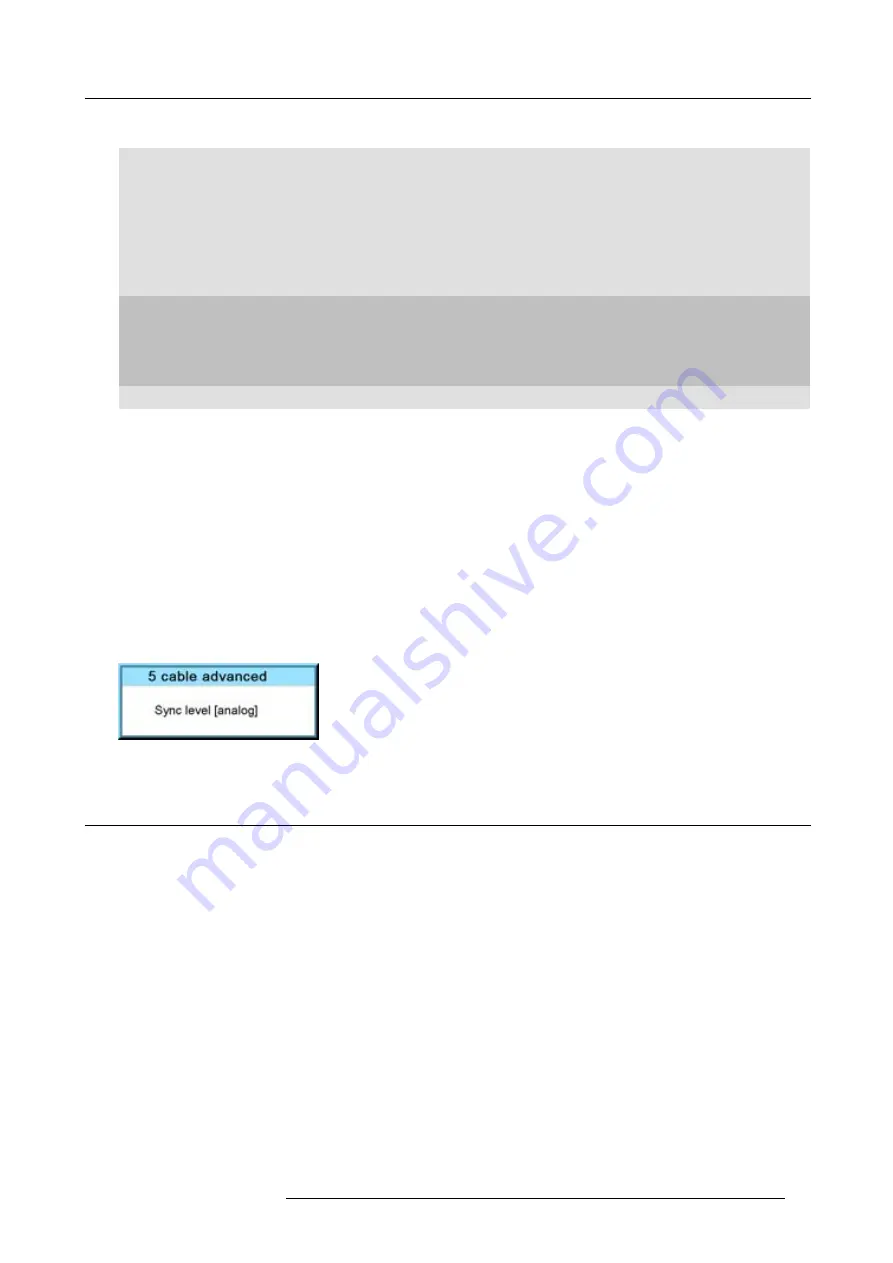
Advanced settings for 5 cable input
For RGB with separate sync or YUV with separate sync the sync level can be toggled between
Analog
or
Digital
.
Use the
▲
or
▼
key to select
Advanced settings
. The
5 cable advanced
box opens.
Press
ENTER
to toggle between
Analog
or
Digital
.
Image 8-5
8.3
Input locking
What is possible?
The output signal can be locked on an internal sync signal or on the sync signal of one of the input sources. Input locking can avoid
that some windows in the output signal are slowly moving or trembling.
When automatic is selected, the lock will be set on the input signal of the main window.
How to set up?
1. Press
MENU
to activate the menus.
2. Use the
▲
or
▼
key to select
Input
and press
ENTER
.
The Input menu is displayed.
3. Use the
▲
or
▼
key to select
Input locking
and press
ENTER
.
The input locking window is displayed. The actual selected locking method is indicated by an arrow.
4. Use the
▲
or
▼
key to select the desired locking and press
ENTER
. (image 8-6, image 8-7, image 8-8)
R59770021 CLM R10+ 11/10/2010
65
Содержание CLM R10+
Страница 1: ...CLM R10 Users manual R9050100 R90501001 R90501005 R59770021 11 11 10 2010 ...
Страница 14: ...1 Safety 10 R59770021 CLM R10 11 10 2010 ...
Страница 22: ...2 General 18 R59770021 CLM R10 11 10 2010 ...
Страница 36: ...3 Physical installation 32 R59770021 CLM R10 11 10 2010 ...
Страница 41: ...4 Stacking CLM projectors Zoom Image 4 9 Zoom adjustment R59770021 CLM R10 11 10 2010 37 ...
Страница 42: ...4 Stacking CLM projectors 38 R59770021 CLM R10 11 10 2010 ...
Страница 50: ...5 Connections 46 R59770021 CLM R10 11 10 2010 ...
Страница 66: ...7 Start up of the Adjustment mode 62 R59770021 CLM R10 11 10 2010 ...
Страница 75: ...8 Input menu Image 8 26 Image 8 27 Image 8 28 R59770021 CLM R10 11 10 2010 71 ...
Страница 76: ...8 Input menu 72 R59770021 CLM R10 11 10 2010 ...
Страница 102: ...9 Image menu 98 R59770021 CLM R10 11 10 2010 ...
Страница 116: ...10 Layout menu Image 10 61 Image 10 62 Image 10 63 Image 10 64 112 R59770021 CLM R10 11 10 2010 ...
Страница 169: ...14 Service menu Image 14 55 Image 14 56 Image 14 57 R59770021 CLM R10 11 10 2010 165 ...
Страница 170: ...14 Service menu 166 R59770021 CLM R10 11 10 2010 ...
Страница 183: ...16 Servicing Image 16 15 Top up reservoir 2 cm Image 16 16 Pressurize circuit R59770021 CLM R10 11 10 2010 179 ...
Страница 184: ...16 Servicing 180 R59770021 CLM R10 11 10 2010 ...
Страница 194: ...17 Projector covers removal and installation 190 R59770021 CLM R10 11 10 2010 ...
Страница 202: ...C DMX Chart 198 R59770021 CLM R10 11 10 2010 ...
Страница 212: ...E Troubleshooting 208 R59770021 CLM R10 11 10 2010 ...
Страница 217: ...F Mounting optional Carry handle 1 2 3 1 4 5 Image F 7 Image F 8 R59770021 CLM R10 11 10 2010 213 ...
Страница 218: ...F Mounting optional Carry handle 214 R59770021 CLM R10 11 10 2010 ...
Страница 220: ...G Order info 216 R59770021 CLM R10 11 10 2010 ...
Страница 228: ...Index 224 R59770021 CLM R10 11 10 2010 ...


