


9 Device Inspection Menu
Main Menu > Inspection
Adjust settings for an inspection using the Inspection menu icon, located on the Main Menu. Each type of sensor has
specific settings that are available. The Inspection Menu is also where stored inspections can be managed.
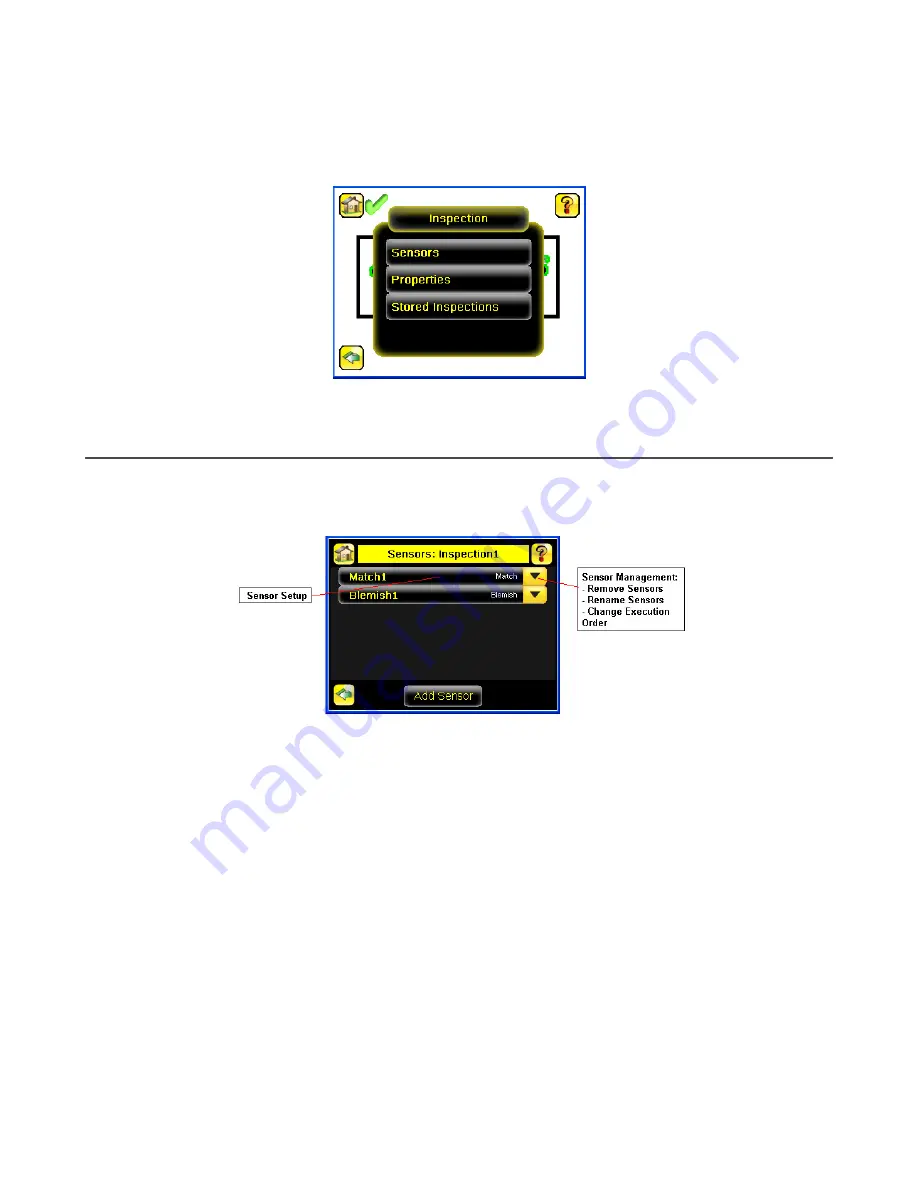
Figure 40. Inspection Menu
9.1 Sensors Menu
Main Menu > Inspection > Sensors
The Sensors Menu shows the list of sensor(s) that are included in the current inspection. Click Add Sensor to add a new
sensor into the current inspection.
Figure 41. Sensors Menu
9.1.1 Area Menu
Main Menu > Inspection > Sensors > Area
Use an Area sensor to ensure that a feature, or multiple features, are present on a part. When setting up the iVu for an Area
inspection, a feature, such as a drilled hole, is identified as well as the size (area) expected. If there is more than one of the
identified features on a part, the number expected can be set as well. During the inspection, the sensor verifies that each
part or package includes the specified number of features.
Example applications include:
• Inspections that check for drilled holes on a part
• Inspections that check for correctly stamped parts
• Inspections that ensure proper packaging (for example, check that a packing slip exists in or on a box; test whether
a vial is properly capped)
• Inspections of blister packs
To configure as an Area sensor, set the following parameters:
• ROI and Mask—Rectangle, elliptical, or circle
• Intensity Range—Range of grayscale values of a feature of interest
• Area Range—Size range of a feature of interest
• Pass Count—Number of features
• Pass Total Area—Total size of all features
To see a working example of the sensor configured as an Area sensor, see Demo Mode.
iVu Plus TG and Color Gen2 Image Sensors
38
www.bannerengineering.com - Tel: + 1 888 373 6767


