18
18
OPERATION
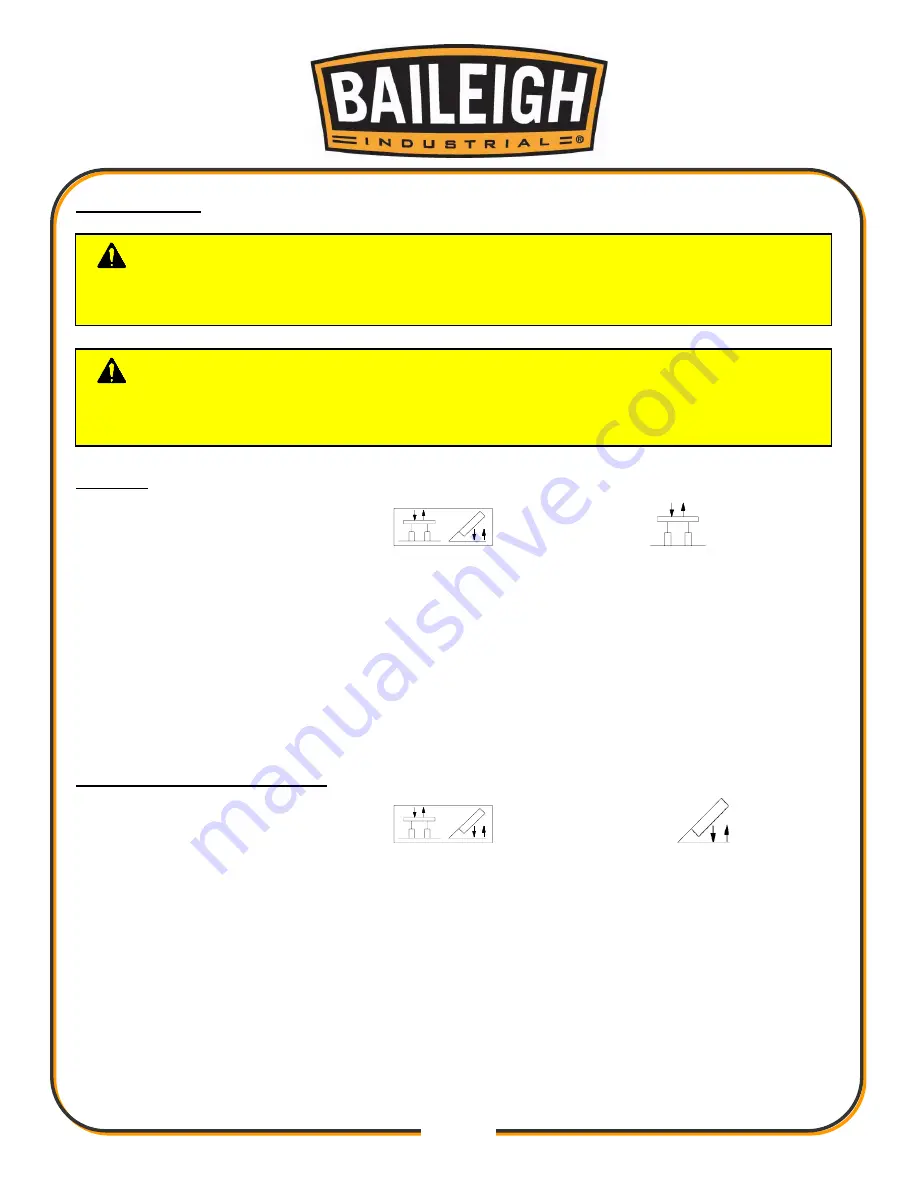
Bending
•
Position the function selector switch
to the left position
for bending.
•
Step on the left (down) foot pedal to lower the punch beam for bending.
•
The punch beam stops descent when the depth stop contacts the down limit switch, when
the foot pedal is released, or at pressure relief when the punch is bottomed in the grooves or
the material is too thick or hard.
•
Step on the right (up) foot pedal to raise the punch beam.
•
The punch beam stops rising when the upper limited switch is reached, or when the pedal is
released.
Punch Beam Open and Close
•
Position the function selector switch
to the at right position
for opening
the punch beam.
•
First remove the three punch lock pins.
•
Press and hold the punch open button while stepping on right foot pedal to rise the punch
beam.
•
Remove the work piece as needed.
•
Press and hold the punch open button while stepping on left foot pedal to lower the punch
beam.
•
Align the punch lock pin holes for the punch beam, and the square columns. Install and
tighten the punch lock pins.
CAUTION:
Always wear proper eye protection with side shields, safety
footwear, and leather gloves to protect from burrs and sharp edges.
When handling large heavy materials make sure they are properly supported.
CAUTION:
Keep hands and fingers clear of the punch and die area. Stand
off to the side of the machine to avoid getting hit with the material during the bending
operation.
Содержание BP-4830
Страница 15: ...13 13 GETTING TO KNOW YOUR MACHINE A D F G E B C H I B C L J M N K K...
Страница 29: ...27 27 PARTS DIAGRAM...
Страница 32: ...30 30 ELECTRICAL SCHEMATIC...
Страница 33: ...31 31 HYDRAULIC SCHEMATIC...
Страница 34: ...32 32 NOTES...
Страница 35: ...33 33 NOTES...


