OPERATION FUNCIONAMIENTO
OPERATION FUNCIONAMIENTO
9
10
Copyright © 2017, Baby Trend Inc., All Rights Reserved. Todos los derechos reservados.
Copyright © 2017, Baby Trend Inc., All Rights Reserved. Todos los derechos reservados.
TO ATTACH AND OPERATE TRAY
PARA SUJETAR Y UTILIZAR LA BANDEJA
The Tray is not designed to hold the child in the chair. Stay near
and watch child during use.
NEVER
leave child unattended.
La bandeja no está diseñada para contener al niño en la silla. Manténgase
CERCA y vigile al niño durante su uso.
NUNCA
deje al nino solo.
WARNING:
The tray is not designed to hold the
child in the chair. The child must be secured by the
safety harness at all times while in the high chair.
ADVERTENCIA:
La bandeja no está
diseñada para contener al niño en la silla. Todo el
tiempo que esté en la silla alta, el niño debe estar
protegido por el sistema de sujeción.
14)
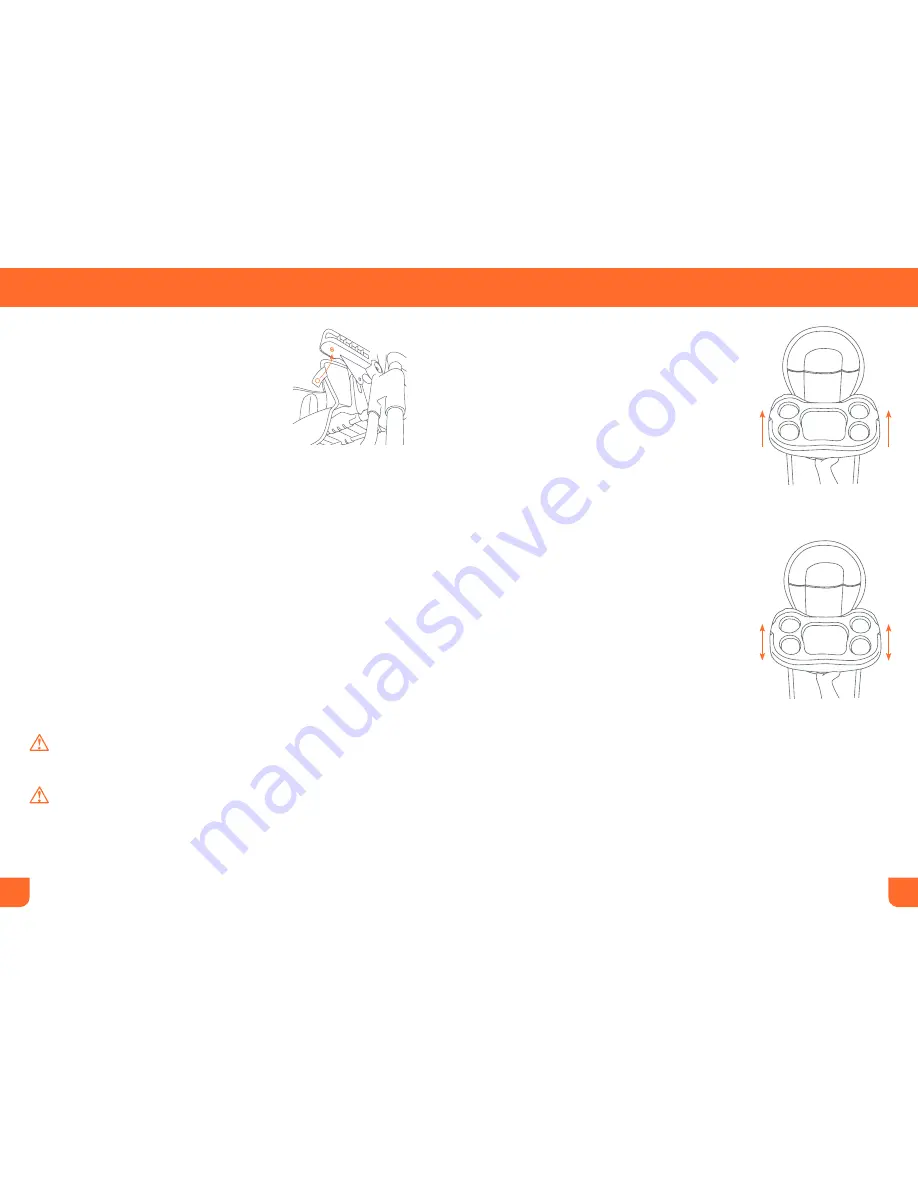
• To attach the Tray, line up the grooves on the
bottom of the tray with the armrests of the high
chair. Squeeze the Tray’s release handle and
slide the tray onto the armrests (Fig. 14a). The
Tray has a 3-position adjustment. To adjust the
position, squeeze the Tray’s release handle
located underneath the tray and reposition the
tray to the desired position (Fig. 14b). Release
the Tray’s handle. Check that the Tray is
securely locked in its new position.
• TO ATTACH INSERT TRAY: The dishwasher
safe food Tray Insert snaps onto the High Chair
Tray and is held in place by tabs on the sides
of the Tray. When installing the Tray Insert
make sure that its snaps into place to prevent
the child from removing the Tray Insert. To
remove Insert unsnaps tabs from the tray.
• Para sujetar la bandeja, alinee las ranuras
en la parte inferior de la bandeja con el
apoyabrazos de la silla alta. Presione la
manija de liberación de la bandeja y deslice
la bandeja hacia el apoyabrazos (Fig. 14a).
La bandeja tiene 3 posiciones de ajuste. Para
ajustar la posición, presione la manija de
liberación de la bandeja ubicada debajo de la
bandeja y coloque la bandeja en la posición
deseada (Fig. 14b). Suelte la manija de la
bandeja. Verifique que la bandeja esté trabada
de manera segura en la nueva posición.
• PARA SUJETAR LA BANDEJA DE
ACCESORIO: El accesorio de la bandeja de
alimentos apta para lavavajillas se encaja en
la bandeja de la silla alta y se sostiene en su
lugar mediante lengüetas en los costados de
la bandeja. Al instalar el accesorio de la
bandeja, asegúrese de que quede encajado
en su lugar para que el niño no pueda
retirarlo. Para retirar el accesorio, destrabe las
lengüetas de la bandeja.
9
13)
• Fasten the snap buttons on the sides of the
seat pad with the holes on the outer edge of
the high chair arm (Fig. 13).
• Abroche los botones a presion a los lados del
almuadon de la silla alta con los agujeros del
lado de afuera del borde de los posa brazos
de la silla alta (Fig. 13).
TO REMOVE SEAT PAD
PARA QUITAR LA ALMOHADILLA
DEL ASIENTO
• Reverse steps above.
• Invierta los pasos mencionados
anteriormente.
Fig. 14b
Fig. 14a
3-position
3 posiciones
Fig. 13


