Bischoff & Bischoff GmbH |2021-07-27 Revision: 4
61
60
S-Eco 2 | S-Eco 300
| Standard wheelchair
S-Eco 300 XL
| Special size
Pyro Start
| Lightweight wheelchair
Standard wheelchair |
S-Eco 2 | S-Eco 300
Special size |
S-Eco 300 XL
Lightweight wheelchair |
Pyro Start
EN
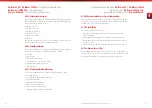
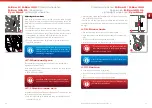
Adjusting the drum brake
Basic setup for the drum brake is carried out on the cable clamping
screw. Fine adjustment is carried out using the adjusting nut on the
brake cable. Unscrewing the adjustment nut will increase the braking
effect (Fig. 18).
•
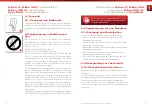
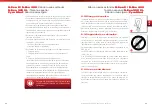
Drum brakes only work on one drive wheel at a time!
•
Drum brakes are also subject to natural wear. If the braking effect
decreases, the wheelchair must no longer be used. In order to avoid
this happening, for your own safety you should check that the
brakes are working properly each time before setting off!
•
Once you have finished the adjustment, re-tighten all screws and
carry out a brake test!
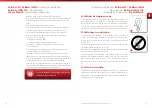
Adjusting the brakes must only be carried out by
trained personnel. Please bear in mind that if
the brakes are set incorrectly this can have life-
threatening consequences.
4.7. Wheels and tyres
The seat height can be adjusted to 3 positions to meet the user’s
requirements (except S-Eco2).
Drive wheel and castor must always be located in the same position
respectively to each other
. UPPER - MIDDLE - LOWER
If the drive wheel and castor are not at the same
position, there is a risk of tipping over and falling.
4.7.1. Quick-release axle
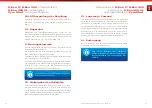
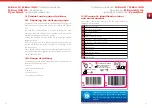
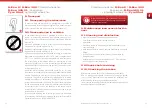
As standard the wheelchair has quick-release axles. This means you can
easily remove and refit the drive wheels.
•
Push the lock of the quick-release axle using your thumbs and pull
the wheel off (Fig. 19).
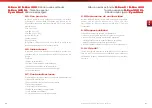
18
19
•
When refitting, simply put the wheel onto the receiver. When doing
this, push the locking knob in.
The click you will hear from the quick-release axle will indicate that
the wheel is securely mounted. After fitting, make sure that the wheels
are tight!
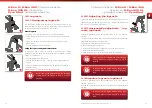
4.7.2. Drive wheels
•
Remove the drive wheels using the quick-release axles.
•
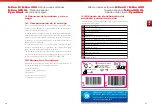
Undo the screws on the adapter and pull them off completely (Fig.
20).
•
Position the adapter to the required seat height.
•
Insert the screws back into the adapter and re-tighten the screws.
If your wheelchair has the optional pneumatic
tyres, pump the wheel to the pressure according
the value on the tyre’s wall.
Please contact your dealer in case of puncher in your
pneumatic tyres.
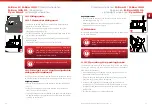
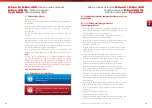
4.7.3. Castors
•
Undo the axle and remove it completely.
•
Position the castor in the position for the required seat height (Fig.
21).
•
Put the axle back into the castor fork and tighten
.
If the drive wheel or castor is worn or defective, ask
your dealer to service them!
1
2
20
21


