Water Cooling
Power Supply Support
Accessories
Model Name
Model Number
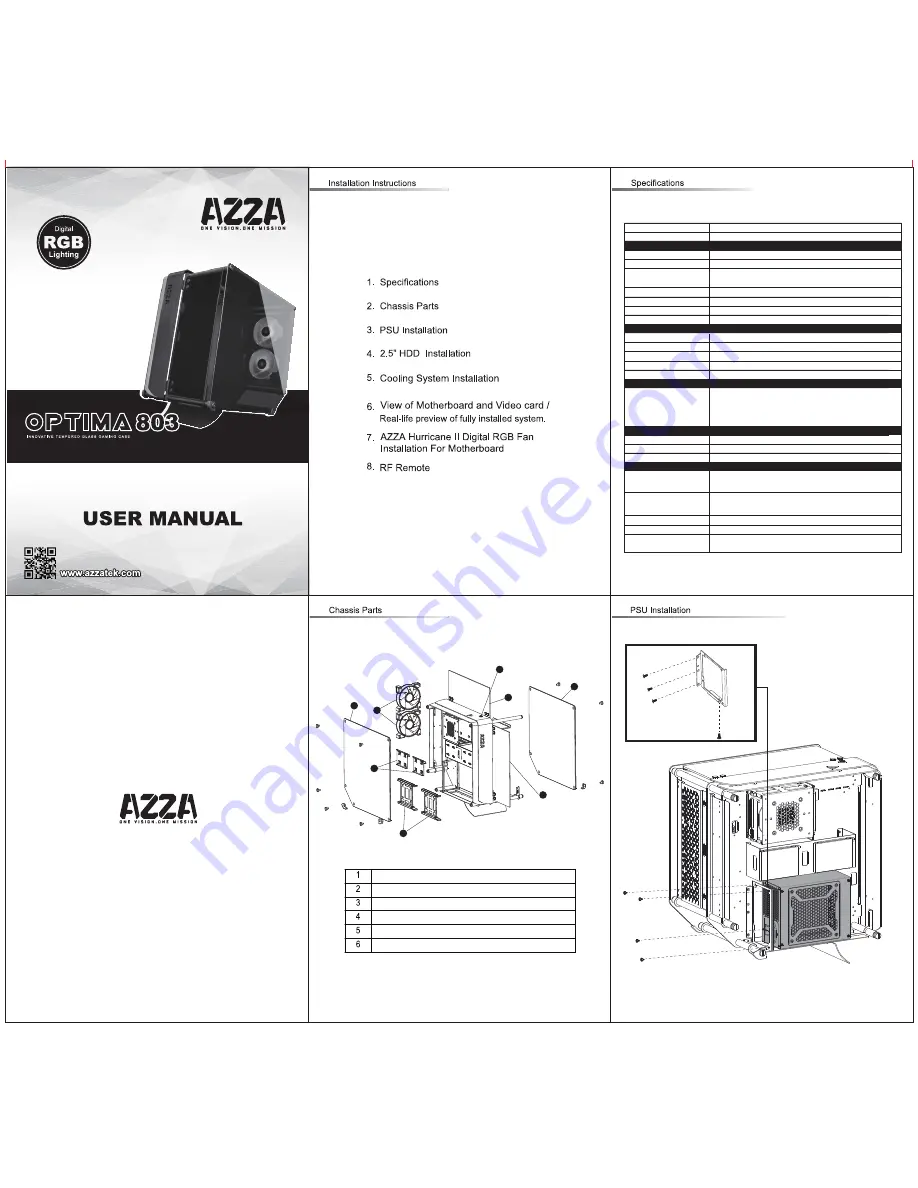
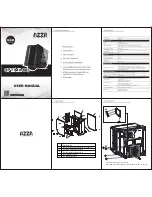
Specifications
Type
Color
Side Panel Window
Max CPU Cooler Height
Max Video Card Length
Power Supply
Motherboard Compatibility
External 5.25" Drive Bays
Internal 2.5" Drive Bays
Internal 3.5" Drive Bays
Expansion Slots
Top Ports
Digital RGB Light Effects
Physical Specifications
Dimension with Case Stand(HxWxD)
Metal Chassis Dimensions (HxWxD)
Weight
Available Fan Ports
Features
Expansion
Cooling System
2x120mm fan ports on the bottom
Supports radiators up to 240mm in the bottom and rear.
Bottom mounted ATX Power Supply
1xDigital RGB RF Remote
1x Designed Case Stand
Optima 803
CSAZ-803
Up to 150mm
Up to 280mm long Video card
Not Included
ATX
480 x 301 x 492mm / 18.9 x 11.9 x 19.4 inches
422 x 301 x 419 mm / 16.6 x 11.9 x 16.5 inches
11.3kg /25lbs
ATX Mid Tower
Black(exterior)/black(interior)
Left & Right Side of panel: Tempered Glass with rubber mounts
Top & Front side of panel : Aluminum plate and Tempered Glass with rubber mounts
Up to 6
0
High-quality tempered glass side window allows for clear visuals to
inner components.
2x120mm fan ports in the rear
(2xHurricane II Digital RGB Fan included)
Up to 2
7
Power Button
All Digital RGB light devices controlled by RF Remote
Standard configuration has an RF connector and a remote controller.
If the motherboard has the WS2812B Individually Addressable RGB LED strip
5V connector, Digital RGB light devices can be connected with motherboard
instead of the RF connector.
4
4
3
5
6
1
2
2
Power Switch
Tempered glass top panel and front panel x2
Tempered glass side panel x2
2.5″ SSD brackets x2
3.5″ HHD brackets x2
Hurricane II Digital RGB fan x2
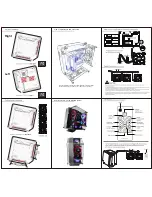
Tempered Glass on Four
Sides Windows
Video card can be viewed from front.
A. Remove the PSU plate from the case.
B.Lock PSU plate and PSU together, then assemble the PSU on the case.
A
B


