6
2.
Configuration
Panel
Configuration
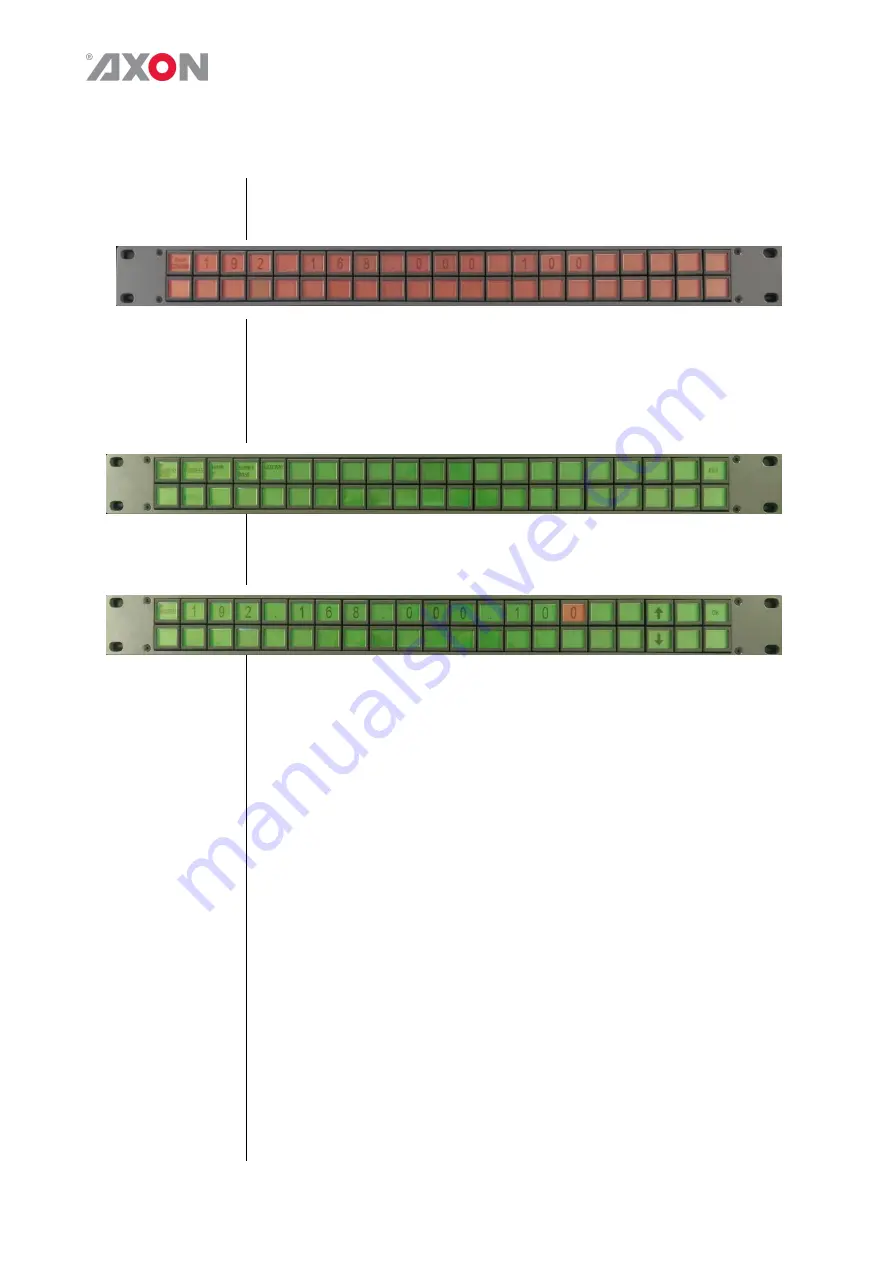
When powering on the CCP panel and connecting it to a network, all the
LCD buttons will display with a red backlight and show the IP address
that the panel is currently configured to. As shown in the example below:
To configure the Cerebrum control panel you need to enter the
configuration mode. This is done by pressing and holding the first (1) and
last (21) LCD button on the top row down for 10 seconds.
When it enters this configuration mode the display of the panel will
change as follows:
To change the required setting such as the IP address, press the button
marked ‘IP ADDRESS’. The display will then show the current IP address
setting.
The address can be changed by pressing the digit required to change
which will then be highlighted and then using the buttons marked with the
up and down arrows until the required digit is shown. Each digit can be set
until the required IP address is configured, pressing the button showing
OK will save this setting and return you to the configuration mode menu
again.
The settings for the Subnet mask and gateway can be configured in the
same way. The IP Address mode can either be configured to MANUAL or
DHCP, and the Show IP can either be configured to ON or OFF
depending if you want the IP address shown on the panel when there is no
communication to Cerebrum.
When all configuration items have been set as required pressing the last
button marked EXIT will leave the configuration mode and reboot the
panel. A message will indicate when this is in progress and the panel will
come back on with the sign on page as shown at the top of this page. It
will stay like this until communication from Cerebrum tells the panel to
display something else.


