www.avonic.eu
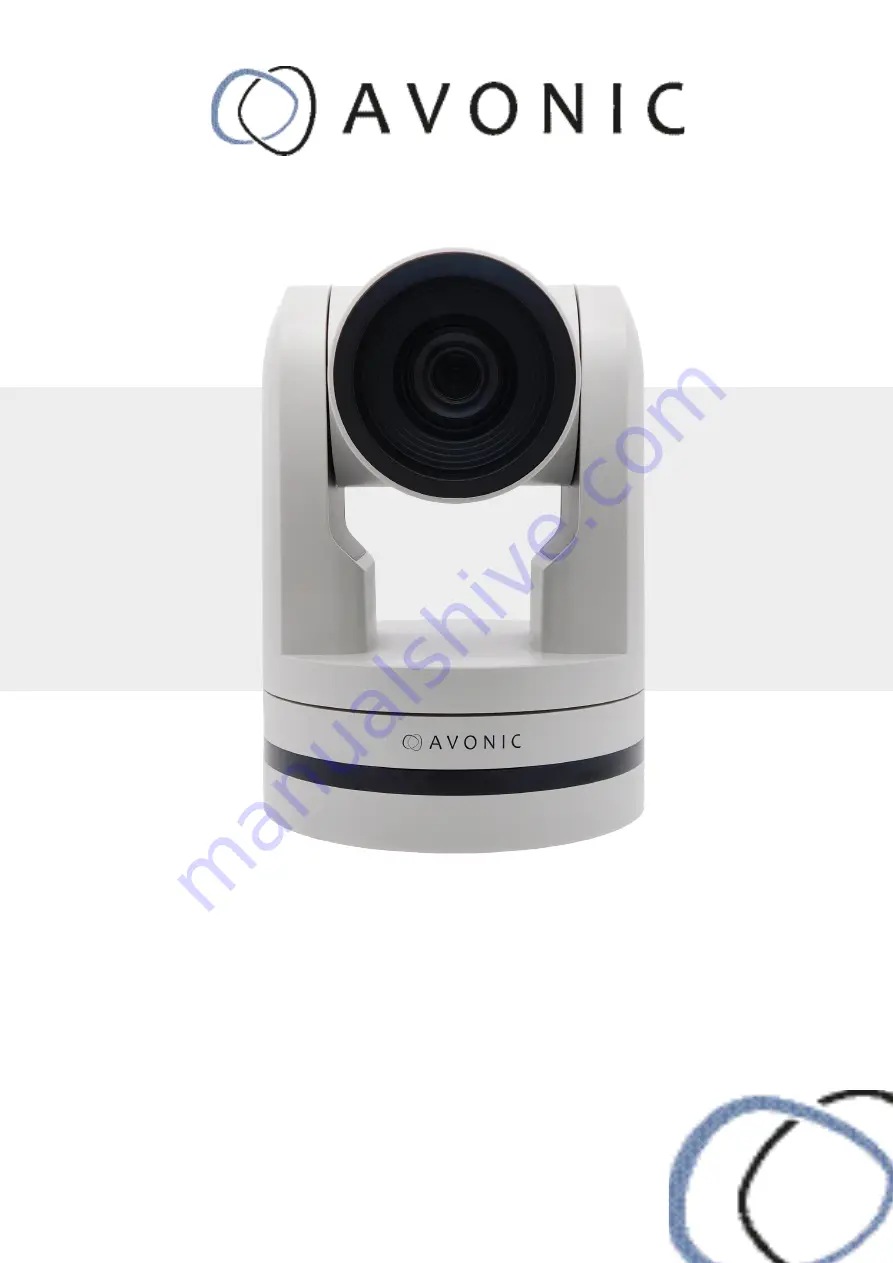
User Manual
Version 1.0
Avonic PTZ Camera 20x Zoom
AV-CM40-IP
Страница 1: ...www avonic eu User Manual Version 1 0 Avonic PTZ Camera 20x Zoom AV CM40 IP...
Страница 2: ...Connections 7 System Select Switch 8 RS232 Interface 8 RS232 network connection diagram 9 RS485 network connection diagram 9 IP network connection diagram 9 OSD Menu 10 Operation 15 Remote controller...
Страница 3: ...28 User 29 Update 29 Default 30 Reboot 30 MJPEG snapshot 31 Maintenance 32 Camera Maintenance 32 Unauthorized Use 32 Troubleshooting 32 General advise 32 Power Issues 32 Image 33 Control 33 WebGUI 33...
Страница 4: ...able Use a soft damp cloth to clean the device do not use strong or abrasive detergent to clean that will damage the device If you wish to dispose this product please contact Avonic to obtain info abo...
Страница 5: ...and Ceiling mount SKU white AV MT200 W SKU black AV MT200 B Ceiling mount SKU white CM CMW SKU black CM CMB Quantity Description Avonic SKU 1 pc PTZ Camera AV CM40 IP 1 pc Power Supply 12V A AV CM40...
Страница 6: ...tputs HDMI 1 4a 3G SDI USB2 0 ethernet Ethernet port with PoE functionality The 3G SDI is available for 100m transmission at 1080p60 format SMPTE 424M The output image is 8 bit YCbCr 4 2 2 level A SMP...
Страница 7: ...tor 3 System Selector see next page for details 4 RS 232 mini DIN 8 IN connect the supplied RS 232 cable 5 RS 232 mini DIN 8 OUT for daisy chaining RS 232 connection 6 3G SDI video output SMTPE 424M c...
Страница 8: ...the requi rements turn on the power switch Alternatively use a PoE ethernet connection Power On Pan Tilt will rotate to the maximum position of top right after the camera started then it returns to th...
Страница 9: ...ic PoE camera to a LAN using a standard PoE switch if the unit is simultaneously connected to both PoE and its own power supply the power supply will take priority If the power supply is disconnected...
Страница 10: ...ddress Visca Address Fix Pelco P Address Pelco D Address Baudrate Camera Exposure Mode EV BLC Flicker G Limit DRC Color WB Mode RG Tuning BG Tuning Saturation Hue AWB Sensitivity Image Brightness Cont...
Страница 11: ...CAMERA MENU Language EN CN Setup Camera P T Z Video Format Version Restore Default Select Item Change Value Home Enter Menu Exit SETUP Protocol AUTO VISCA PELCO D PELCO P Visca Address 1 7 Visca Addr...
Страница 12: ...V ON OFF EV Level 7 7 BLC ON OFF Flicker 50Hz 60Hz OFF G Limit 0 15 DRC 1 8 CLOSE Select Item Change Value Menu Back COLOR WB Mode Auto 3000K 7000K 500K increments Manual OnePush RG Tuning 10 10 BG Tu...
Страница 13: ...Color B W Gamma 0 45 0 50 0 55 0 63 Default DCI 1 8 Close Select Item Change Value Menu Back FOCUS Focus Mode Auto Manual OnePush AF Zone Top Center Bottom All AF Sensitivity Low Middle High Select It...
Страница 14: ...Value Menu Back RESTORE DEFAULT Restore default NO YES Select Item Change Value Menu Back Home OK VERSION MCU Version nr date Camera Version nr date AF Version nr date Menu Back VIDEO FORMAT Video For...
Страница 15: ...c Camera select d Number Keys e Focus f Auto Manual Focus g Zoom h Set Clear Preset i PTZ keys up down left right j Home k BLC Back Light Control ON OFF l Menu m Function Keys F1 F2 F3 F4 n Blank butt...
Страница 16: ...Camera Address No 1 F3 Camera Address No 3 F2 Camera Address No 2 F4 Camera Address No 4 d Number Keys The number keys are used to call presets Press the number of the preset desired and the camera wi...
Страница 17: ...o function with this camera 4 Menu set to English 6 Restore factory defaults 9 Flip switch just temporary flip to view the image flipped Auto Enter into the aging mode only for quality control purpose...
Страница 18: ...t 1259 Parity bit none IP Control COM port settings In default working mode the camera is able to connect to a VISCA controller with RS 232 or RS 485 serial interface The camera can be controlled via...
Страница 19: ...creen WebGUI A preview of the camera ip video output When an image is not visible make sure to have flash enabled for this webpage On the right is PTZ control speed by zoom slider focus and zoom funct...
Страница 20: ...bedding of the 3 5mm line input on the back of the camera Select encoding type mp3 AAC or G 711A Select sample rate 16000 32000 44100 48000 Sample bits is always 16 Bitrate Kbps 32 48 64 96 128 Channe...
Страница 21: ...Image Size 1920 1080 1280 720 1920 1080 1280 720 320 180 320 240 640 360 Rate Control CBR constant bit rate VBR variable bit rate depending on format Image quality fixed at best fixed at good Bit Rat...
Страница 22: ...default setting Click on Save to apply settings a small dialogue screen appears in the bottom right of the window telling the settings are saved successfully Multicast Streaming Stream options Main St...
Страница 23: ...se Reduction Style After changing the values press refresh for the chan ges to take effect Click on Save to apply settings a small dialogue screen appears in the bottom right of the window telling the...
Страница 24: ...e settings can be found under the tab System chapters Attributes and Time Below is a dropdown menu for the desired font color as well as directional arrows to move the title and time to the preferred...
Страница 25: ...nd SDI connectors to set the resoluti on of the main and sub ipstreams The resolution of the USB output is determined by the computer connected to it Save to apply settings a small dialogue screen app...
Страница 26: ...ent streaming outputs and protocols the camera sup ports Make sure these settings don t interfere with other uses and services on the same network Save to apply settings a small dialogue screen appear...
Страница 27: ...ateway and on the next tab the Preferred and Alternative DNS server can be specified The MAC Address can be found on the last visible line Save to apply settings a small dialogue screen appears in the...
Страница 28: ...same LAN Device ID is always 1 addressing is done via IP The language cannot be changed Save to apply settings a small dialogue screen appears in the bottom right of the window telling the settings a...
Страница 29: ...nations By default this screen shows a readout of the current firmware versions Update file provides a firmware upgra de functionality via this screen When the camera is done uploading and processing...
Страница 30: ...on to perform a factory default The camera will be ready for use again after the boot cycle Click on the button to activate a reboot the camera will be ready for use after it has restarted Log in agai...
Страница 31: ...to implement into third party soft ware To access the MJPEG snapshot feature use the following format http ip address snapshot jpg up to firmware 2 4 5 http IP img capjpg snapshot jpg starting from f...
Страница 32: ...not be used for a long time please turn off the power switch disconnect AC power cord of AC adaptor to the outlet Use soft cloth or tissue to clean the camera cover Please use the soft dry cloth to c...
Страница 33: ...d network architecture Check serial communication settings on both camera and controller Check VISCA PELCO address settings on both camera and controller No image Check power of camera and monitor Che...
Страница 34: ...ill be able to send PTZ commands to the server The server then parses and executes the PTZ command The VISCA over IP command list is based on the VISCA protocol Not all VISCA commands are implemen ted...
Страница 35: ...d is not returned No Socket 90 6y 05 FF y Socket No Returned when no command is executed in a socket specified by the cancel command or when an invalid soc ket number is specified Command Not Execu ta...
Страница 36: ...04 08 02 FF Near Standard speed 8x 01 04 08 03 FF Far Variable speed 8x 01 04 08 2p FF p 0 low F high Near Variable speed 8x 01 04 08 3p FF Direct Focus Position 8x 01 04 48 0p 0q 0r 0s FF minp 0 q 0...
Страница 37: ...ris Priority Up 8x 01 04 0B 02 FF Down 8x 01 04 0B 03 FF Direct Iris Position 8x 01 04 4B 00 00 0p 0q FF min p 0 q 0 max p 0 q C CAM_Gain Reset 8x 01 04 0C 00 FF Gain Setting Up 8x 01 04 0C 02 FF Down...
Страница 38: ...5 02 FF Sharpness Manual CAM_Apertu re sharpness Reset 8x 01 04 02 00 FF Aperture Control Up 8x 01 04 02 02 FF Down 8x 01 04 02 03 FF Direct 8x 01 04 42 00 00 0p 0q FF pq Aperture Gain CAM_PictureEffe...
Страница 39: ...Y 0Z 0Z 0Z 0Z FF Home 8x 01 06 04 FF Reset 8x 01 06 05 FF Pan_tiltLimitSet LimitSet 8x 01 06 07 00 0W 0Y 0Y 0Y 0Y 0Z 0Z 0Z 0Z FF W 1 UpRight 0 Down Left YYYY Pan Limit Posi tion ZZZZ Tilt Position Lim...
Страница 40: ...0s FF pqrs Zoom Position CAM_FocusAF ModeInq 81 09 04 38 FF 90 50 02 FF Auto Focus 90 50 03 FF Manual Focus CAM_FocusPosInq 81 09 04 48 FF 90 50 0p 0q 0r 0s FF pqrs Focus Position CAM_WBModeInq 81 09...
Страница 41: ...3D p 0 to 8 CAM_Flicker ModeInq 81 09 04 55 FF 90 50 0p FF p Flicker Settings 0 OFF 1 50Hz 2 60Hz CAM_Aperture ModeInq Sharp ness 81 09 04 05 FF 90 50 02 FF Auto Sharpness 90 50 03 FF Manual Sharpness...
Страница 42: ...50 0q FF p Gain Limit CAM_DHotPixelInq 81 09 04 56 FF 90 50 0q FF p Dynamic Hot Pixel Setting 0 0ff level 1 to 6 CAM_AFSensitivi tyInq 81 09 04 58 FF 90 50 01 FF High 90 50 02 FF Normal 90 50 03 FF L...
Страница 43: ...www avonic eu 66 APPENDIX B DIMENSIONS...