background image

 S6L Control Surface: Replacing the PSU Bay

9329-65877-00 REV A

1

S6L Control Surface: Replacing the PSU Bay

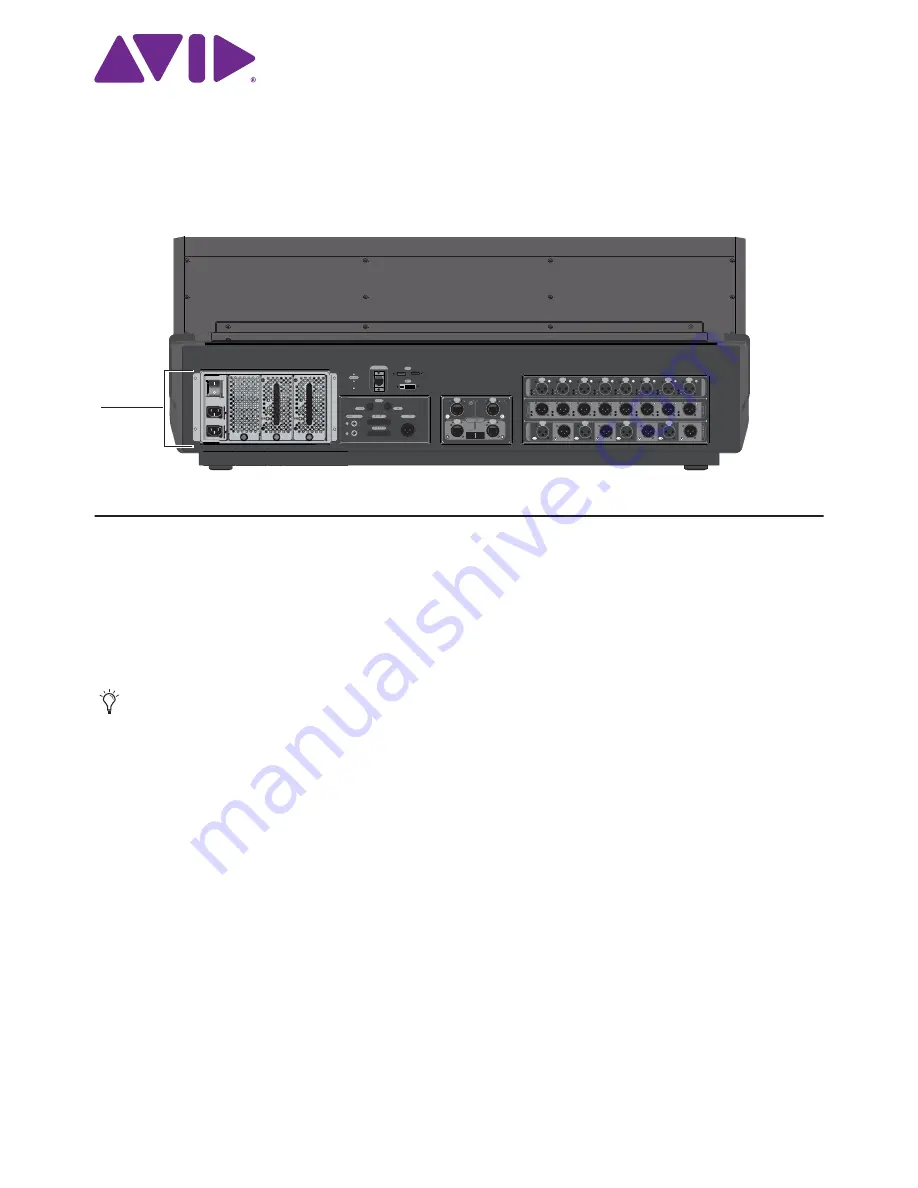
This section provides instructions for replacing the PSU (Power Supply Unit) bay in the S6L Control Surface. 

Before you Begin

Make sure to do all the following items before beginning the procedure. 

1

Make sure you have assembled all 

Required Tools and Items

.

2

Put on your anti-static wrist band and configure according to its instructions.

3

Shut down your system, and disconnect any cables connected to your S6L control surface. 

4

Make sure your work area is clear of any debris. 

Required Tools and Items

• 1x 2.5mm Hex driver

• 1x 12-inch long, magnetic-tipped #2 Phillips screwdriver (magnetic highly recommended but not required)

• 1x 5/16 socket

• Anti-Static wrist strap (not included)

• Small cups or other containers to hold and organize the different types of fasteners as you remove them from the unit

• Table or other work surface strong enough to support the S6L control surface while allowing access to the front and back, and 

with enough extra space to set both the old and new PSU bays

• Other small padded surface to set modules while they are removed from the unit

• Recommended: Pen and lightweight tape to label cables as you disconnect them (to ensure correct re-installation)

What’s Included

• 1x Replacement PSU Bay 

VENUE S6L control surface PSU bay

Throughout this procedure, keep the removed screws organized to simplify re-assembly. 

A

B

A

B

Содержание VENUE S6L24

Страница 1: ...driver 1x 12 inch long magnetic tipped 2 Phillips screwdriver magnetic highly recommended but not required 1x 5 16 socket Anti Static wrist strap not included Small cups or other containers to hold an...

Страница 2: ...the S6L chassis and set the screws aside 2 After removing the 8 fasteners try sliding the back cover off the chassis by pushing it down with your hands and simultaneously pulling the cover away from t...

Страница 3: ...el Knob Module just below the CTM that will be removed 2 Using a 2 5 mm hex driver remove the six screws that secure the CTM or faceplate to the console Set the screws aside to use later when you rein...

Страница 4: ...30 20 10 5 0 6 12 60 40 30 20 10 5 0 6 12 60 40 30 20 10 5 0 6 12 60 40 30 20 10 5 0 6 12 60 40 30 20 10 5 0 6 12 60 30 21 15 9 3 0 3 9 15 60 30 21 15 9 3 0 3 9 15 60 30 21 15 9 3 0 3 9 15 60 30 21 15...

Страница 5: ...h PSU out of the bay and set them aside 4 Using a 2 5mm Hex driver stand at the back of the control surface and remove the four fasteners that secure the PSU Bay to the back of the S6L chassis shown i...

Страница 6: ...connect the Status Signal cable assembly from the back of the bay 8 Standing at the back of the control surface carefully pull the PSU bay completely out of the S6L chassis making sure the power cable...

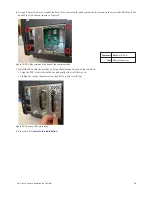
Страница 7: ...from the old PSU 4 Install the bracket you just removed from the old bay onto the new PSU bay being careful to align it correctly and securing it with the same fasteners 5 Using a 5 16 socket transfer...

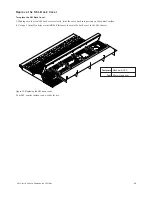
Страница 8: ...by doing the following see Figure 14 Locate the gasket on the old bay carefully lift one end and then peel the gasket off On some bays the gasket is a single piece on others it might be two separate s...

Страница 9: ...cable assembly through its opening in the interior wall of the chassis so it is once again in the space below the removed CKM 3 While the bay is still only partially inserted into the chassis connect...

Страница 10: ...ure 19 7 Install the PSUs into the new bay by doing the following for each of the two PSUs Align the PSU with its slot in the bay and gently slide it all the way in Tighten the captive thumbscrew on t...

Страница 11: ...30 21 15 9 3 0 3 9 15 60 30 21 15 9 3 0 3 9 15 60 30 21 15 9 3 0 3 9 15 60 30 21 15 9 3 0 3 9 15 60 30 21 15 9 3 0 3 9 15 60 30 21 15 9 3 0 3 9 15 60 30 21 15 9 3 0 3 9 15 60 30 21 15 9 3 0 3 9 15 No...

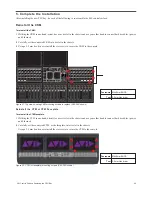
Страница 12: ...o orient the back cover correctly slide the cover back into position on the control surface 2 Using a 2 5mm Hex driver reinstall the 8 fasteners to secure the back cover to the S6L chassis Your S6L co...

Отзывы: