2
Installing the Hardware and Setting Up Your System
54
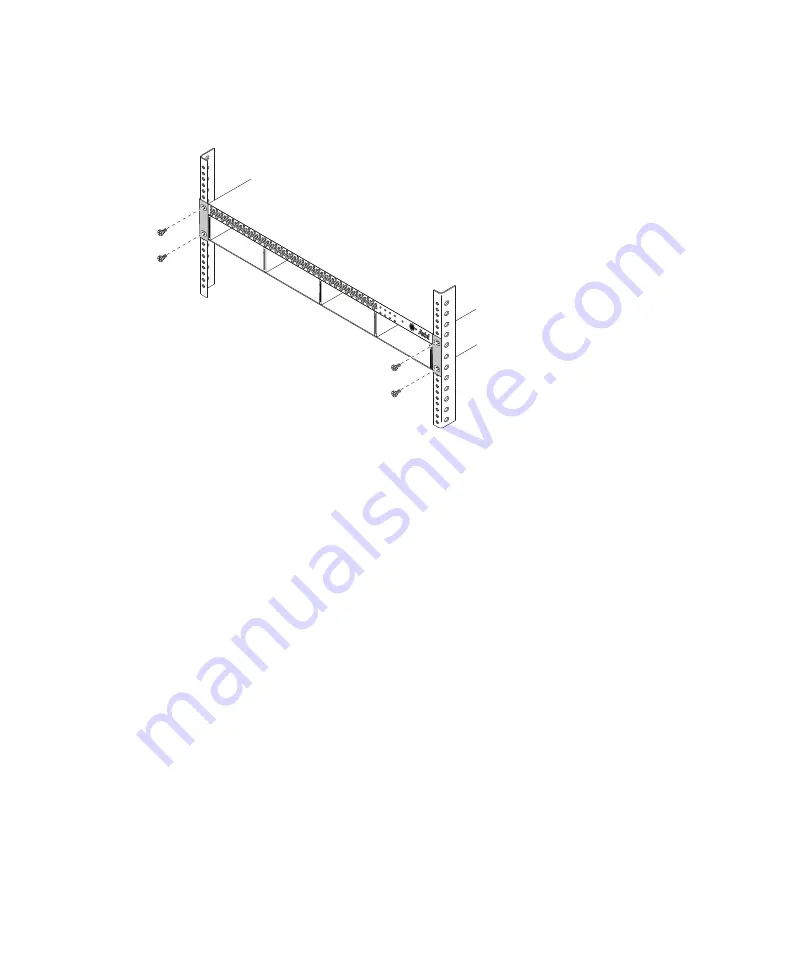
3. Screw the chassis to the front of the rack through the ears of the chassis as shown in the
following figure.
4. Insert the rack ear covers on the rack ear clips.
If the front bezel is not installed on the front of your chassis, you can clip it on.
Inserting the Hard Drives
Once you have installed the AirSpeed Multi Stream chassis into the rack, you must next
insert the four hard drives into the front of the chassis.
n
The hard drives that were shipped with your chassis can be installed into any slot on the
AirSpeed Multi Stream chassis.
To insert the hard drives into the chassis:
1. Unpack each drive and turn it so you can properly read the Avid name.
2. Pull open the plastic handle (with drive size label) on the front of the drive.
3. Place the drive into the slot and slowly push the drive completely into the slot.
4. Push the plastic handle (with drive size label) closed, to lock the drive into the slot.
NET
TMP
LRM
PGD
LTC
REF
ACT
WNK
Содержание AirSpeed series
Страница 1: ...Avid AirSpeed Multi Stream Installation and User s Guide...
Страница 16: ...16...
Страница 20: ...20...
Страница 80: ...2 Installing the Hardware and Setting Up Your System 80...
Страница 121: ...Optional AirSpeed Multi Stream Configuration Procedures 121 5 Click the Languages tab...
Страница 190: ...5 Working with Clips 190...
Страница 224: ...7 Working with the Remote Console 224...
Страница 264: ...B Performing Hardware Diagnostics 264...
Страница 266: ...C Network Teaming 266 4 Open the Teaming tab and enable Team this adapter with other adapters check box...
Страница 269: ...Setting Up Network Teaming 269...
Страница 270: ...C Network Teaming 270...
Страница 276: ...D Regulatory and Safety Notices 276 Taiwan EMC Regulations Taiwan EMC Regulations BSMI Class A EMC Warning...


