Orienting Your SMART Board
After you install SMART Product Drivers on your computer, orient your interactive whiteboard. An
orientation performed with SMART Product Drivers is called a
User Orientation.
Orienting your
interactive whiteboard ensures the greatest possible level of writing and touch accuracy.
Orient your interactive whiteboard if your projector or interactive whiteboard has moved since you last
used it, or whenever the mouse pointer isn’t properly aligned with your finger or a pen tray pen when
you touch the screen.
1.
Press and hold the two large pen tray buttons at the same time.
OR
Press the
Help
button on the pen tray, and then select Orient/Align the SMART Product
OR
Click the arrow at the bottom right (by the clock) of your computer to expand your icon tray.
Click on the SMART Board icon. Click
Orient
.
The orientation screen opens.
2.
Pick up a pen from the pen tray.
3.
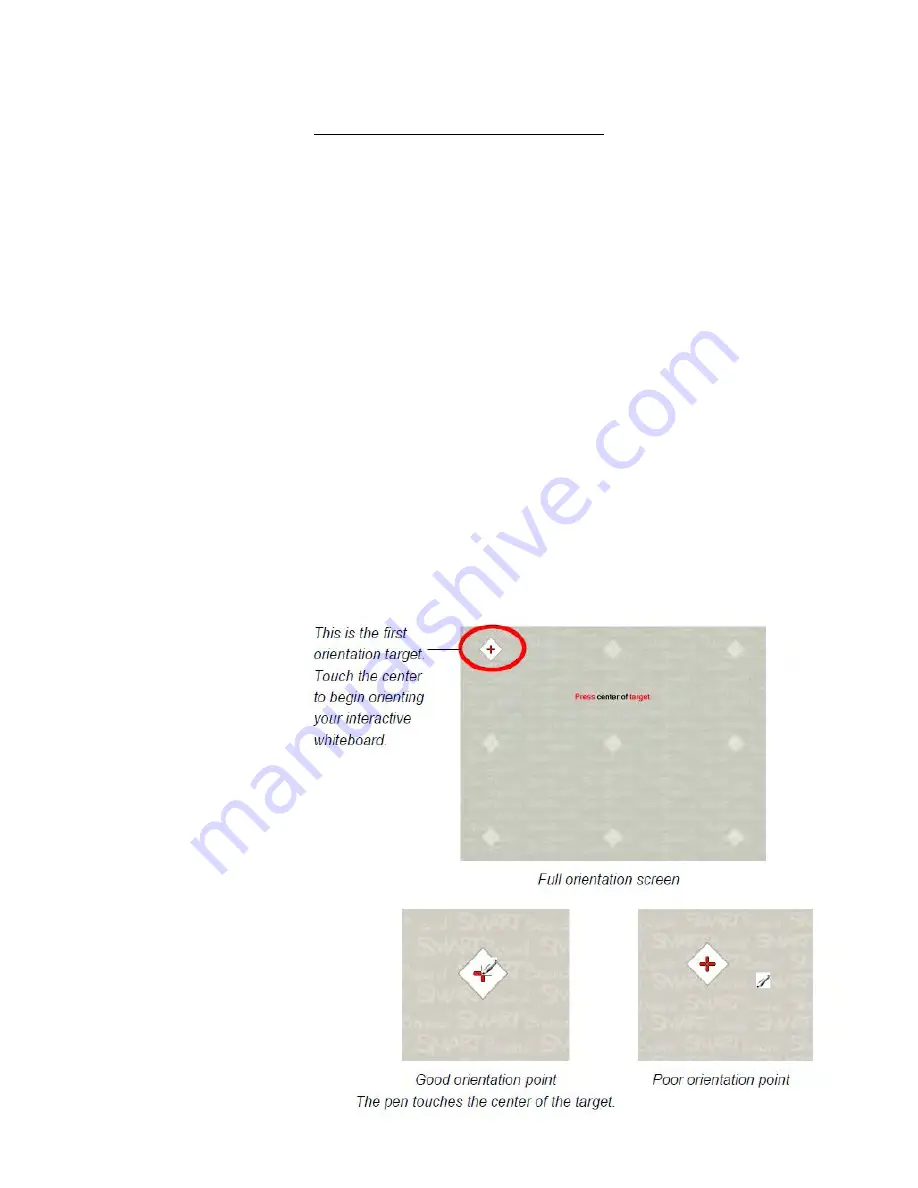
Beginning at the upper-left corner of the screen, touch the center of the target firmly with the
tip of the pen until the target moves to the next point. Try not to flick the pen when you lift it
from the screen, and make sure that the lift direction is at a right angle to the screen.
NOTES
– Although you can use
your finger to orient your
interactive whiteboard, a
fine-point tool such as a
pen tray pen provides
greater precision when
touching the targets.
– The following image
shows a 9-point
orientation screen.
Содержание F30
Страница 1: ...PROCEDURE MANUAL BIG SPRING ISD TECHNOLOGY 3600 11TH PLACE 432 264 4155 ...
Страница 6: ...You will need to set your profile the first time you login by clicking on my profile ...
Страница 7: ...Choose the correct campus that you are assigned to and then choose Save Changes ...
Страница 8: ...You will need to click Request New Ticket ...
Страница 9: ...Please select the problem type you are having from this list ...
Страница 10: ...Click on yes to start your ticket Once you start your ticket there is no way to quit ...
Страница 12: ...Click on the home button when you are done to see your open ticket ...
Страница 13: ...You can now logout Your ticket has been submitted and we will work on it as quickly as possible ...
Страница 65: ...Email Certificate Installation 3 Click Next 4 Click Next again ...
Страница 66: ...Email Certificate Installation 5 Select Finish 6 Select Yes on the Security Warning screen ...
Страница 67: ...Email Certificate Installation 7 Click OK on the following box 8 Click OK in the View Certificate box ...
Страница 68: ...Email Certificate Installation 9 Click Yes in the Security Alert box ...
Страница 74: ...4 Adjust the volume of your computer audio using the Computer CD Player knob on the front of the receiver ...
Страница 77: ......
Страница 140: ...15 Click OK 16 Click Next 17 Leave the check box UNCHECKED Click Next 18 Uncheck the checkbox click Next ...
Страница 141: ...19 Click Next 20 Click Next 21 Click Install ...
Страница 149: ...5 If you are asked to choose a time zone just leave it on the default 6 Webmail should be open and ready to use ...
Страница 152: ...8 Locate Set as Default Printer in the list and select it left click 9 A new default printer has been selected ...
Страница 155: ... Click on Yes to update Malwarebytes It should update without a problem and will move to the next screen when ready ...
Страница 158: ... Make sure all of the boxes are checked in the list of results You may have to check each box individually ...
Страница 164: ...7 Enter awards one at a time 8 Enter events games meets one at a time 9 Add FAQs Links and Files as needed ...
Страница 170: ......
Страница 190: ......


