


14. Select
Update
.
15. Select BIOS from the Firmware Type drop down list.
16. Select
Browse
.
17. Browse to the location of the RBU file from
step 8
.
18. Select
Upload
.
19. Verify that the correct file is present when the upload completes.
20. Select
Update
.
21. Reboot from vCenter or from the server.
22. Use vCenter client to log in directly to the server when the update completes.
23. Confirm the BIOS was upgraded, the server is fully functional, and there are no major
hardware alarms.
24. Remove the server from Maintenance Mode.
Related links
Troubleshooting hardware issues
on page 45
Checklist for replacing a Power Distribution Unit
Use the following general checklist for the field replacement of a Power Distribution Unit. Refer to
the following manufacturer documentation for specific instructions on installation and use:
• ServerTech —
https://www.servertech.com/support
Important:
Ensure there is no strain when dressing the RJ45 Ethernet cables connecting the PDU to the
switch. These cables have to make a right turn through the chassis to get to their connected
pieces of equipment. Always allow adequate strain relief at the PDU end of the cables.
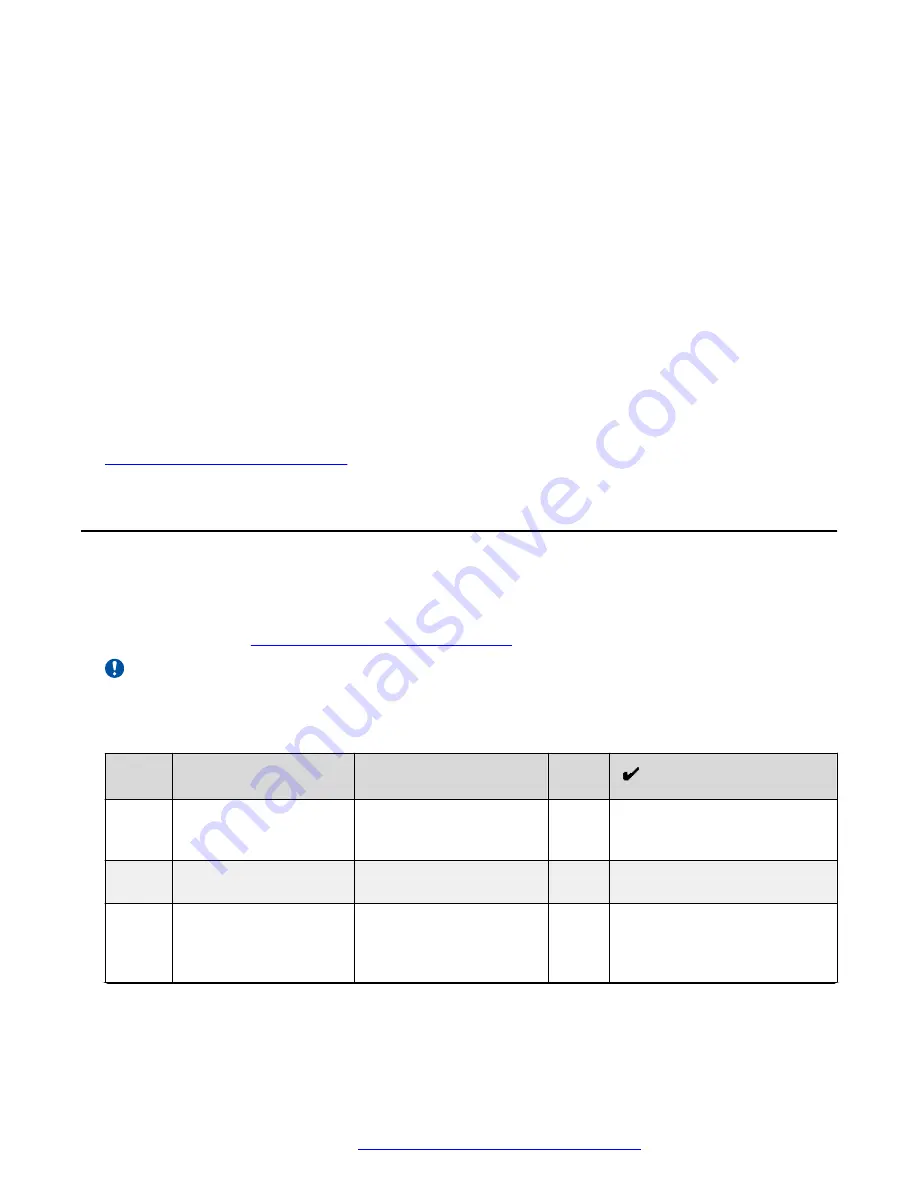
No.
Task
Description
Notes
1
PDU arrives on site.
PDU arrives at the site of
Avaya Pod Fx with faulty
PDU.
2
Mark defective PDU.
Defective PDU is marked
in the support ticket.
3
Note shipped PDU serial
number.
The technician or installer
must write down the serial
number of the shipped
PDU.
Table continues…
Checklist for replacing a Power Distribution Unit
October 2017
Troubleshooting the Avaya Pod Fx
™
53