


© 2021 Avaya Inc. All rights reserved
Release Notes for Avaya Collaboration Unit CU360
Avaya CU360 Setup and Control 10
•
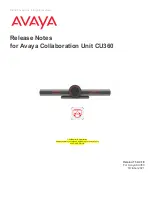
Place the CU360 above your TV, and use the hinge to secure it.
•
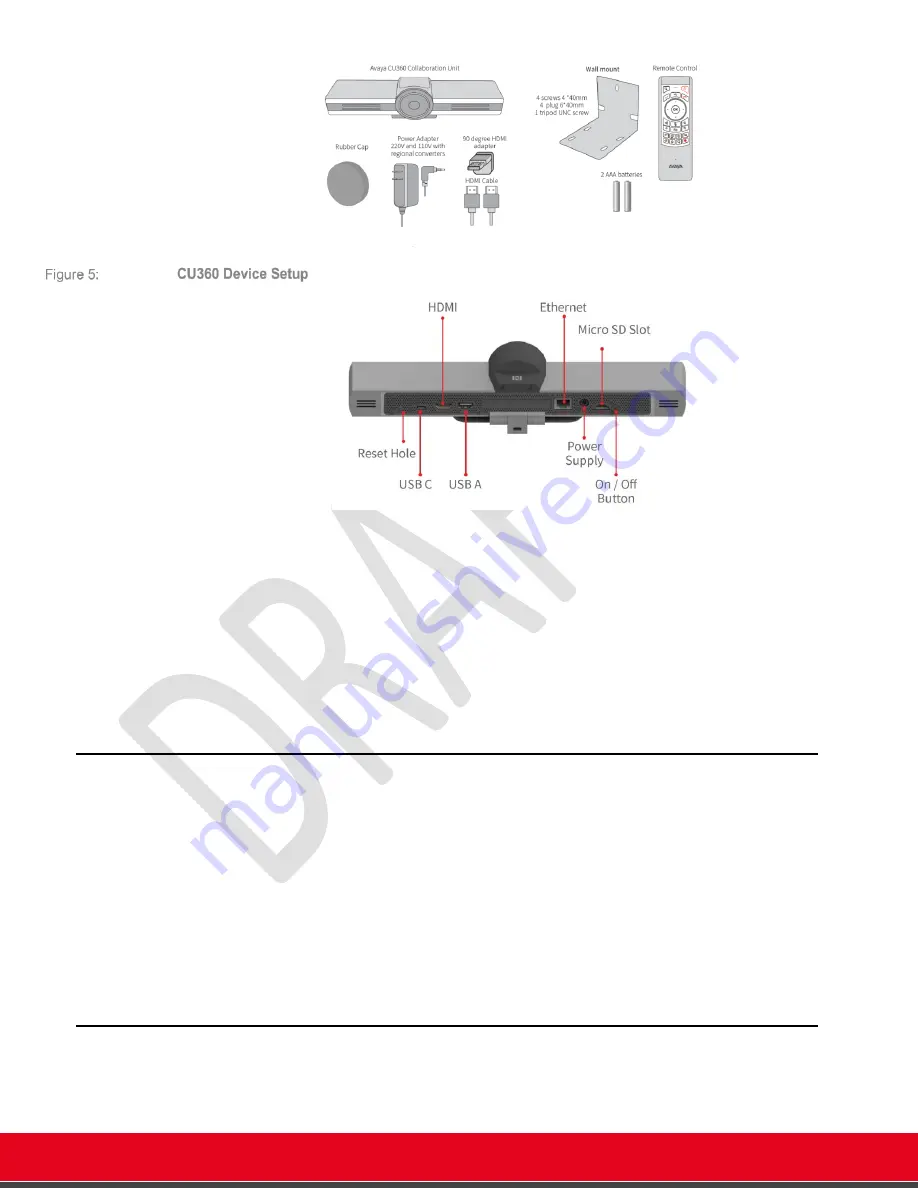
Plug the HDMI cable into the TV and CU360.
•
Connect a LAN / Ethernet cable (or you can configure a Wi-Fi network later). A PoE
Splitter accessory, not included in the box, is available. See the support site.
•
To connect a second display to CU360, please use only a qualified powered USB Type-C
to HDMI adapter, see the support site.
•
Plug in the CU360 power adapter.
•
Use the rubber cap to cover the camera for privacy.
Power On/Off the Unit
•
[O
N THE DEVICE
]
Hold the power button on the back of the unit to switch on/off the system.
•
[O
N THE DEVICE
]
Quickly press the power button on the back of the unit to put in standby the
system or to wake it up.
•
[O
N THE DEVICE
]
Do not unplug/shutdown the power to turn the system off, especially when the
device is in a call.
•
[O
N THE REMOTE
-
CONTROL
]
Long press the 'Power' key to power-on the device, until you see the
LEDs around the camera alight
.
•
[O
N THE REMOTE
-
CONTROL
]
Long press the 'Power' key to power-off the device, until you see the
“Power off/Restart/Screenshot menu”. Activate the mouse pointer on the remote-control and
select “Power off”.
Optimal Huddle Room Setup
For a typical huddle room,
up to 3m x 3m
and with up to 3-4 people attending the conference, a
CU360 device placed on top of a 1080p or 4K monitor provides the best experience. The audio
captured from the embedded device’s mics is enough, and the monitor provides the audio output