


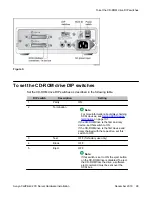

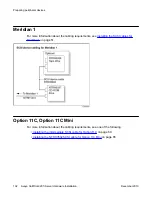


Figure 3:
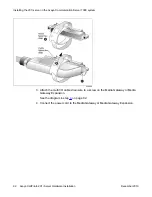
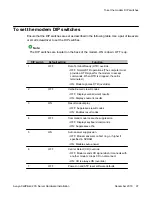
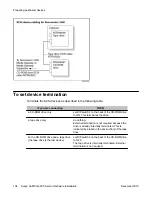
To set the CD-ROM drive DIP switches
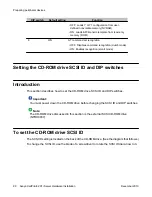
Set the CD-ROM drive DIP switches as described in the following table:
DIP switch
Description
Setting
1
Parity
ON
2
Termination
Note:
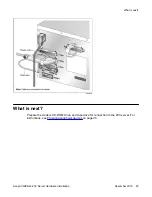
For more information about daisy chaining
SCSI devices, see
on page 101.
If the CD-ROM drive is the first and only
device, set this switch to ON.
If the CD-ROM drive is the first device and
daisy chained with the tape drive, set this
switch to OFF.
3
Test
OFF (for factory use only)
4
Block
OFF
5
Eject
OFF
Note:
If this switch is set to ON, the eject button
on the CD-ROM drive is disabled. To eject
the CD-ROM from the drive, a software
eject command must be sent over the
SCSI bus.
To set the CD-ROM drive DIP switches
Avaya CallPilot
®
201i Server Hardware Installation
December 2010 99
Содержание CallPilot 201i
Страница 1: ...Avaya CallPilot 201i Server Hardware Installation 5 0 NN44200 301 01 03 December 2010 ...
Страница 8: ...8 Avaya CallPilot 201i Server Hardware Installation December 2010 ...
Страница 28: ...About the 201i server 28 Avaya CallPilot 201i Server Hardware Installation December 2010 ...
Страница 106: ...Preparing peripheral devices 106 Avaya CallPilot 201i Server Hardware Installation December 2010 ...
Страница 128: ...Connecting peripheral devices to the 201i server 128 Avaya CallPilot 201i Server Hardware Installation December 2010 ...