


The Highlight Check Box
Select this check box to override the color of the item in the Scene Area with the color of the status of the selected
clash.
The Select Button
Selecting an item in the Item 1 or Item 2 area, and then clicking this button selects a clashing item in the Scene
Area and in the Selection Tree.
The SwitchBack Button
Selecting an item in the Item 1 or Item 2 area, and then clicking this button allows the current view and currently
selected object to be sent back to the originating CAD package.
NOTE
When multiple items are selected on the tree, this button is not available.
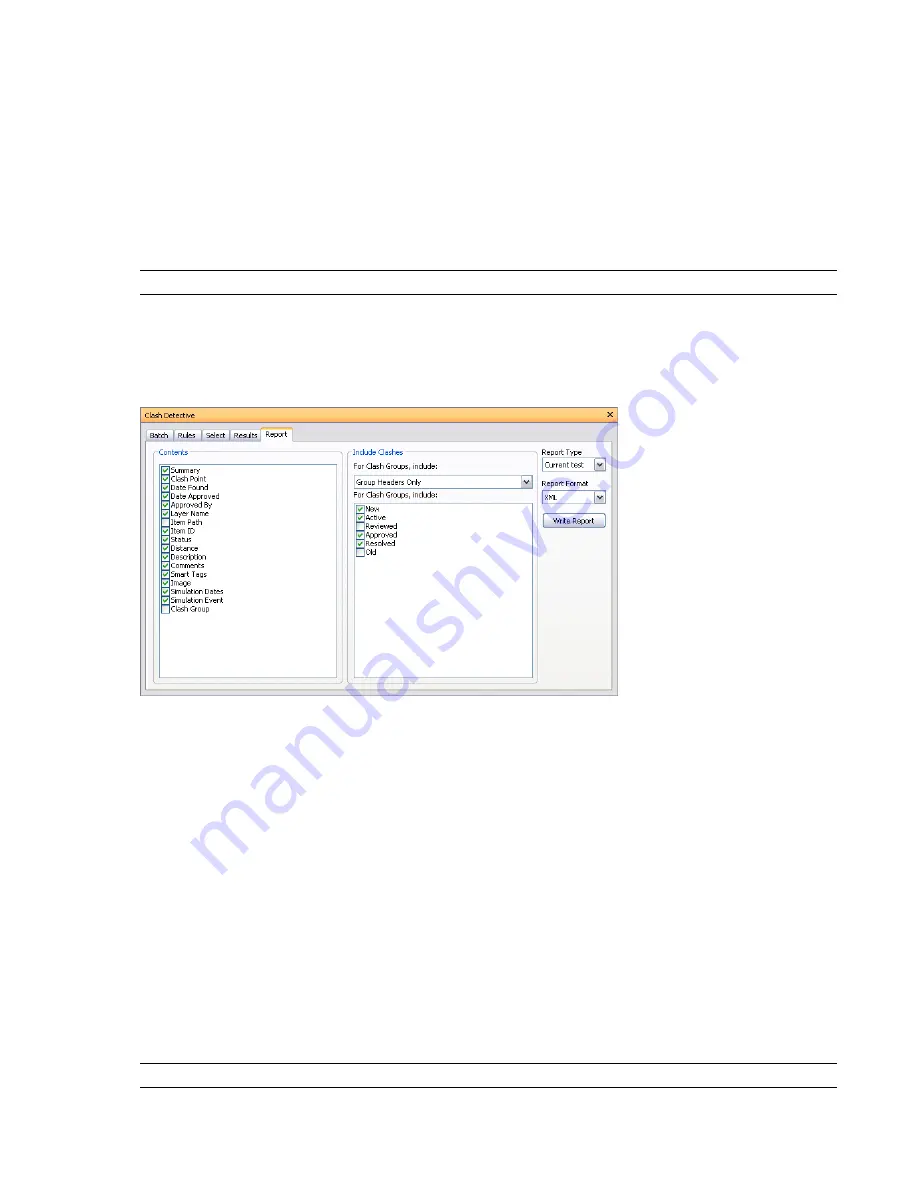
Report Tab
The Report tab enables you to set up and write reports containing details of all clash results found in the selected
test.
The Contents Area
Select the required check boxes to specify which clash-related data to include in your report.
For example, you can include Smart Tag properties relating to the items involved in the clash, TimeLiner task
information, image of the clash and so on.
The Include Clashes Area
For Clash Groups, Include
Use the options in this box to specify how to display the clash groups in your report.
Choose from the following options:
■
Group Headers Only
- reports will only include summaries of the clash group folders that you have created.
■
Individual Clashes Only
- reports will only contain individual clash results. For each clash that belongs to a
group, an extra field, called Clash Group, can be added to the report to identify it. To enable this functionality,
select the Clash Group check box in the Contents area.
■
Everything
- reports will contain both summaries of the clash group folders that you have created and
individual clash results. For each clash that belongs to a group, an extra field, called Clash Group, can be
added to the report to identify it. To enable this functionality, select the Clash Group check box in the
Contents area.
NOTE
If your test does not contain any clash groups, this box is not available.
Clash Detective Window | 379
Содержание 507B1-90A211-1301 - NavisWorks Manage 2010
Страница 1: ...Autodesk Navisworks Manage 2010 User Guide March 2009 ...
Страница 12: ...xii Contents ...
Страница 14: ...2 Part 1 Welcome to Autodesk Navisworks Manage 2010 ...
Страница 64: ...52 Chapter 3 Installation ...
Страница 97: ...Get a Whole Project View 85 ...
Страница 98: ...86 Part 2 Get a Whole Project View ...
Страница 136: ...124 Chapter 5 Work with Files ...
Страница 178: ...To toggle ViewCube Click View Head Up Display ViewCube 166 Chapter 6 Explore Your Model ...
Страница 262: ...250 Chapter 9 Use Viewpoints and Sectioning Modes ...
Страница 270: ...258 Chapter 11 Work Within a Team ...
Страница 282: ...270 Chapter 12 Share Data ...
Страница 346: ...334 Chapter 14 Create Photorealistic Visualizations ...
Страница 460: ...448 Chapter 17 Autodesk Navisworks Reference ...
Страница 466: ...454 Glossary ...


