■
Rename - enables you to rename the link to something more appropriate. When the text field becomes
highlighted, enter the new name, then press Enter to save it.
NOTE
Tasks in the external schedule will be ignored if they do not include both start and end dates, with the start
date being less than or equal to the end date.
Configure Tab
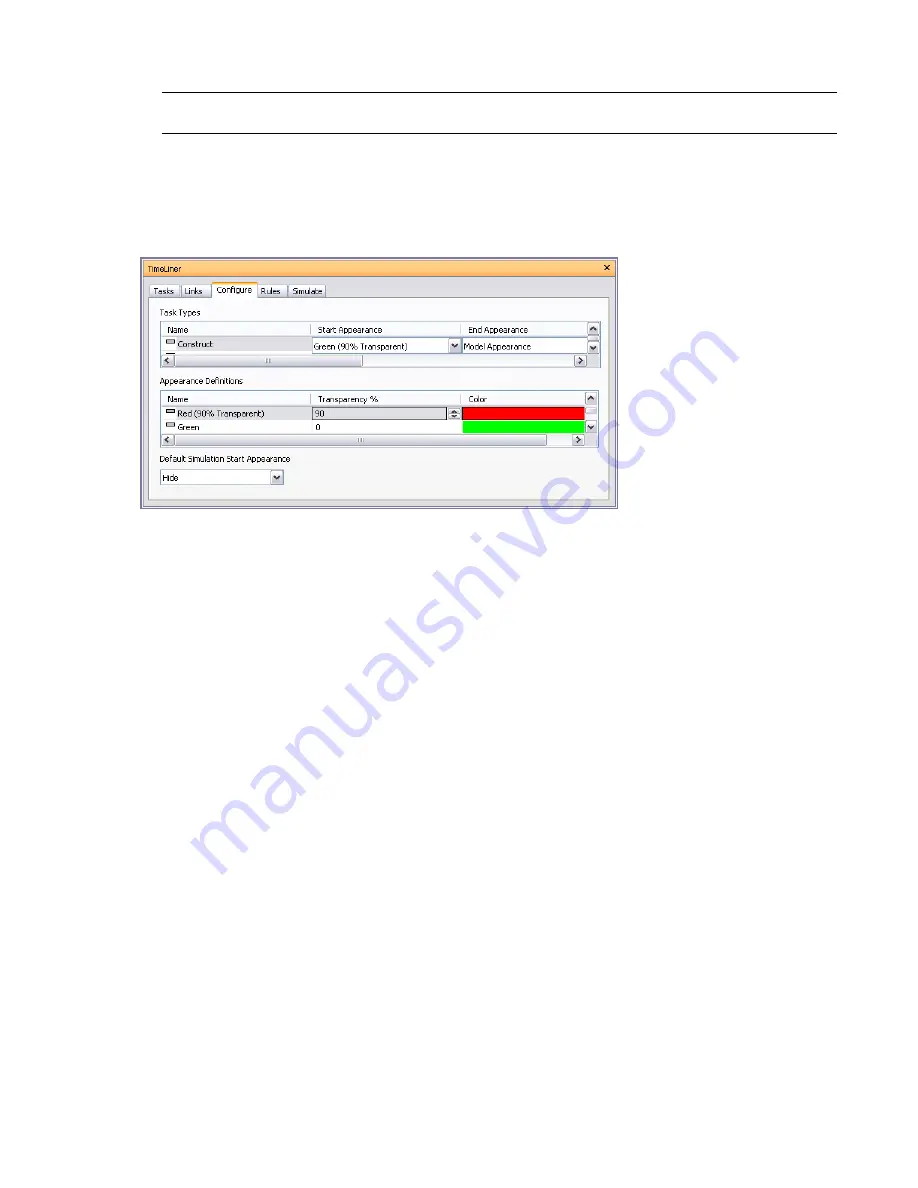
The Configure tab allows you to set up the task parameters, such as task types, appearance definitions for tasks,
and the default model appearance at start of the simulation.
Task Types
The tasks types are shown in a multi-column table. You can move and resize table columns, if necessary.
TimeLiner comes with three predefined task types:
■
Construct - for tasks where the attached items are to be constructed. By default, during a simulation, the
objects are highlighted in green at the start of the task and are reset to
task.
■
Demolish - for tasks where the attached items are to be demolished. By default, during a simulation, the
objects are highlighted in red at the start of the task and are hidden at the end of the task.
■
Temporary - for tasks where the attached items are only temporary. By default, during a simulation, the
objects are highlighted in yellow at the start of the task and are hidden at the end of the task.
The Appearance Definition
You can customize the default task types, or create new ones, as necessary.
The appearance definitions are shown in a multi-column table. You can move and resize table columns, if
necessary.
TimeLiner comes with a set of ten predefined Appearance Definitions that you can use to configure the task
types. Appearances define a level of transparency and a color.
You can customize the default appearance definitions, or create new ones, as necessary.
The Shortcut Menus
Right-clicking in the Task Types table opens a shortcut menu that enables you to manage task types:
■
Add - adds a new task type.
■
Delete - deletes the selected task type.
■
Rename - enables you to rename the selected task type.
TimeLiner Window | 341
Содержание 507B1-90A211-1301 - NavisWorks Manage 2010
Страница 1: ...Autodesk Navisworks Manage 2010 User Guide March 2009 ...
Страница 12: ...xii Contents ...
Страница 14: ...2 Part 1 Welcome to Autodesk Navisworks Manage 2010 ...
Страница 64: ...52 Chapter 3 Installation ...
Страница 97: ...Get a Whole Project View 85 ...
Страница 98: ...86 Part 2 Get a Whole Project View ...
Страница 136: ...124 Chapter 5 Work with Files ...
Страница 178: ...To toggle ViewCube Click View Head Up Display ViewCube 166 Chapter 6 Explore Your Model ...
Страница 262: ...250 Chapter 9 Use Viewpoints and Sectioning Modes ...
Страница 270: ...258 Chapter 11 Work Within a Team ...
Страница 282: ...270 Chapter 12 Share Data ...
Страница 346: ...334 Chapter 14 Create Photorealistic Visualizations ...
Страница 460: ...448 Chapter 17 Autodesk Navisworks Reference ...
Страница 466: ...454 Glossary ...


