


To turn on daylight portals for an interior view that includes sunlight, use the Render Quality Settings dialog.
See
Defining a Custom Render Quality
on page 1225 and
on page 1225.
Controlling the Size of the Rendered Image
Before rendering a 3D view, you can use the following techniques to control its print size (in pixels) and file
size (in bytes). The width and height of the rendered image display on the Rendering dialog under Output.
■
Render part of the 3D view
: Use a render region, a crop region, or a section box. See
on page 1223.
■
Zoom in or out
: When creating a rendered image for screen output, you can zoom in or out to make the
rendered image larger or smaller. See
on page 240.
■
Change the output resolution
: When creating a rendered image for printing, you can specify the image
resolution in DPI (dots per inch). See
on page 1221.
■
Change the view scale
: When rendering an image for printing, you can change the view scale to reduce
on page 243.
NOTE
Higher resolution and larger image size increase render time. See
Render Performance and Image Size/Quality
on page 1236.
Controlling Lighting in a Rendered Image
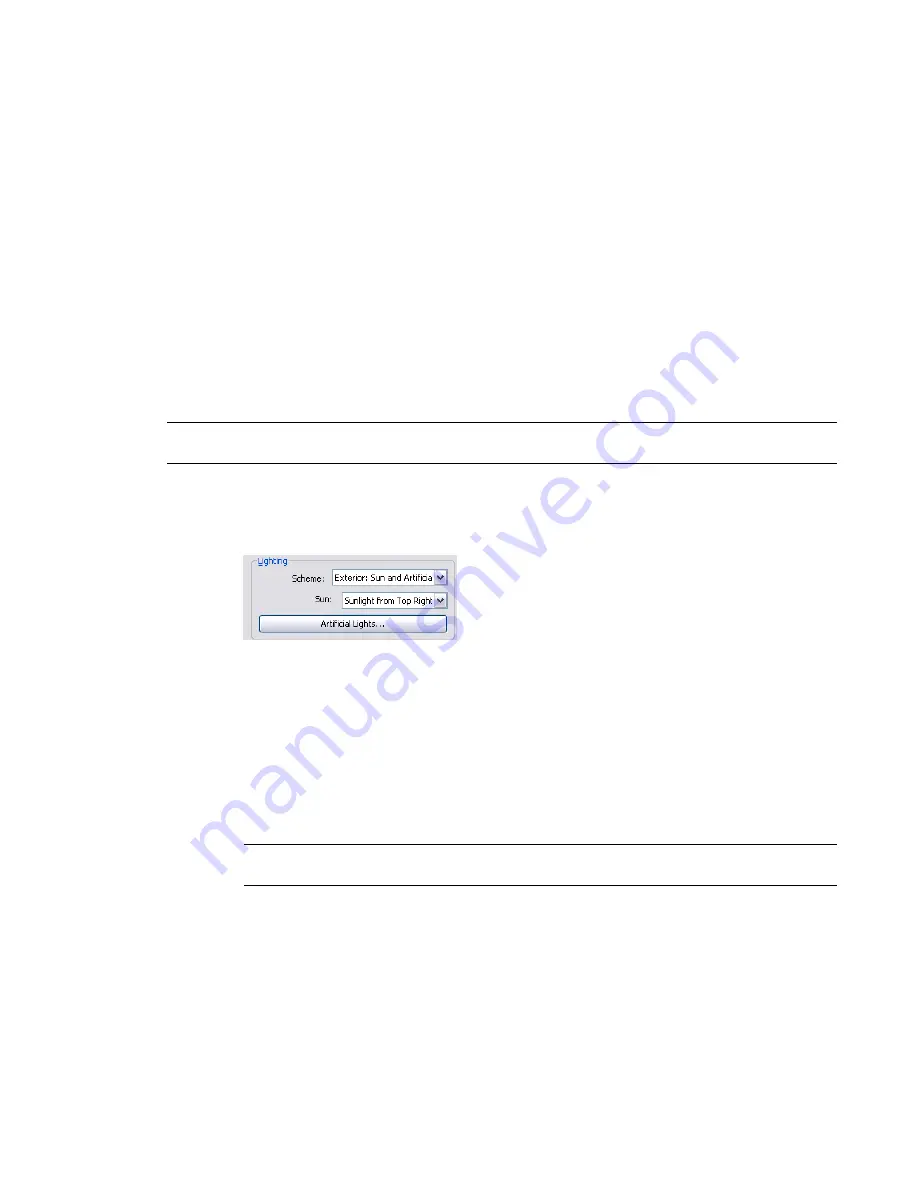
1
In the
, under Lighting, for Scheme, select the desired setting.
2
If you selected a lighting scheme that uses sunlight, for Sun, select the desired sun position.
To define new sun and shadow settings for the rendered image, select Edit/New. See
the Sunlight Source for Shadows
on page 253. Click OK or Cancel to return to the Rendering
dialog.
3
If you selected a lighting scheme that uses artificial light, click Artificial Lights to control artificial
light in the rendered image.
You can create light groups and add lighting fixtures to light groups. You can also dim or turn
on or off light groups or individual lighting fixtures. See
on page 1197. Click OK or
Cancel to return to the Rendering dialog.
TIP
To improve render performance, turn off any lights that are not required for the rendering. See
Render Performance and Lighting
on page 1234.
4
If the lighting scheme is Interior: Sun only or Interior: Sun + Artificial, consider whether you
want to turn on daylight portals.
During the rendering process, daylighting is performed automatically. For advanced lighting
quality in interior views, you can enable daylight portals, if needed. Daylight portals improve
the quality of the rendered image, but they can also increase render time. By default, daylight
portals are turned off. See
on page 1227.
5
to define other render settings.
1228 | Chapter 19 Rendering
Содержание 256B1-05A761-1301 - AutoCAD Revit Structure Suite 2010
Страница 1: ...Revit Architecture 2010 User s Guide March 2009 ...
Страница 4: ......
Страница 42: ...xlii ...
Страница 84: ...42 ...
Страница 126: ...84 ...
Страница 166: ...124 ...
Страница 229: ...Schedule Field Formatting Calculating Totals Specifying Schedule Properties 187 ...
Страница 230: ...Schedule with Grid Lines Schedule with Grid Lines and an Outline 188 Chapter 5 Project Views ...
Страница 304: ...262 ...
Страница 427: ...Defining the first scale vector Defining the second scale vector Resizing Graphically 385 ...
Страница 454: ...Before painting applying material to stairs 412 Chapter 8 Editing Elements ...
Страница 456: ...414 ...
Страница 486: ...444 ...
Страница 674: ...632 ...
Страница 802: ... Attachment Style Cut Column Attachment Justification Intersect Column Midline 760 Chapter 13 Architectural Design ...
Страница 809: ...Curtain wall Curtain Grid Curtain Walls Curtain Grids and Mullions 767 ...
Страница 994: ...952 ...
Страница 1016: ...974 ...
Страница 1204: ...1162 ...
Страница 1290: ...1248 ...
Страница 1318: ...1276 ...
Страница 1372: ...1330 ...
Страница 1382: ...1340 ...
Страница 1462: ...1420 ...
Страница 1492: ...1450 ...


